Who remembers the excitement of Valentine’s Day at school as a kid? You browsed the aisles for the perfect cardboard box full of Valentine’s cards, paired those with your favorite candy and chose the biggest cards to give to your best friends or your crush. Life was so simple then…..
No but really. It was. Today we have to navigate continuously changing school policies, candy bans and even restrictions due to COVID. So, insert this post! It comes from yours truly…..a LAST MINUTE MAMA…..who wants to make prepping for your kiddo’s Valentine’s Day celebration that much easier.
It was February 12, 2020 and my husband and I were flying back from our first trip without kids. As I waltzed in the door relaxed and refreshed, that #momlife smacked me right in the face as I was reminded I needed to bring in some Valentine’s Day treats for my son’s school. Thankfully, through Target order pickup saving my butt, and a few clicks on my computer, I created these easy and fun Valentine’s Day treats perfect for kids and teachers of all ages! Keep reading for a downloadable Word template at the end.

SUPPLY LIST
White Cardstock - compatible with your printer
Scissors
Printer with colored ink
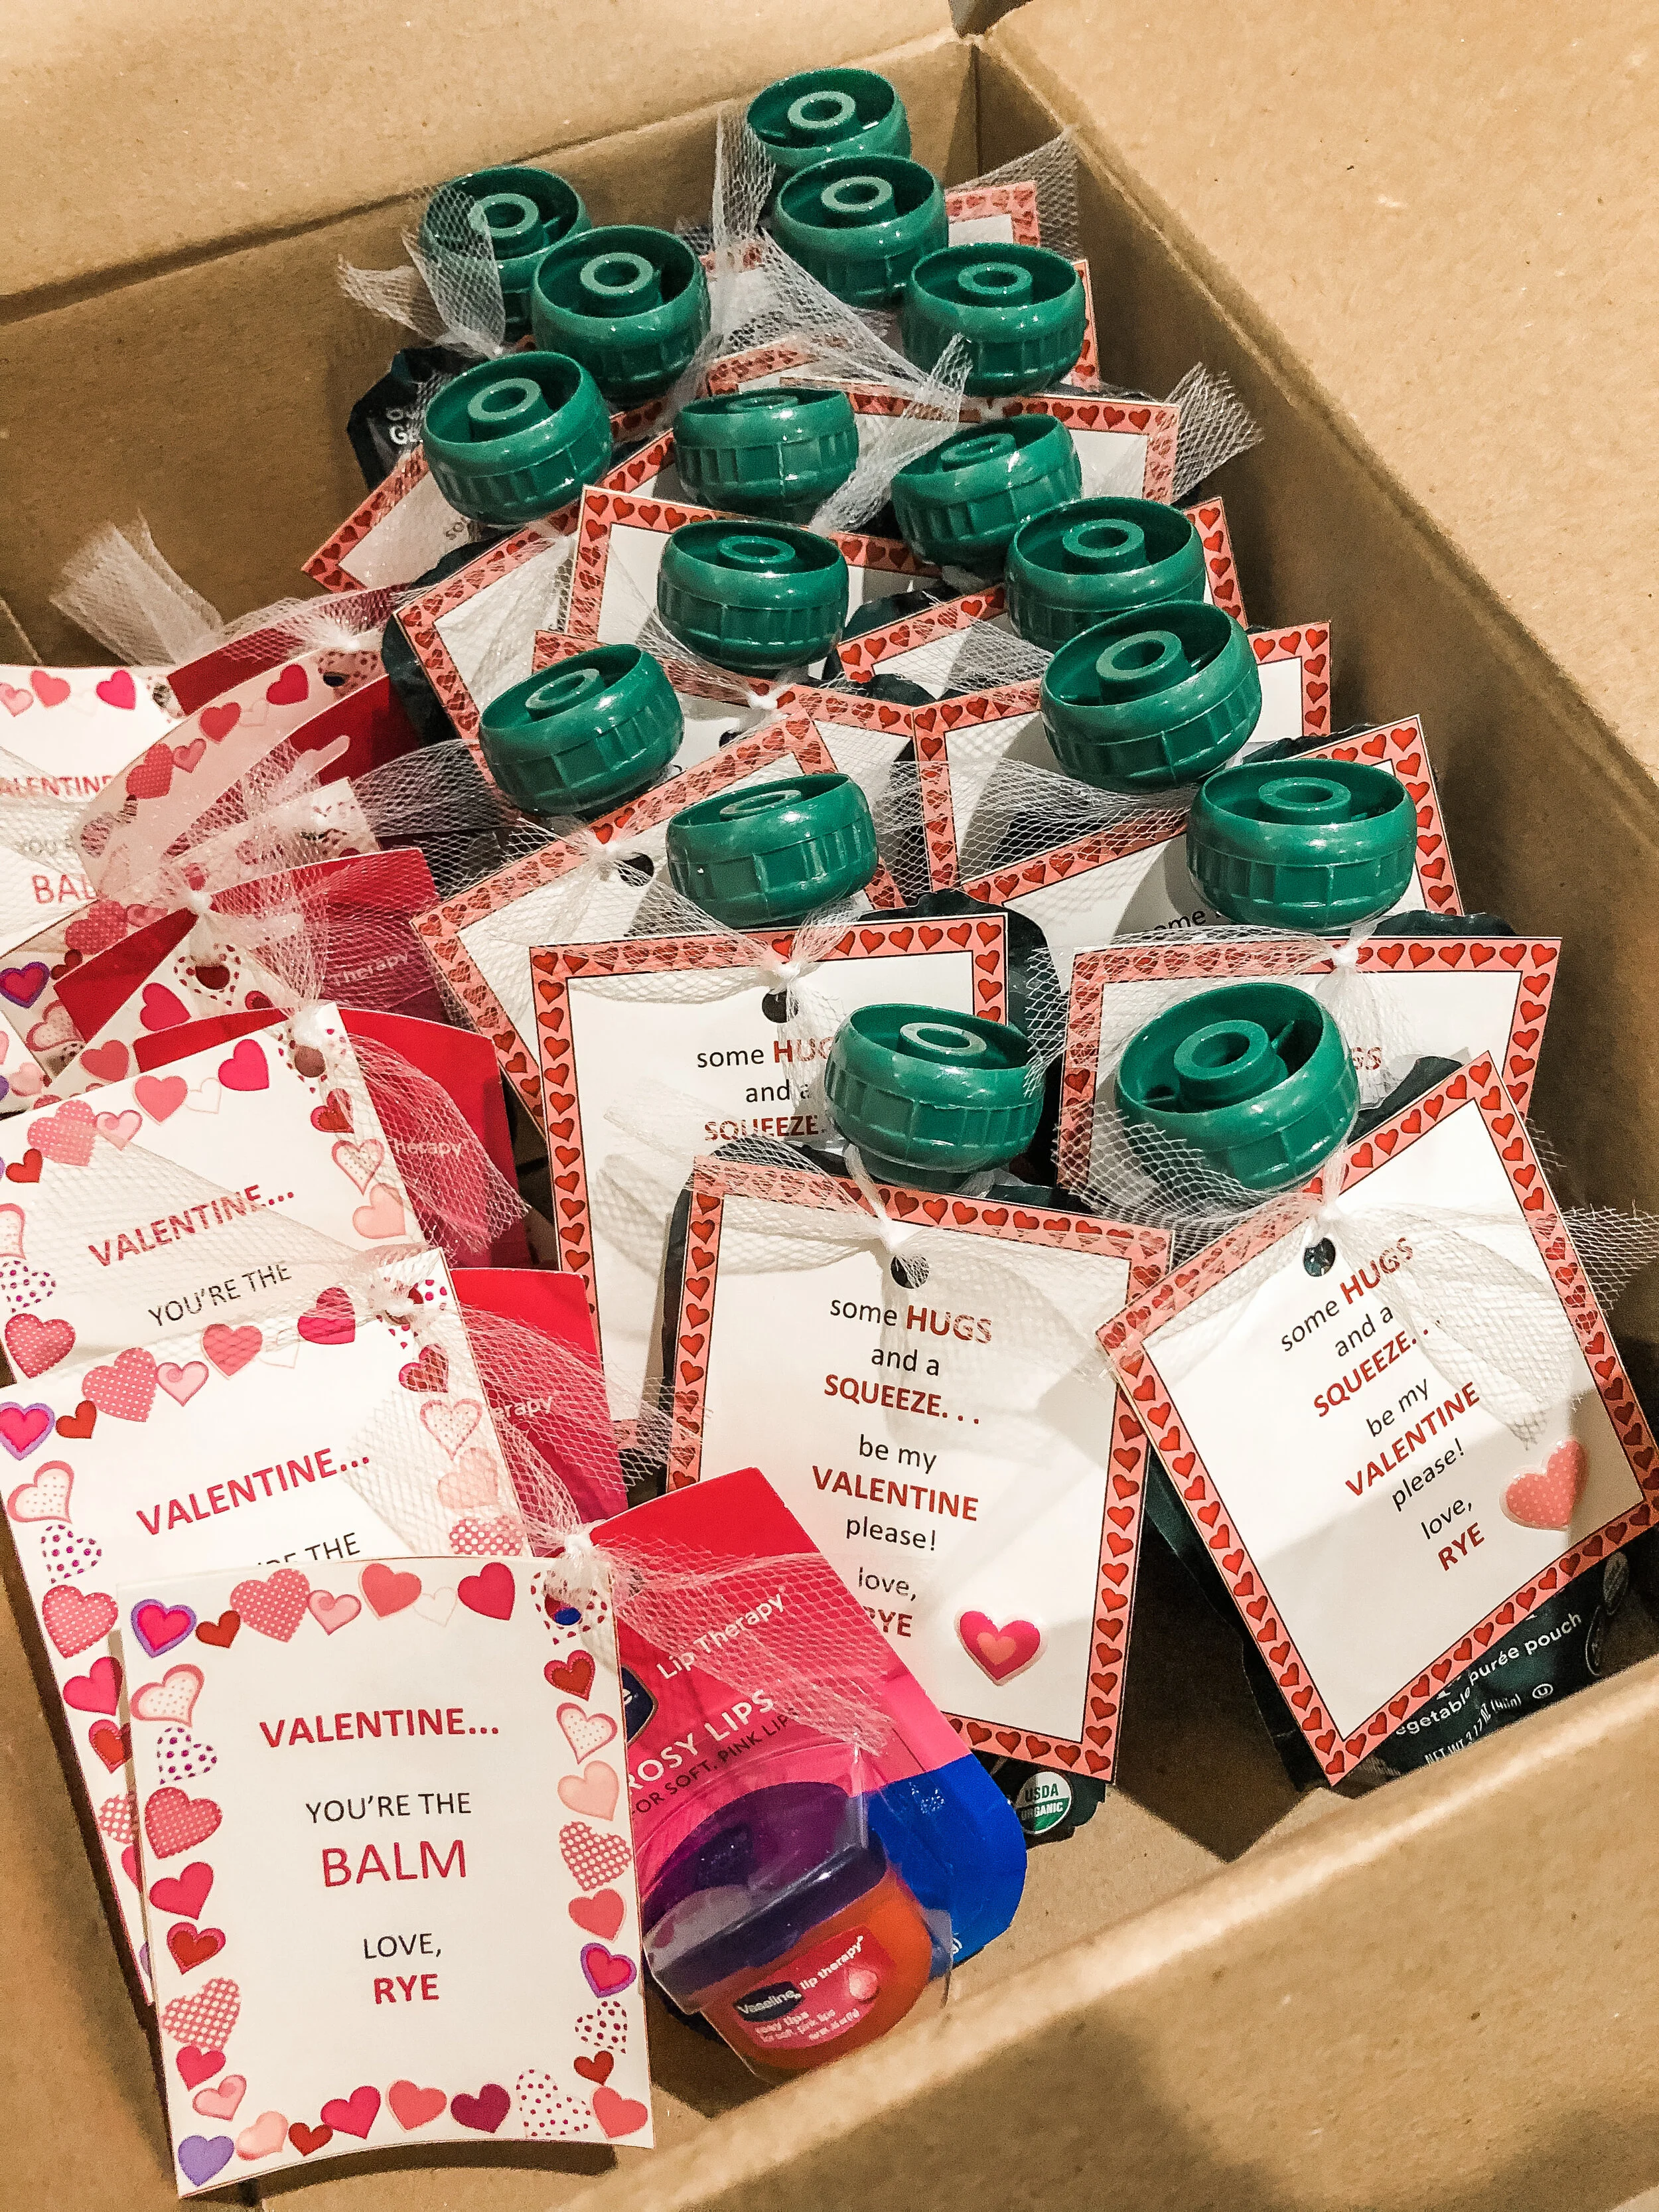
Hugs & Squeeze Template - GREAT for kids!
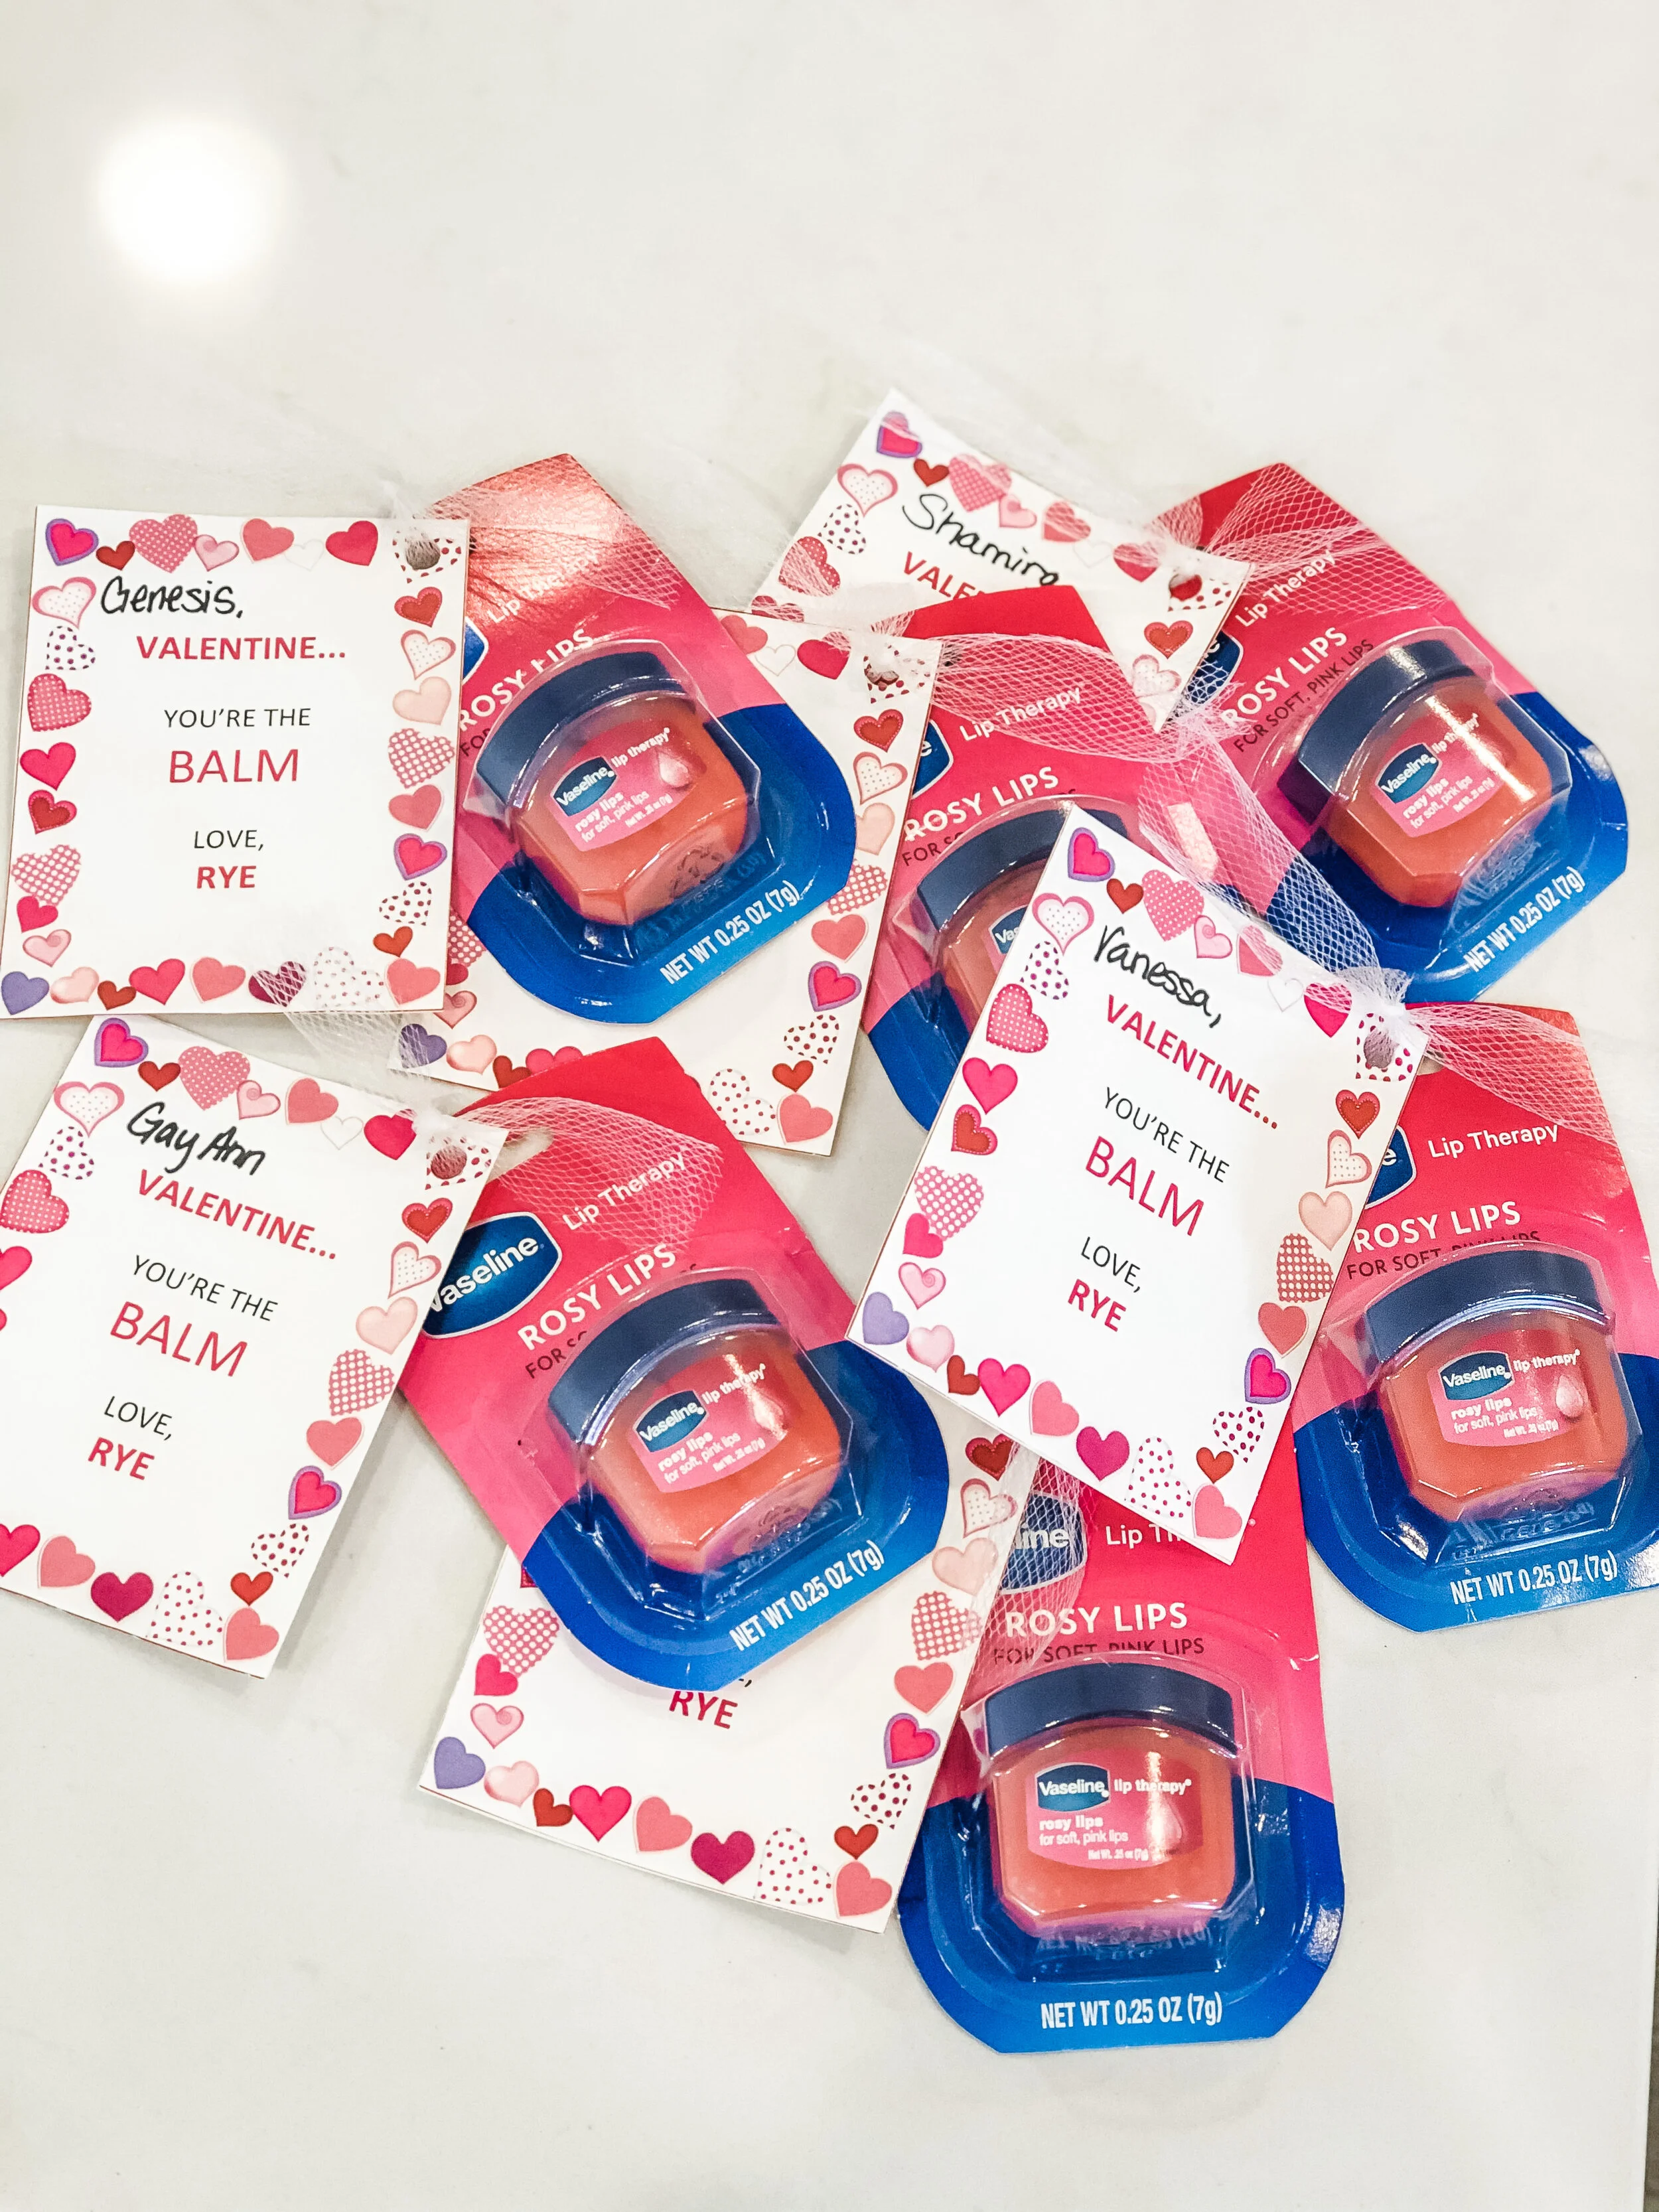
You’re The Balm Template - GREAT for teachers or older kids!
DIRECTIONS
Decide which template you’d like to use and download via the link. I created both and used the Hugs & Squeeze Template for kids and the You’re The Balm Template for the teachers. To download, simply click on the link and then hit the download icon in the corner. Once the template is downloaded (Word Doc format), you can edit to add the name of your child in the bracketed space. After adding your child’s name, print the template on the cardstock using colored ink. There are 4 cards per page, so make sure you print the appropriate amount.
Place your same day pickup or delivery order! I used Target order pickup on February 13th…yes you read that right. But, since it isn’t that close yet, you can also place an Amazon, Walmart, etc. order.
After you have all of your supplies, cut out each card following the lines from the template. Punch a hole in the corner of each card and cut ribbons according to the size you need. Thread the cut ribbon through each hole.
Optional: Add a sticker to each card for some extra flare and/or add the name of each person to make it more customized!
Tie the ribbon with the card around the neck of each pouch or through the hole in each lip balm (I used the hole where it hangs in the store). If you buy a multipack or use a lip balm without any hole, you can easily add each lip balm to a plastic or satin bag and hole punch that, stringing the ribbon through in the same way.
You’re finished! Pack them up and get ready to have the cutest Valentine’s in the class.
CHECK OUT MORE SUPPLIES BELOW