The Perfect Holiday Centerpiece: Featuring Bedford Village Flower Shoppe

I don’t think there is anything more welcoming in a home than fresh flowers..am I right?? And honestly, during the holidays we all want to step up our flower game to impress those dinner guests and family members coming from near and far. However, I know during this time of year when we are all as busy as can be, it’s pretty easy to overlook such an important detail, but that is why the world gave us AMAZING florists like Bedford Village Flower Shoppe! If you are in the Westchester/Connecticut area, you don’t need to look any further for all of your holiday and floral needs. Whether you are in search of a gorgeous holiday arrangement or a gift for that special someone, Bedford Village Flower Shoppe has you covered!

Peonies, Brunia, Amarylis, and Evergreens - GORGEOUS!!

Peonies, Brunia, Amarylis, and Evergreens - GORGEOUS!!

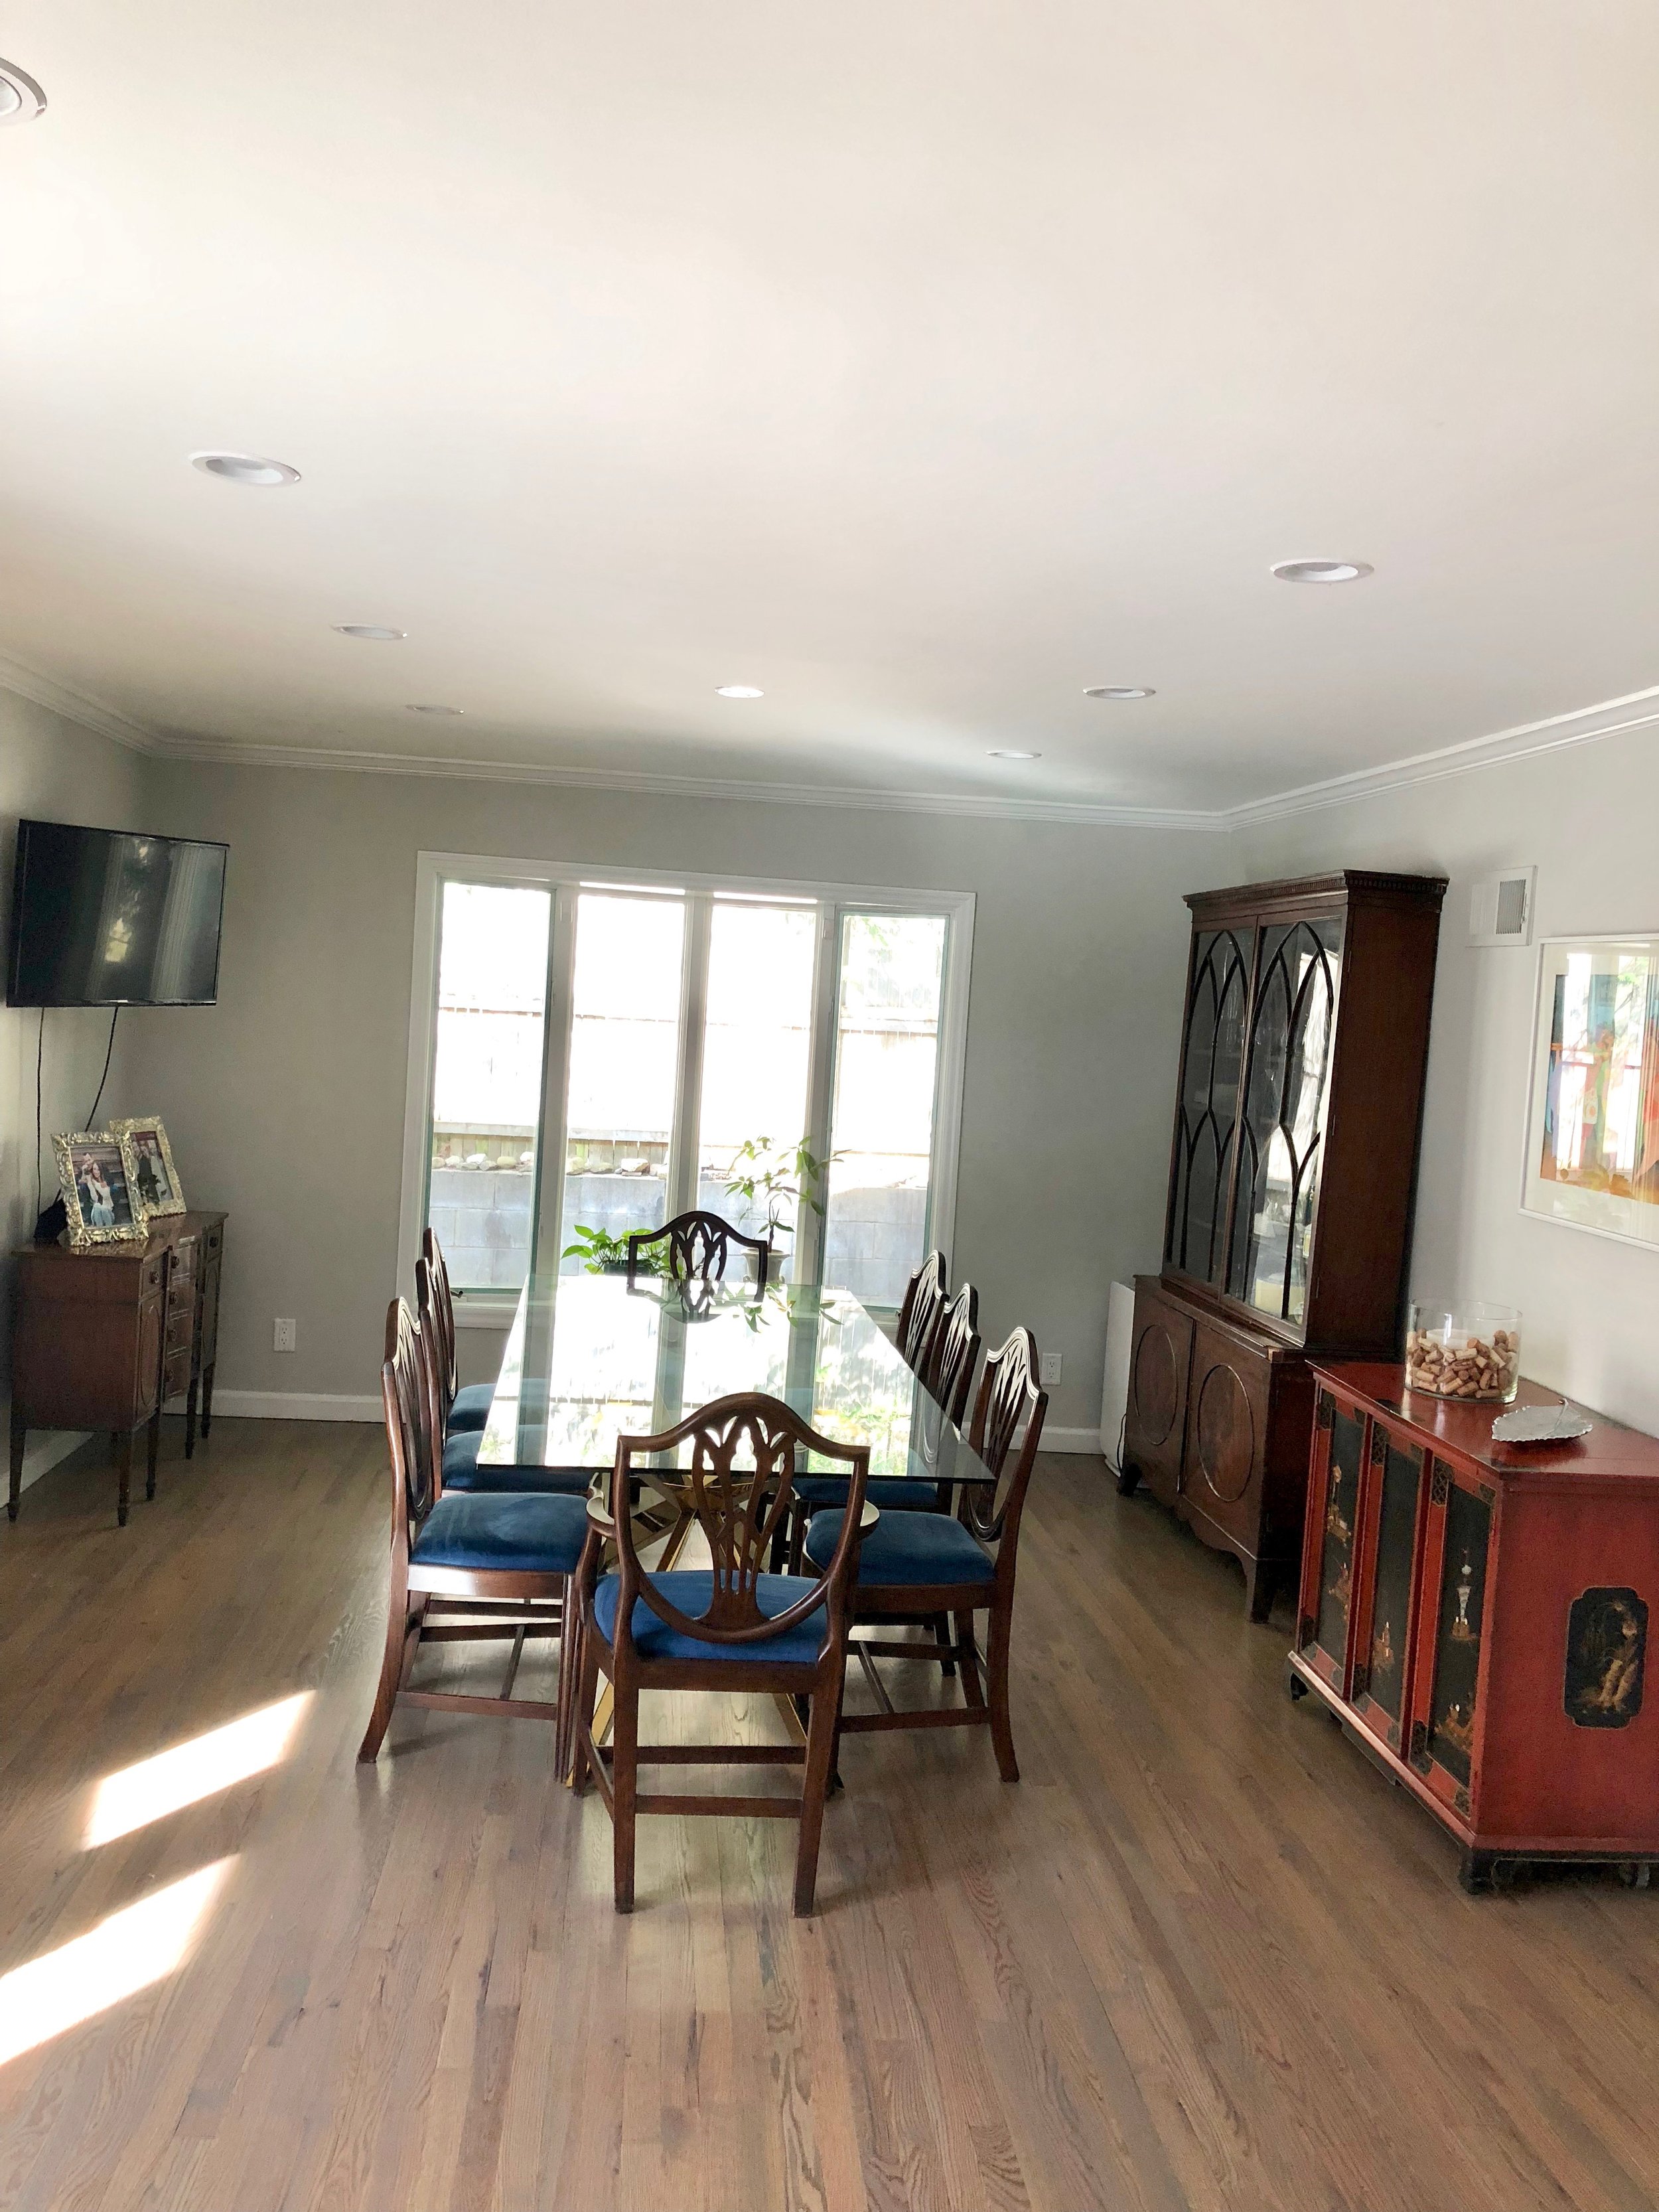
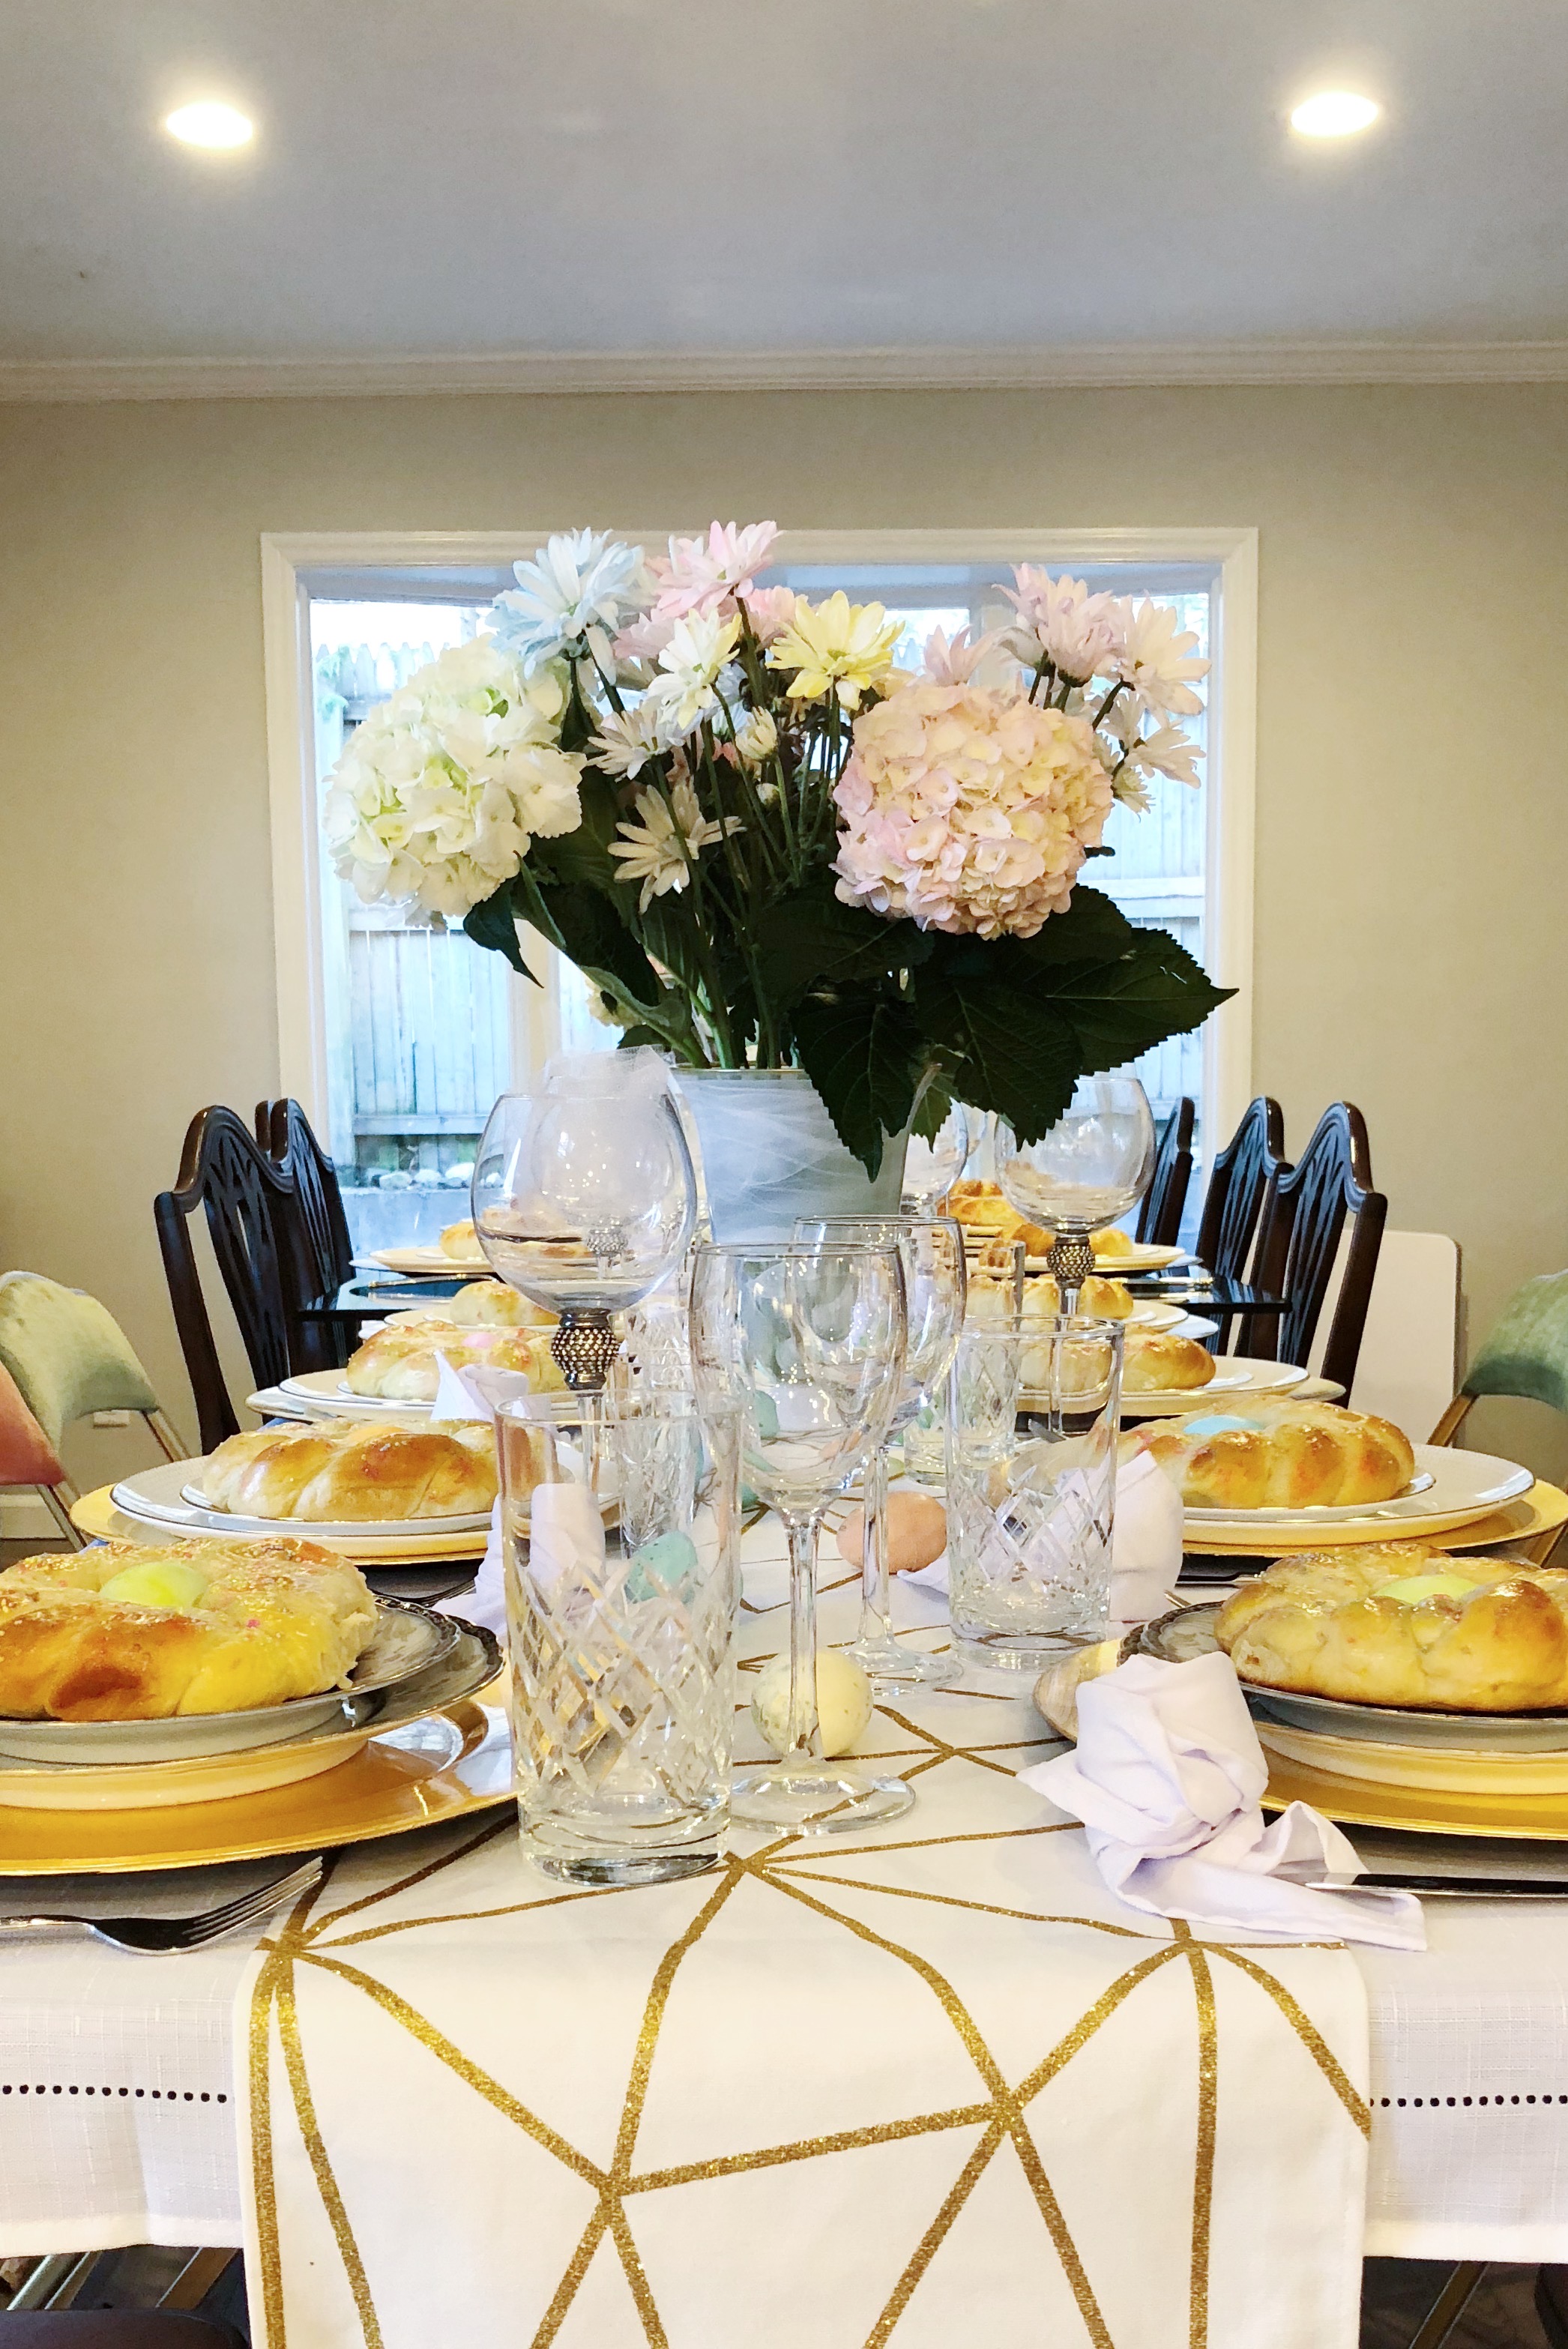
I just received the MOST STUNNING holiday arrangement ever from them and it looks absolutely gorgeous on my dining table, and matches my china perfectly (#winning)! This particular arrangement is a lovely mix of Peonies, Brunia, Amarylis, and Evergreens. It also has a beautiful rustic, winter touch with the pinecones and distressed wooden holder. No matter what you are looking for by way of size, shape, color, and cost, they can accommodate your every need and truly help you create a customized arrangement! These also are TOP QUALITY flowers. No filler, no fluff, just truly beautiful and fresh flowers and products that are sure to last!

IMG_5713.jpg

Oh and not only are their flowers absolutely stunning, but this shop is owned by the world’s sweetest couple. They go above and beyond to make sure that you get everything that you want as a customer…a quality that is hard to come by these days if you ask me! They also have a blog which gives great tips and tricks for choosing a perfect arrangement…a must read for the holidays!

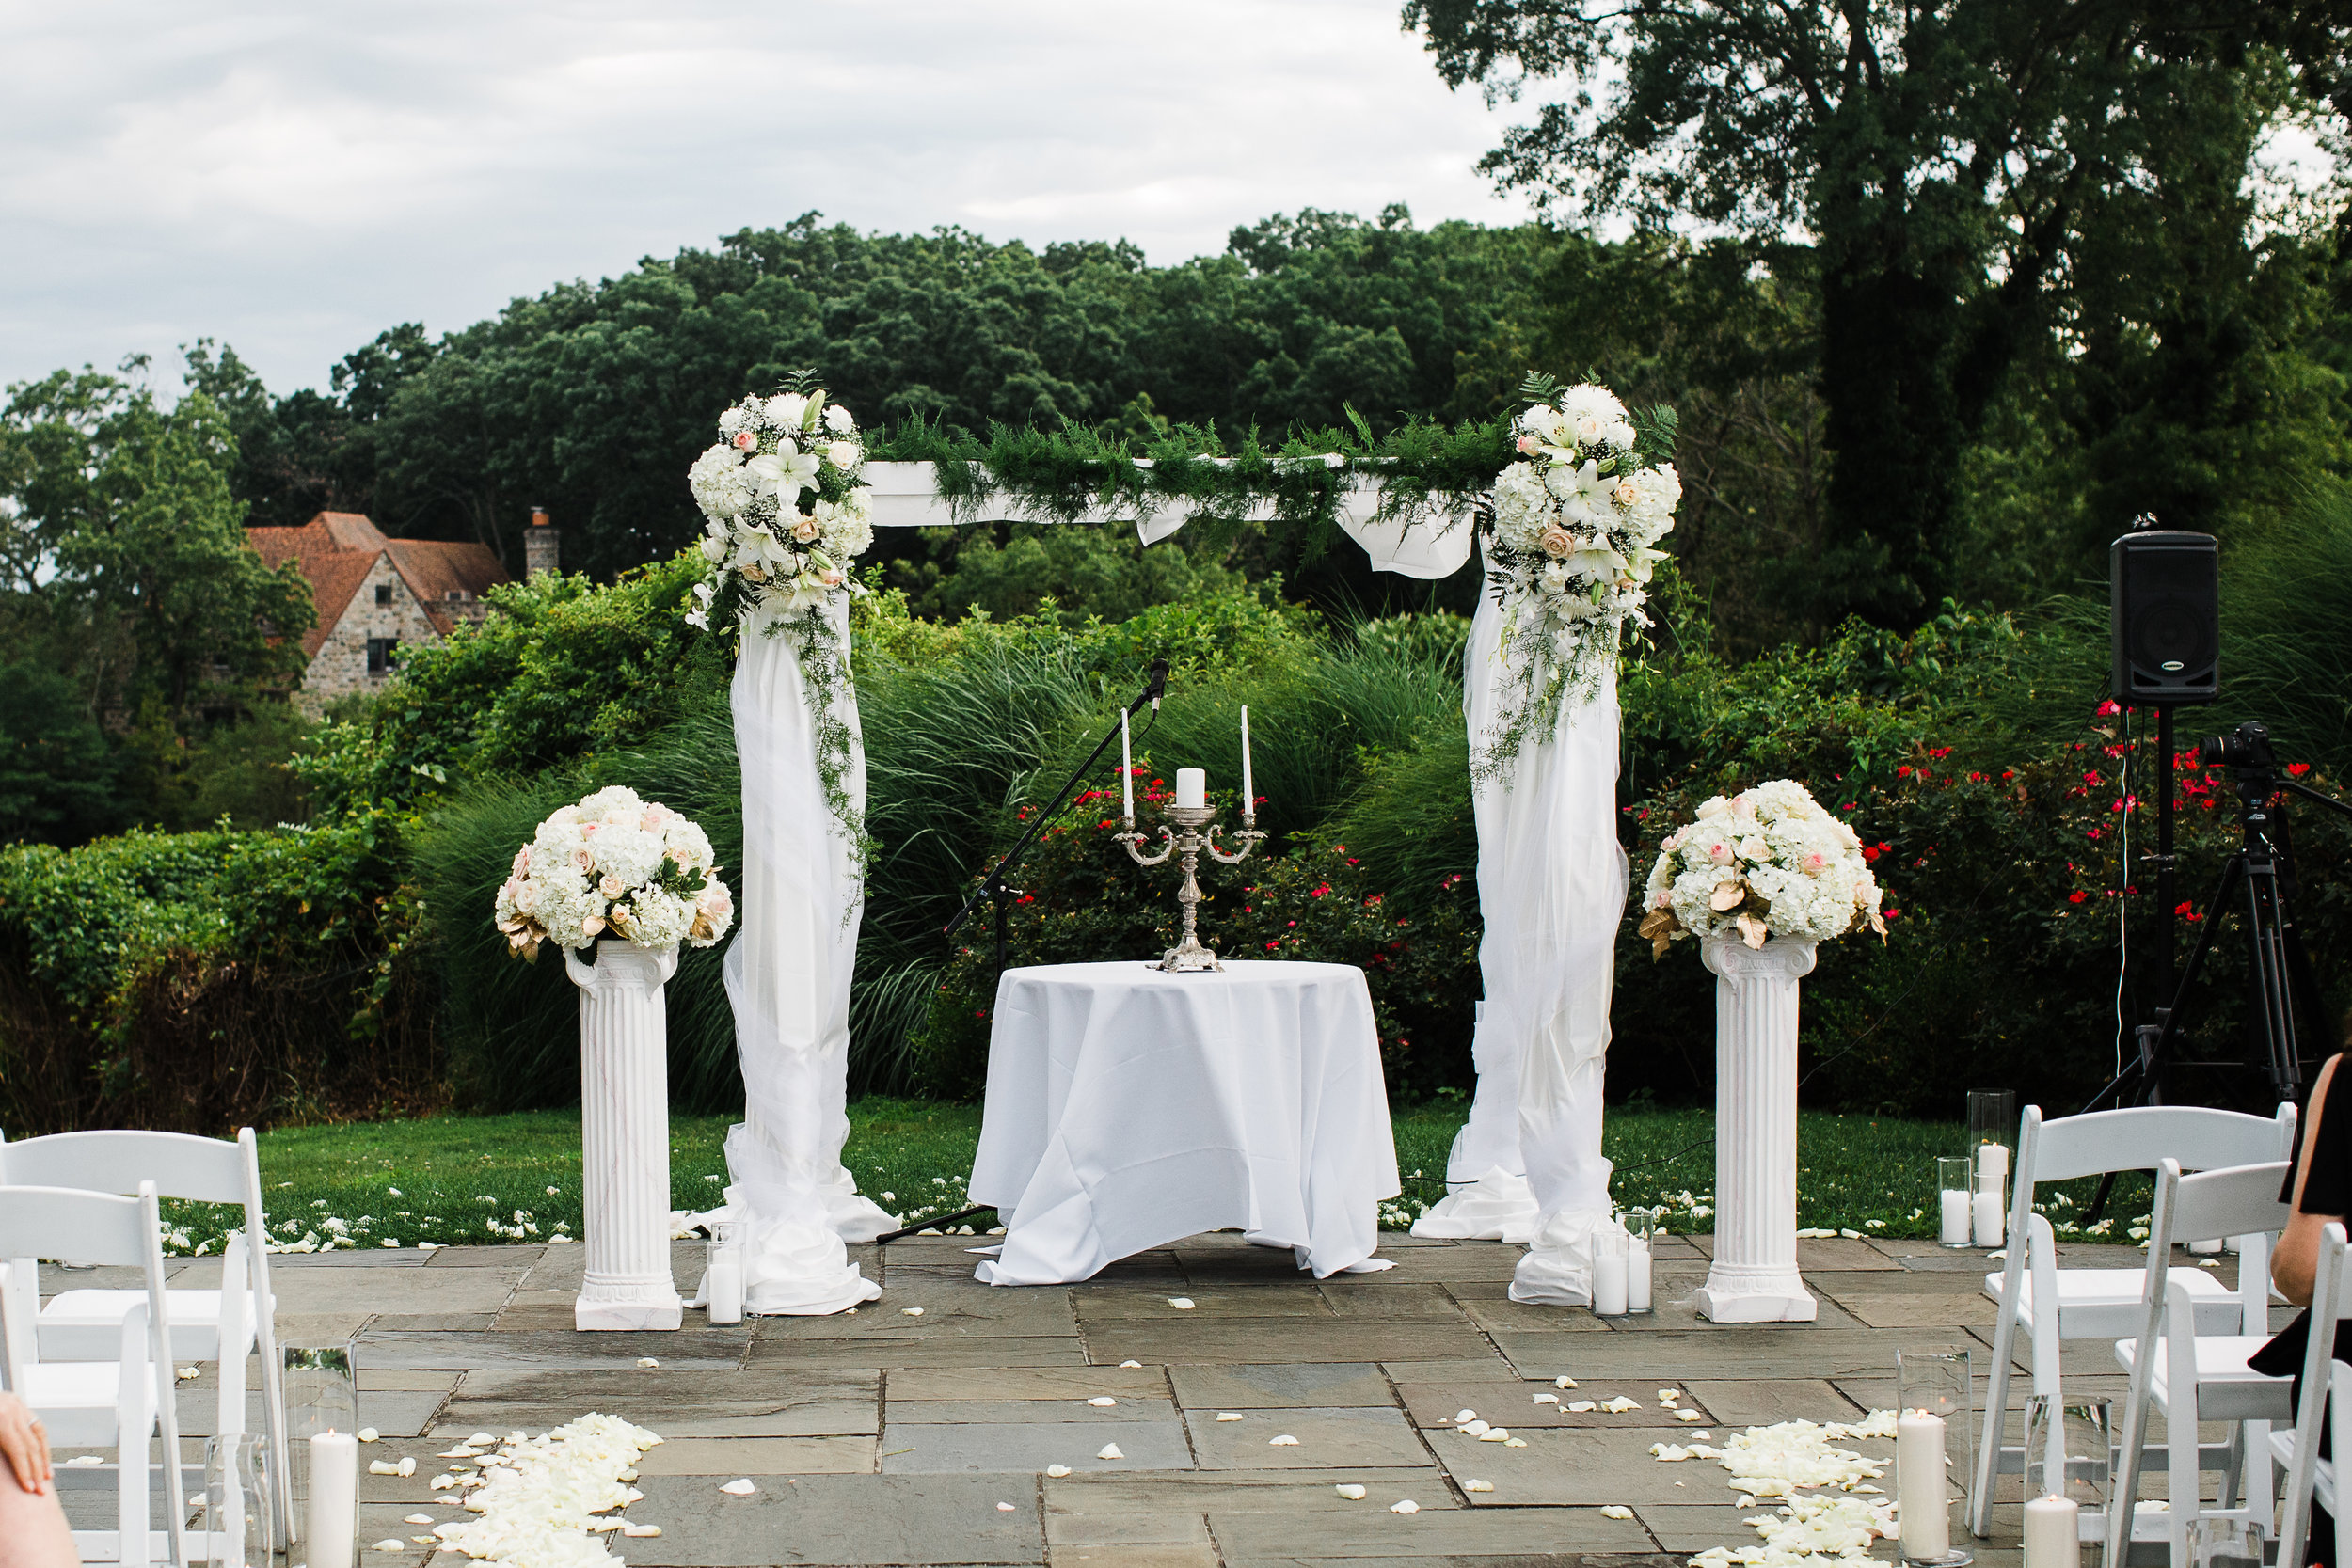
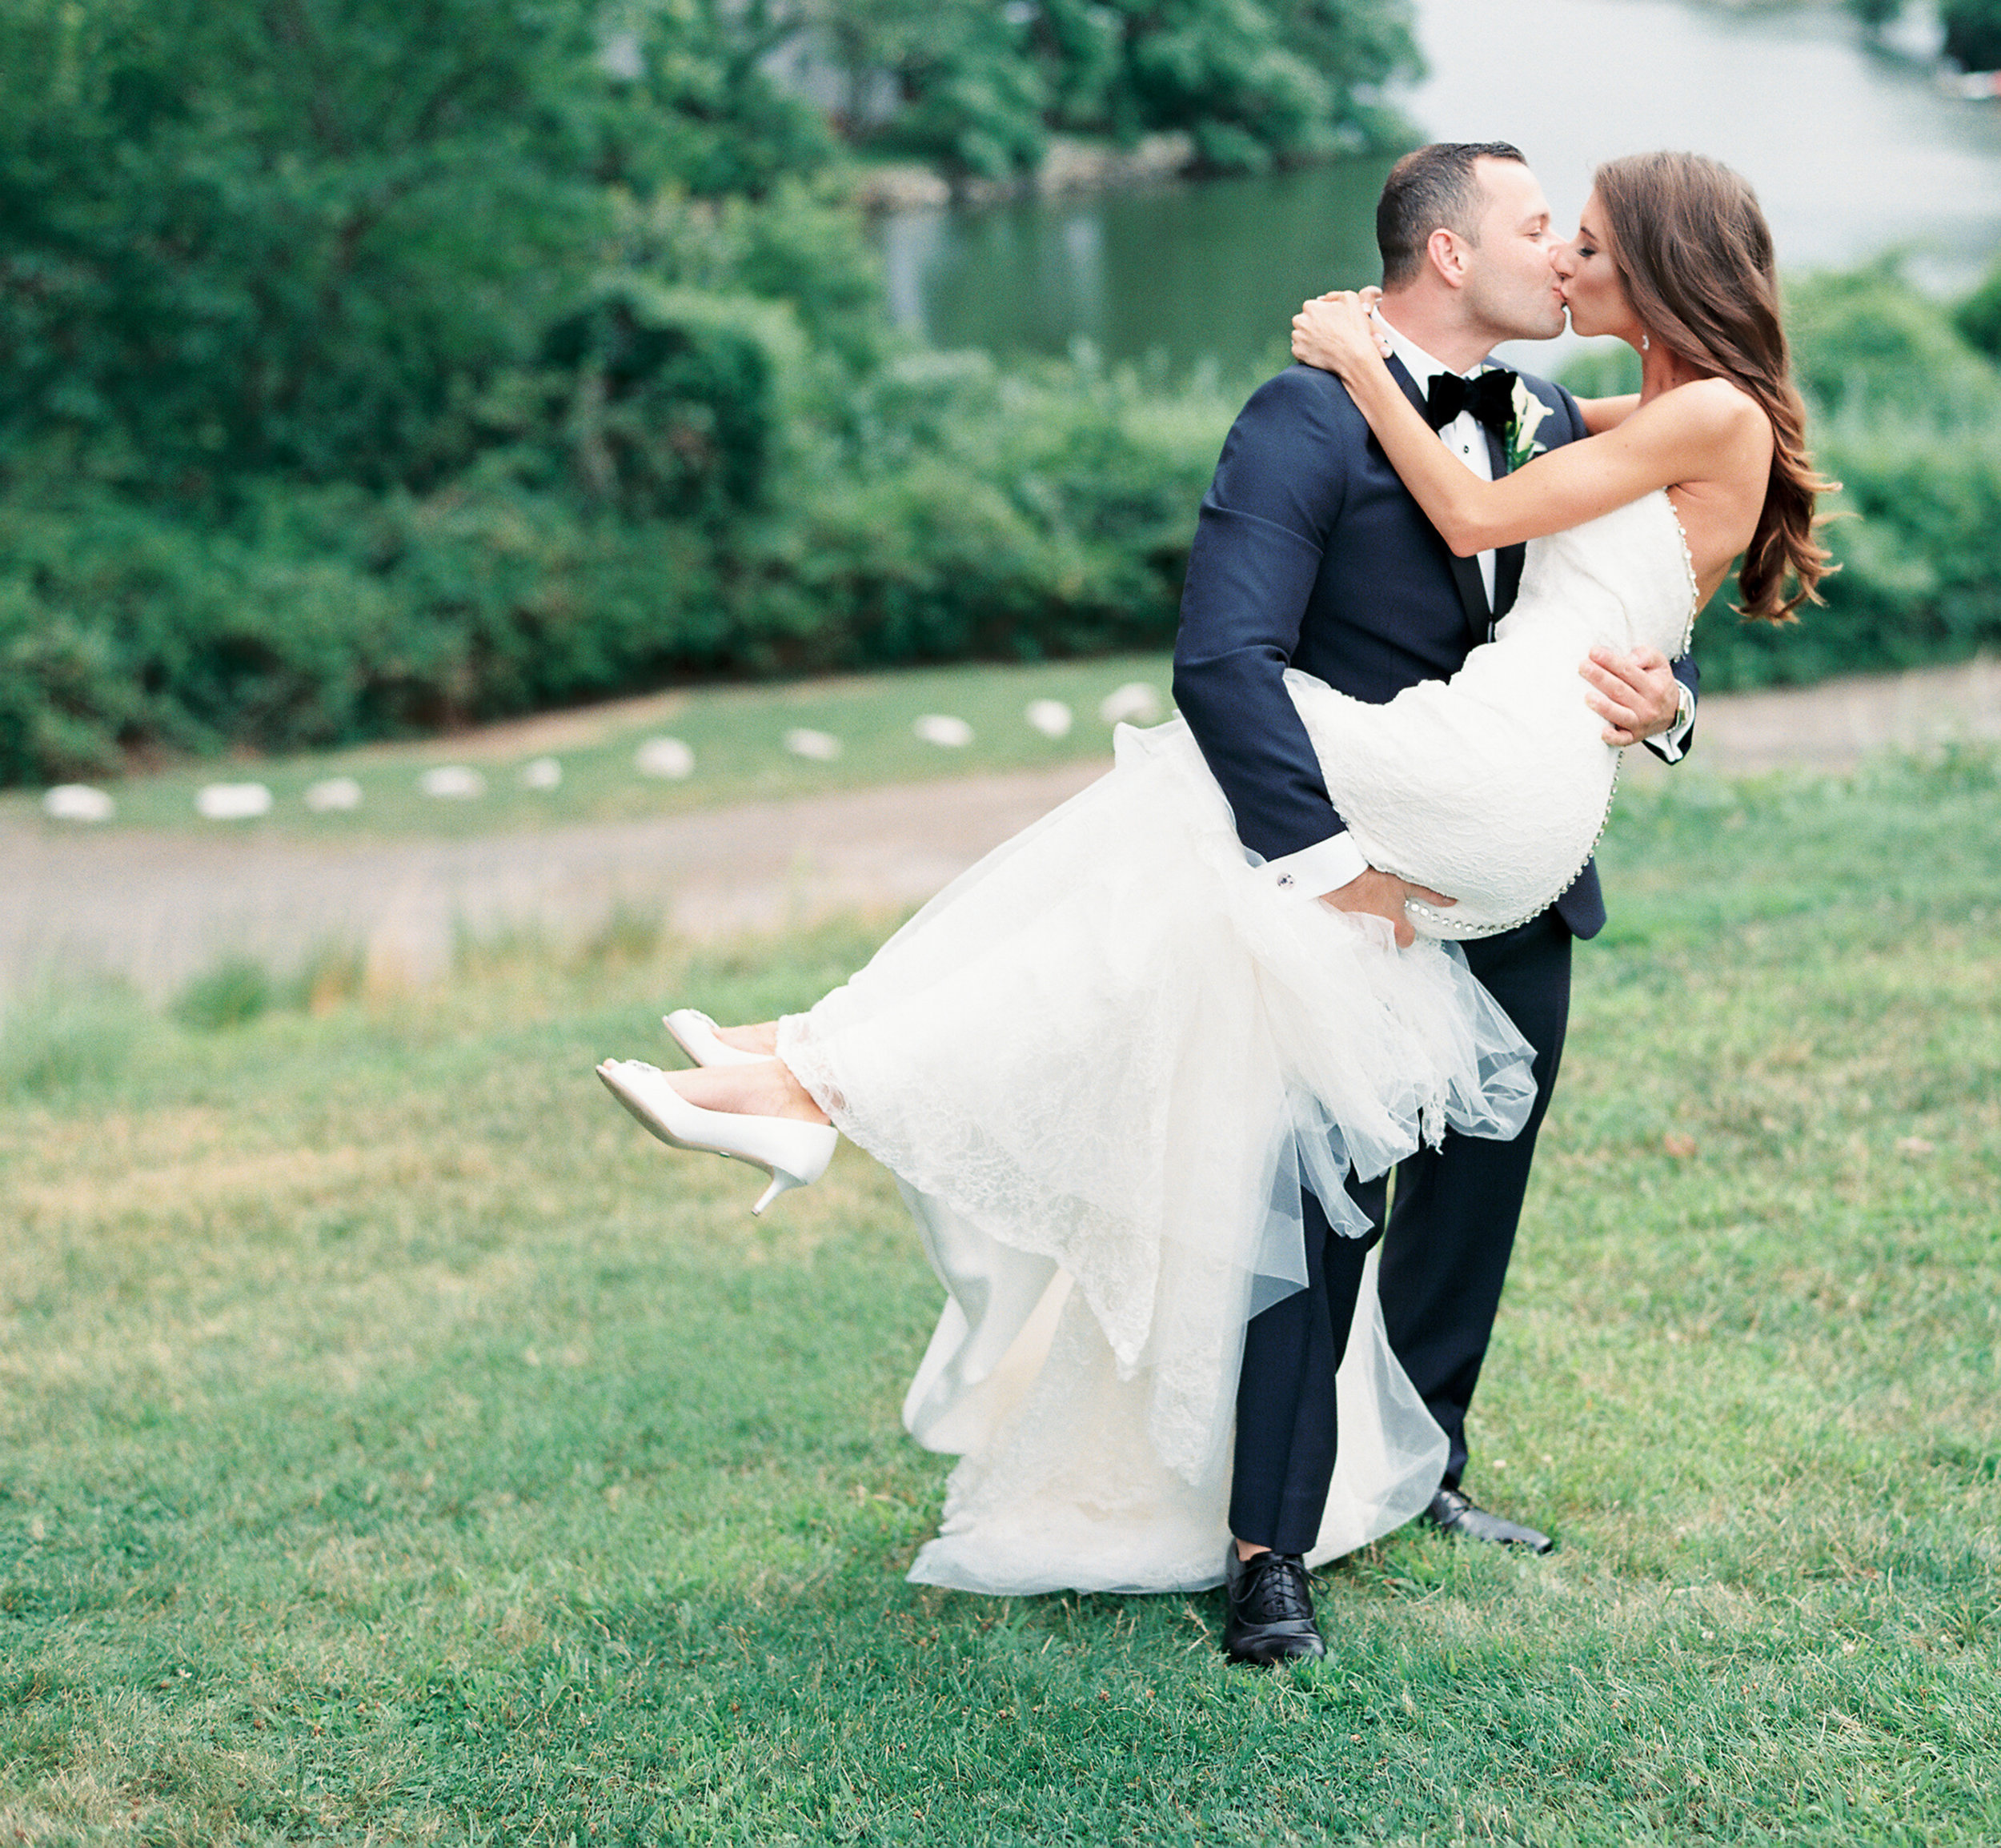
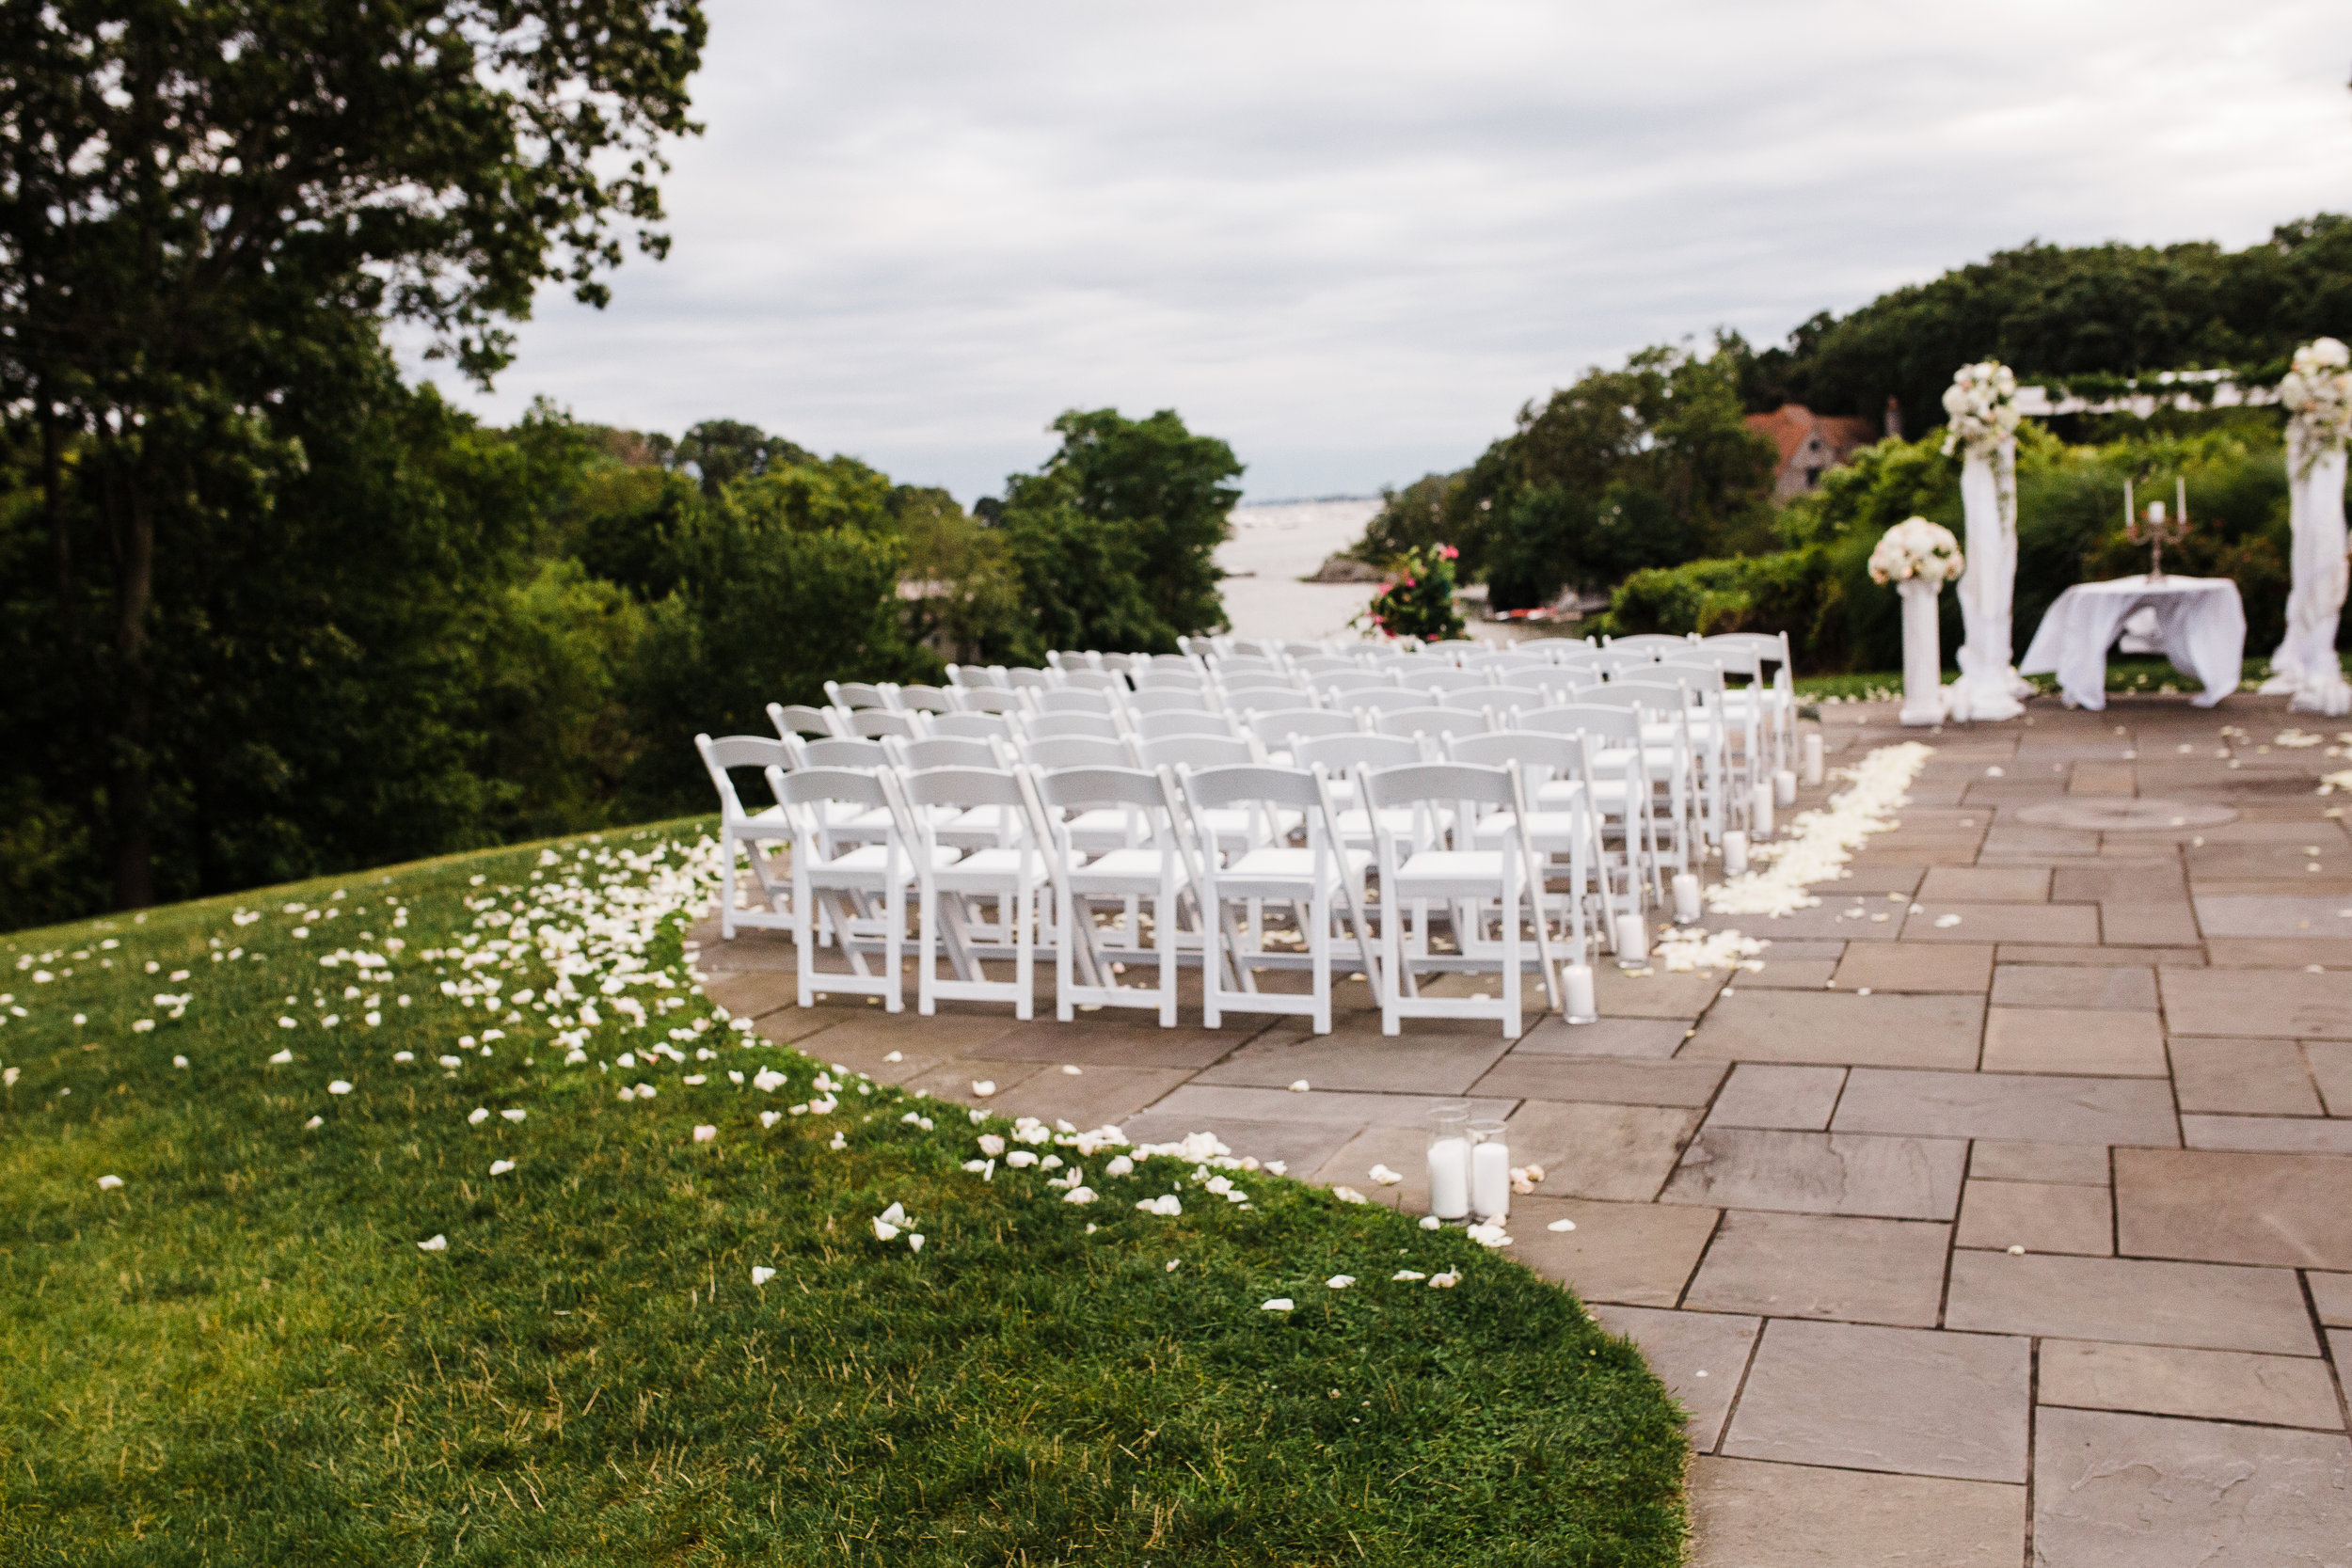
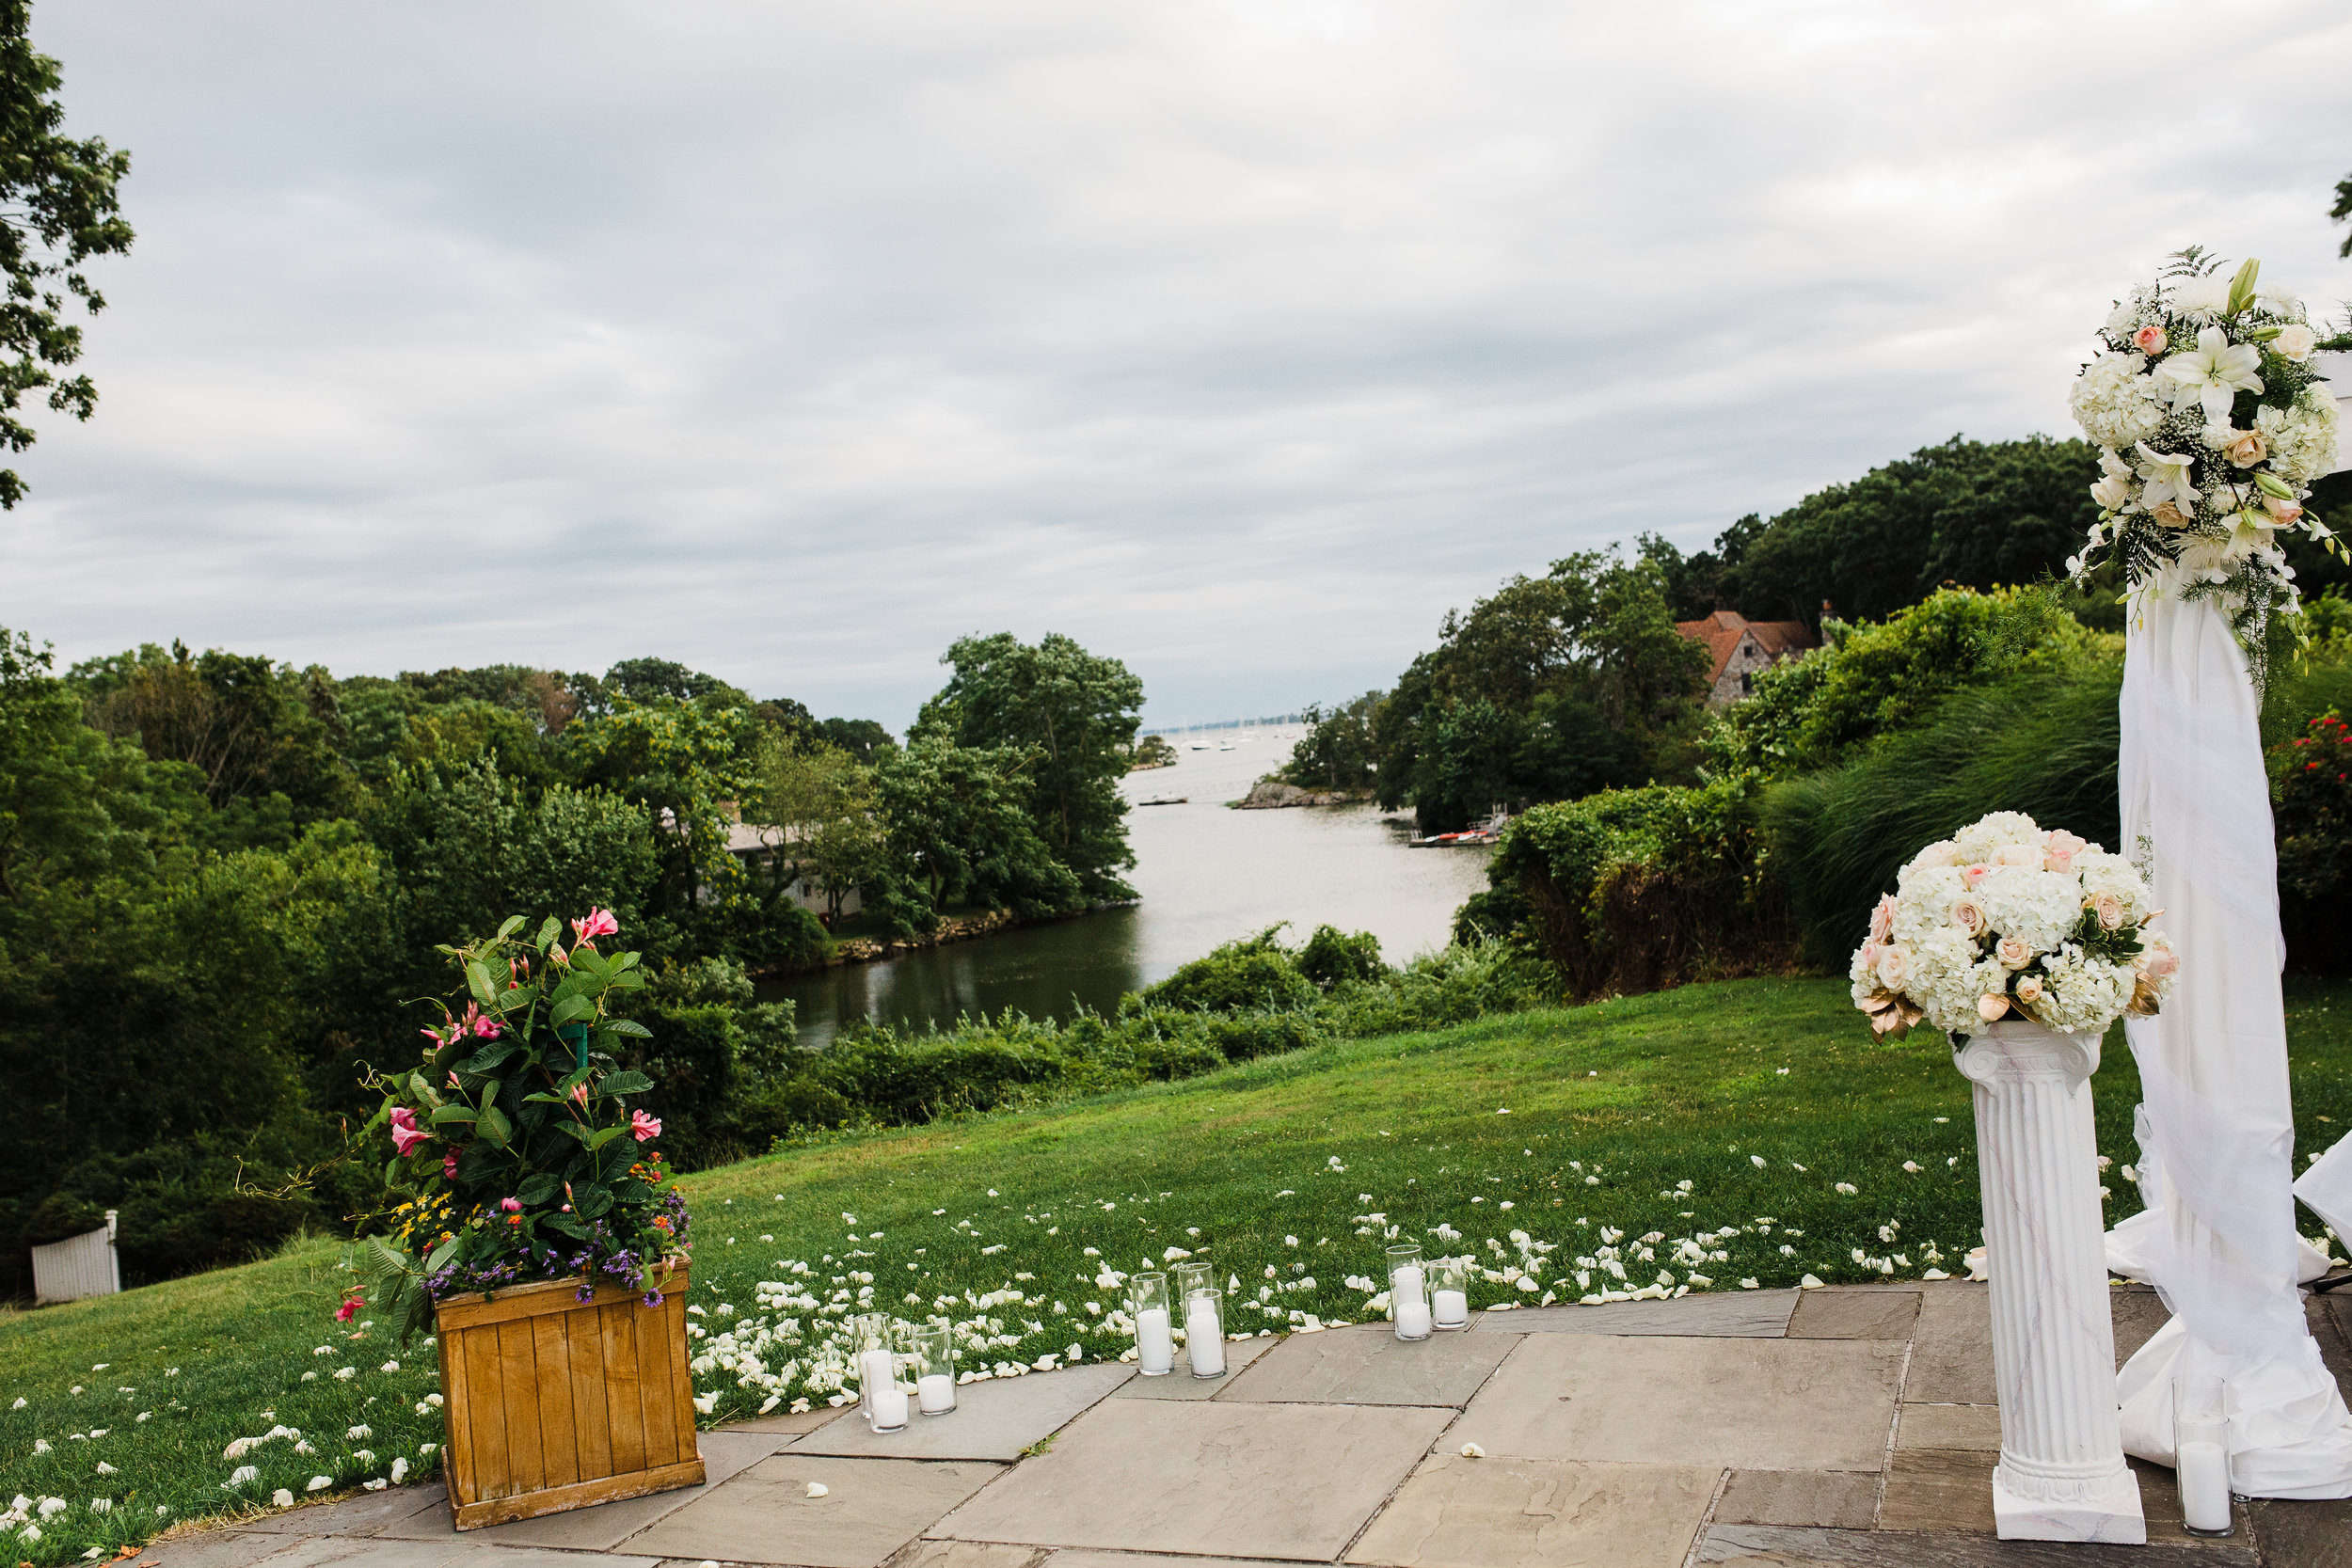
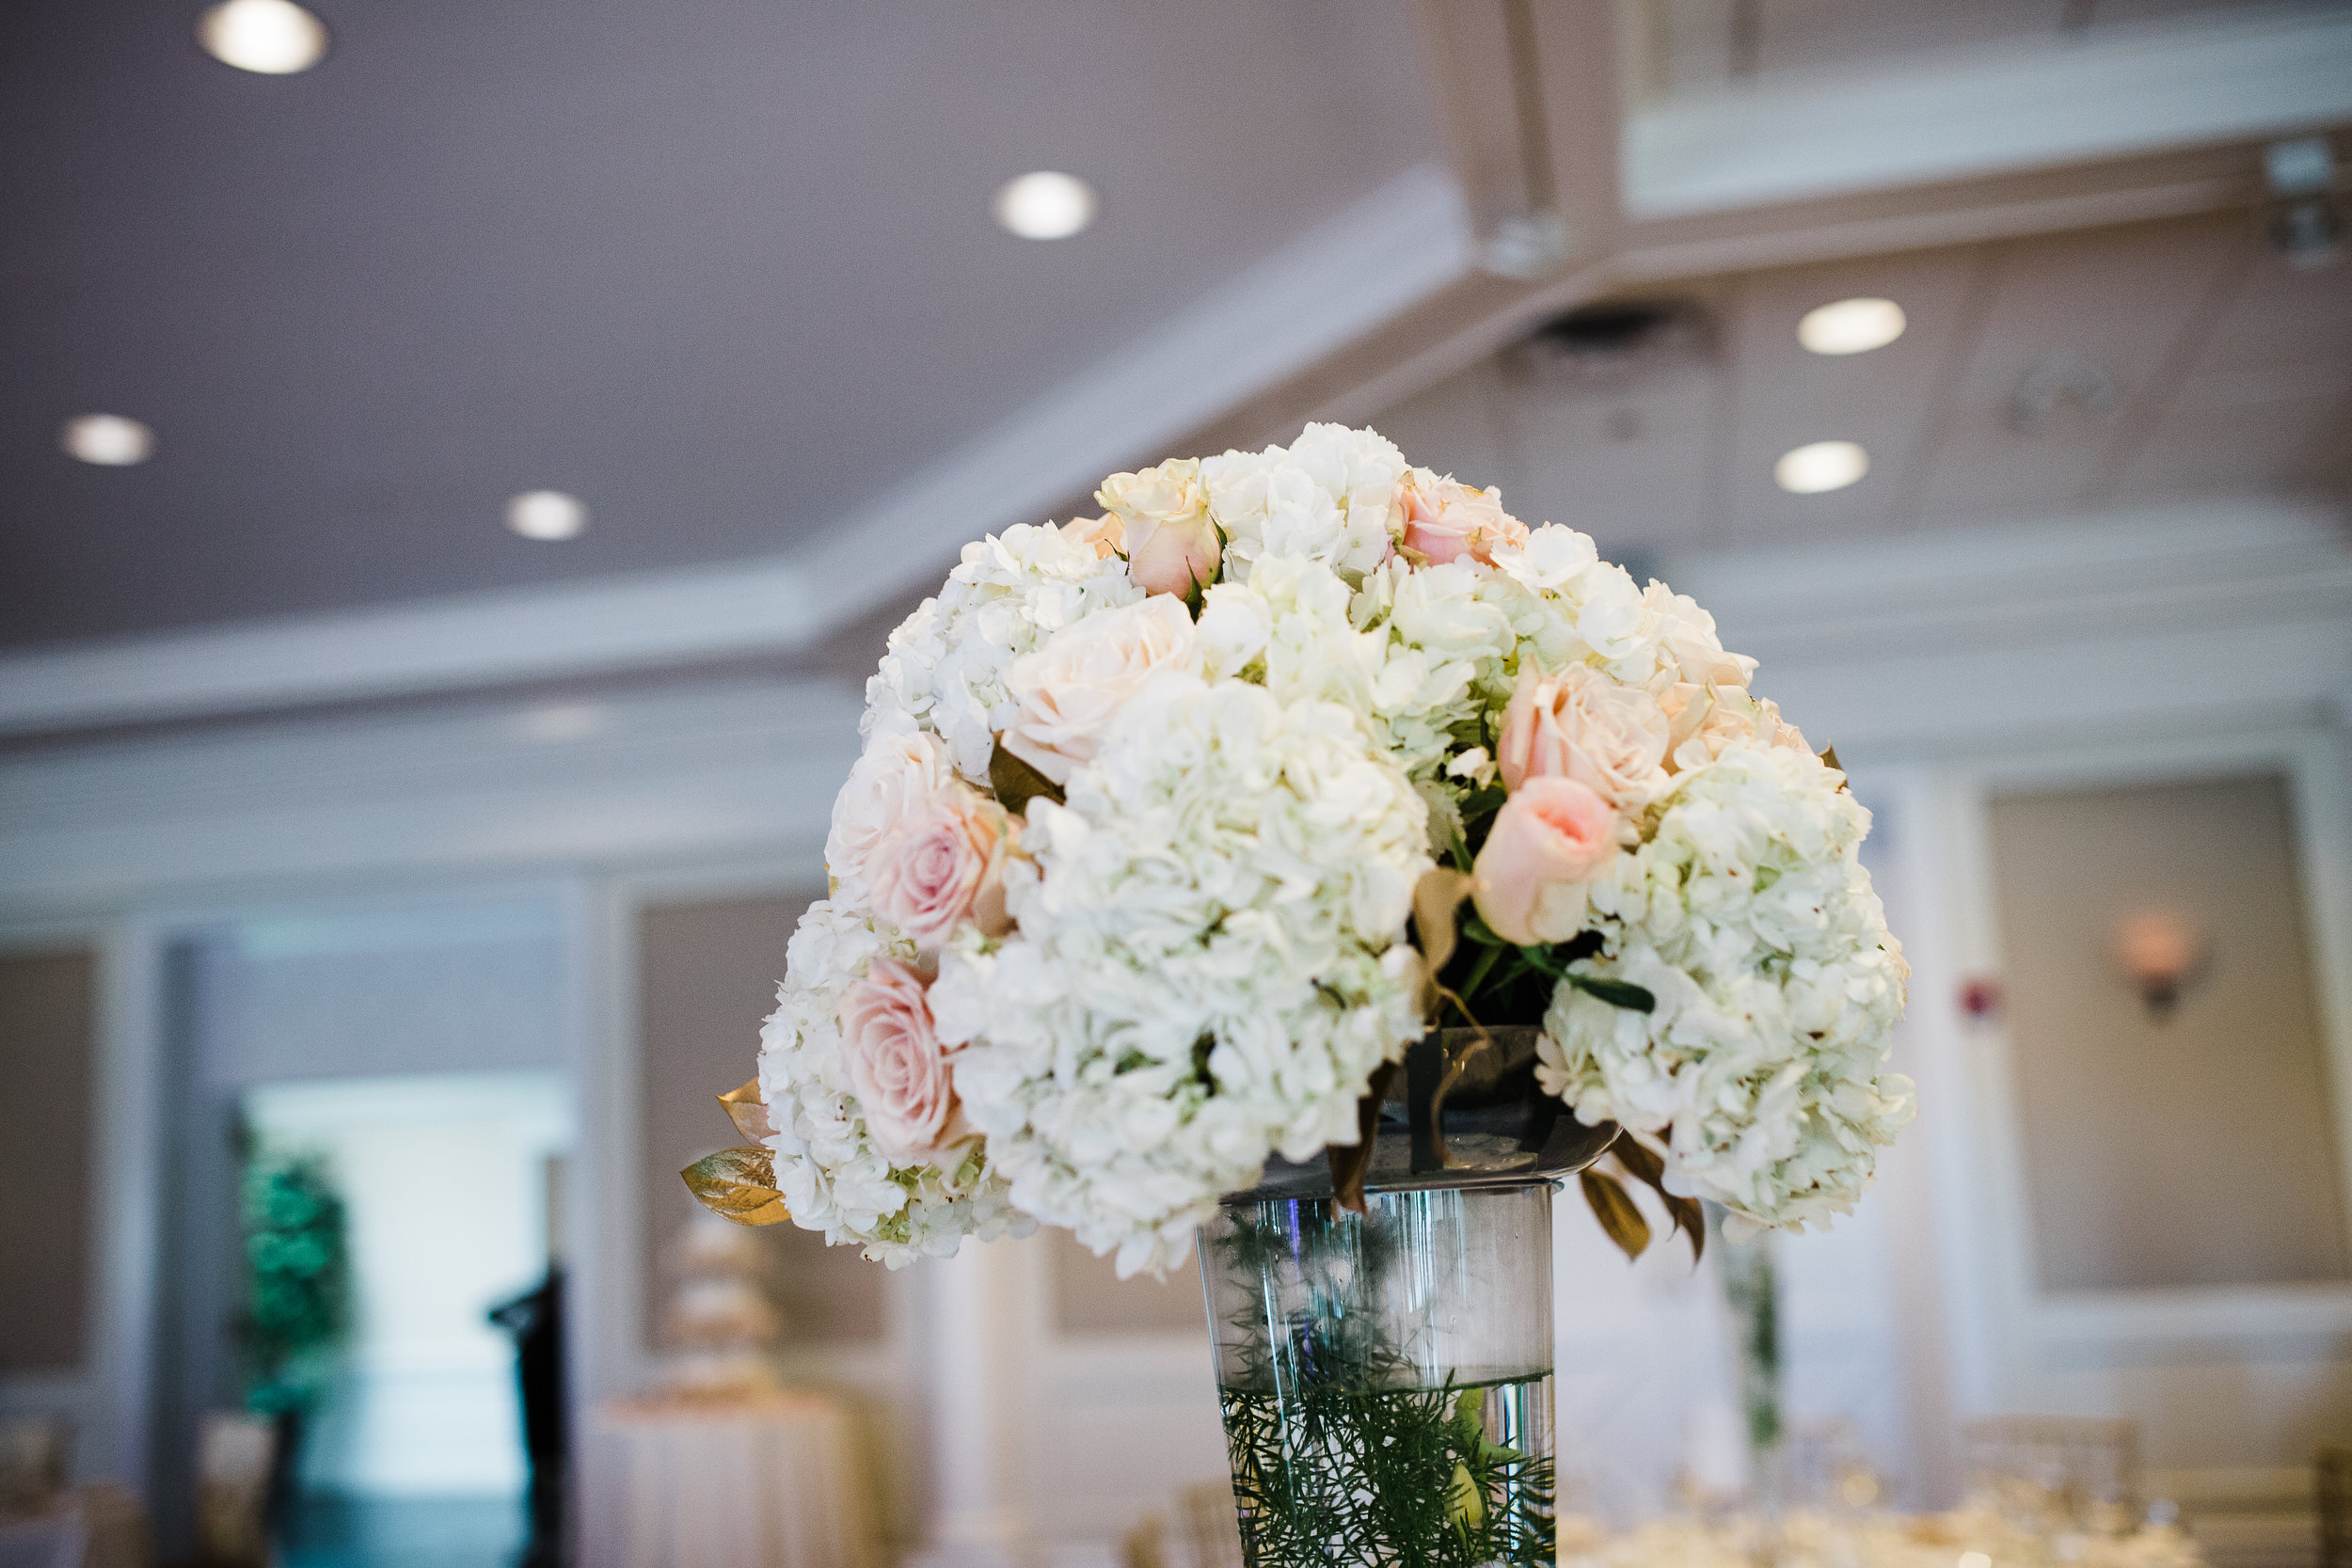
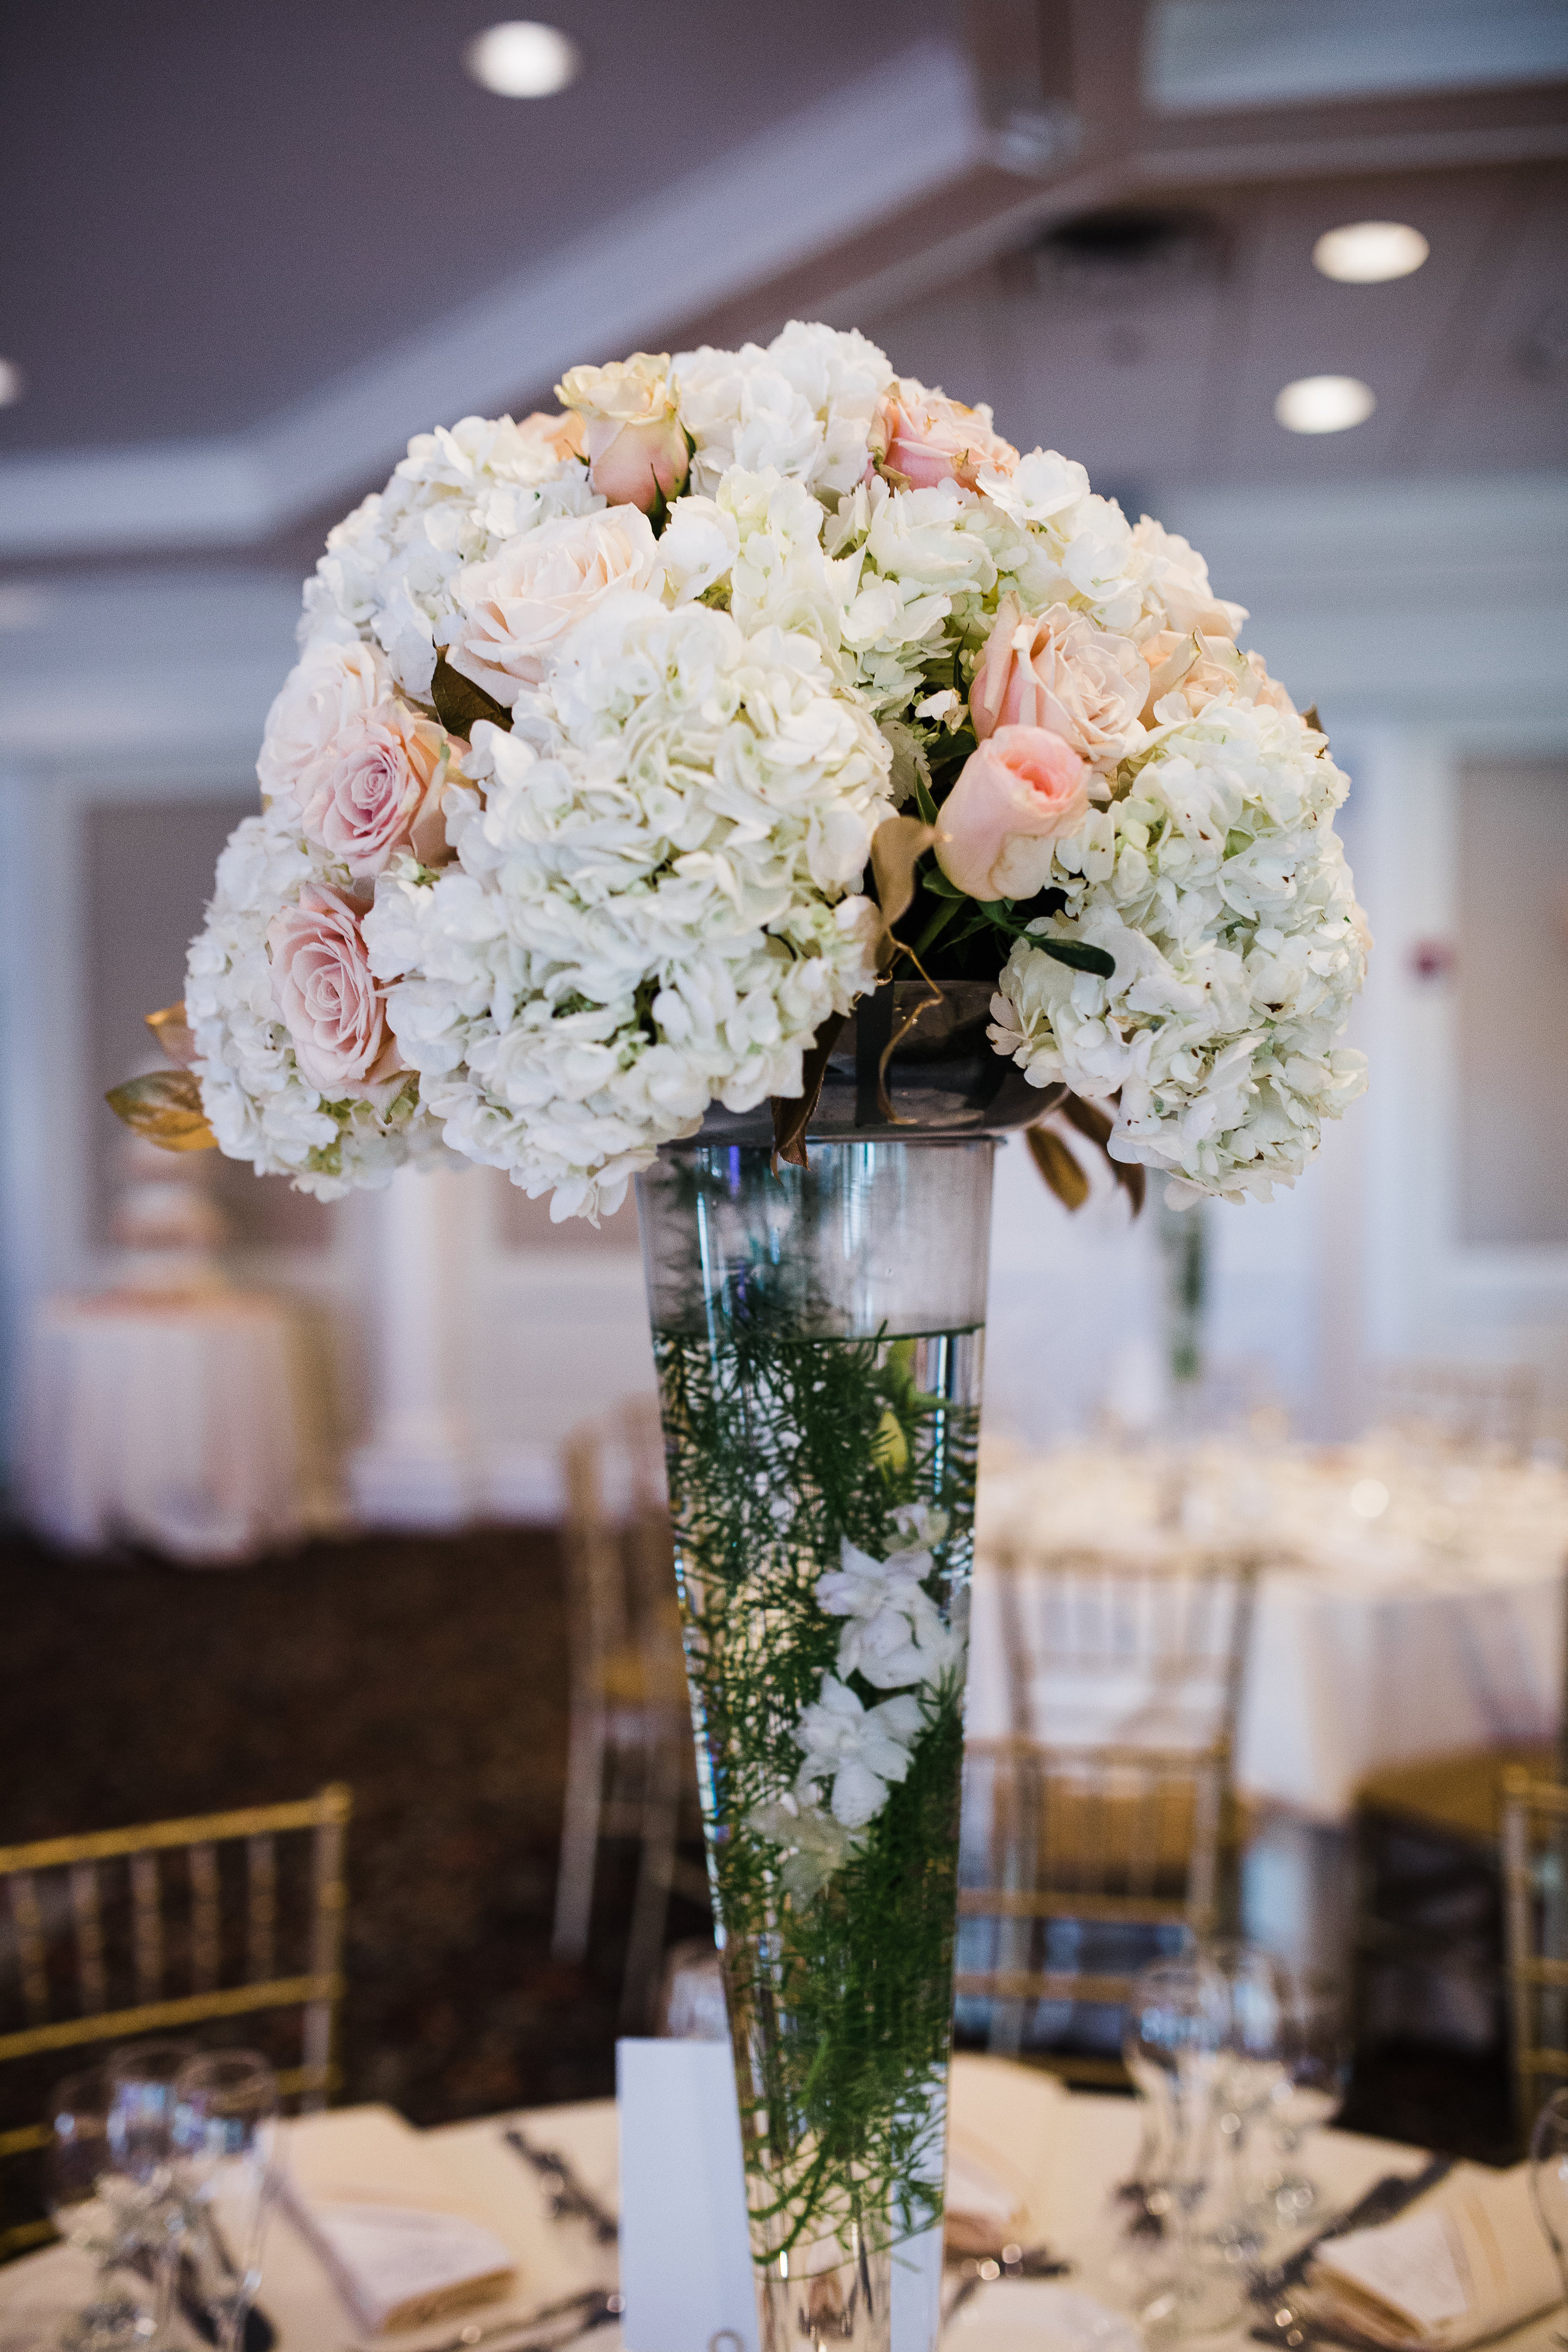
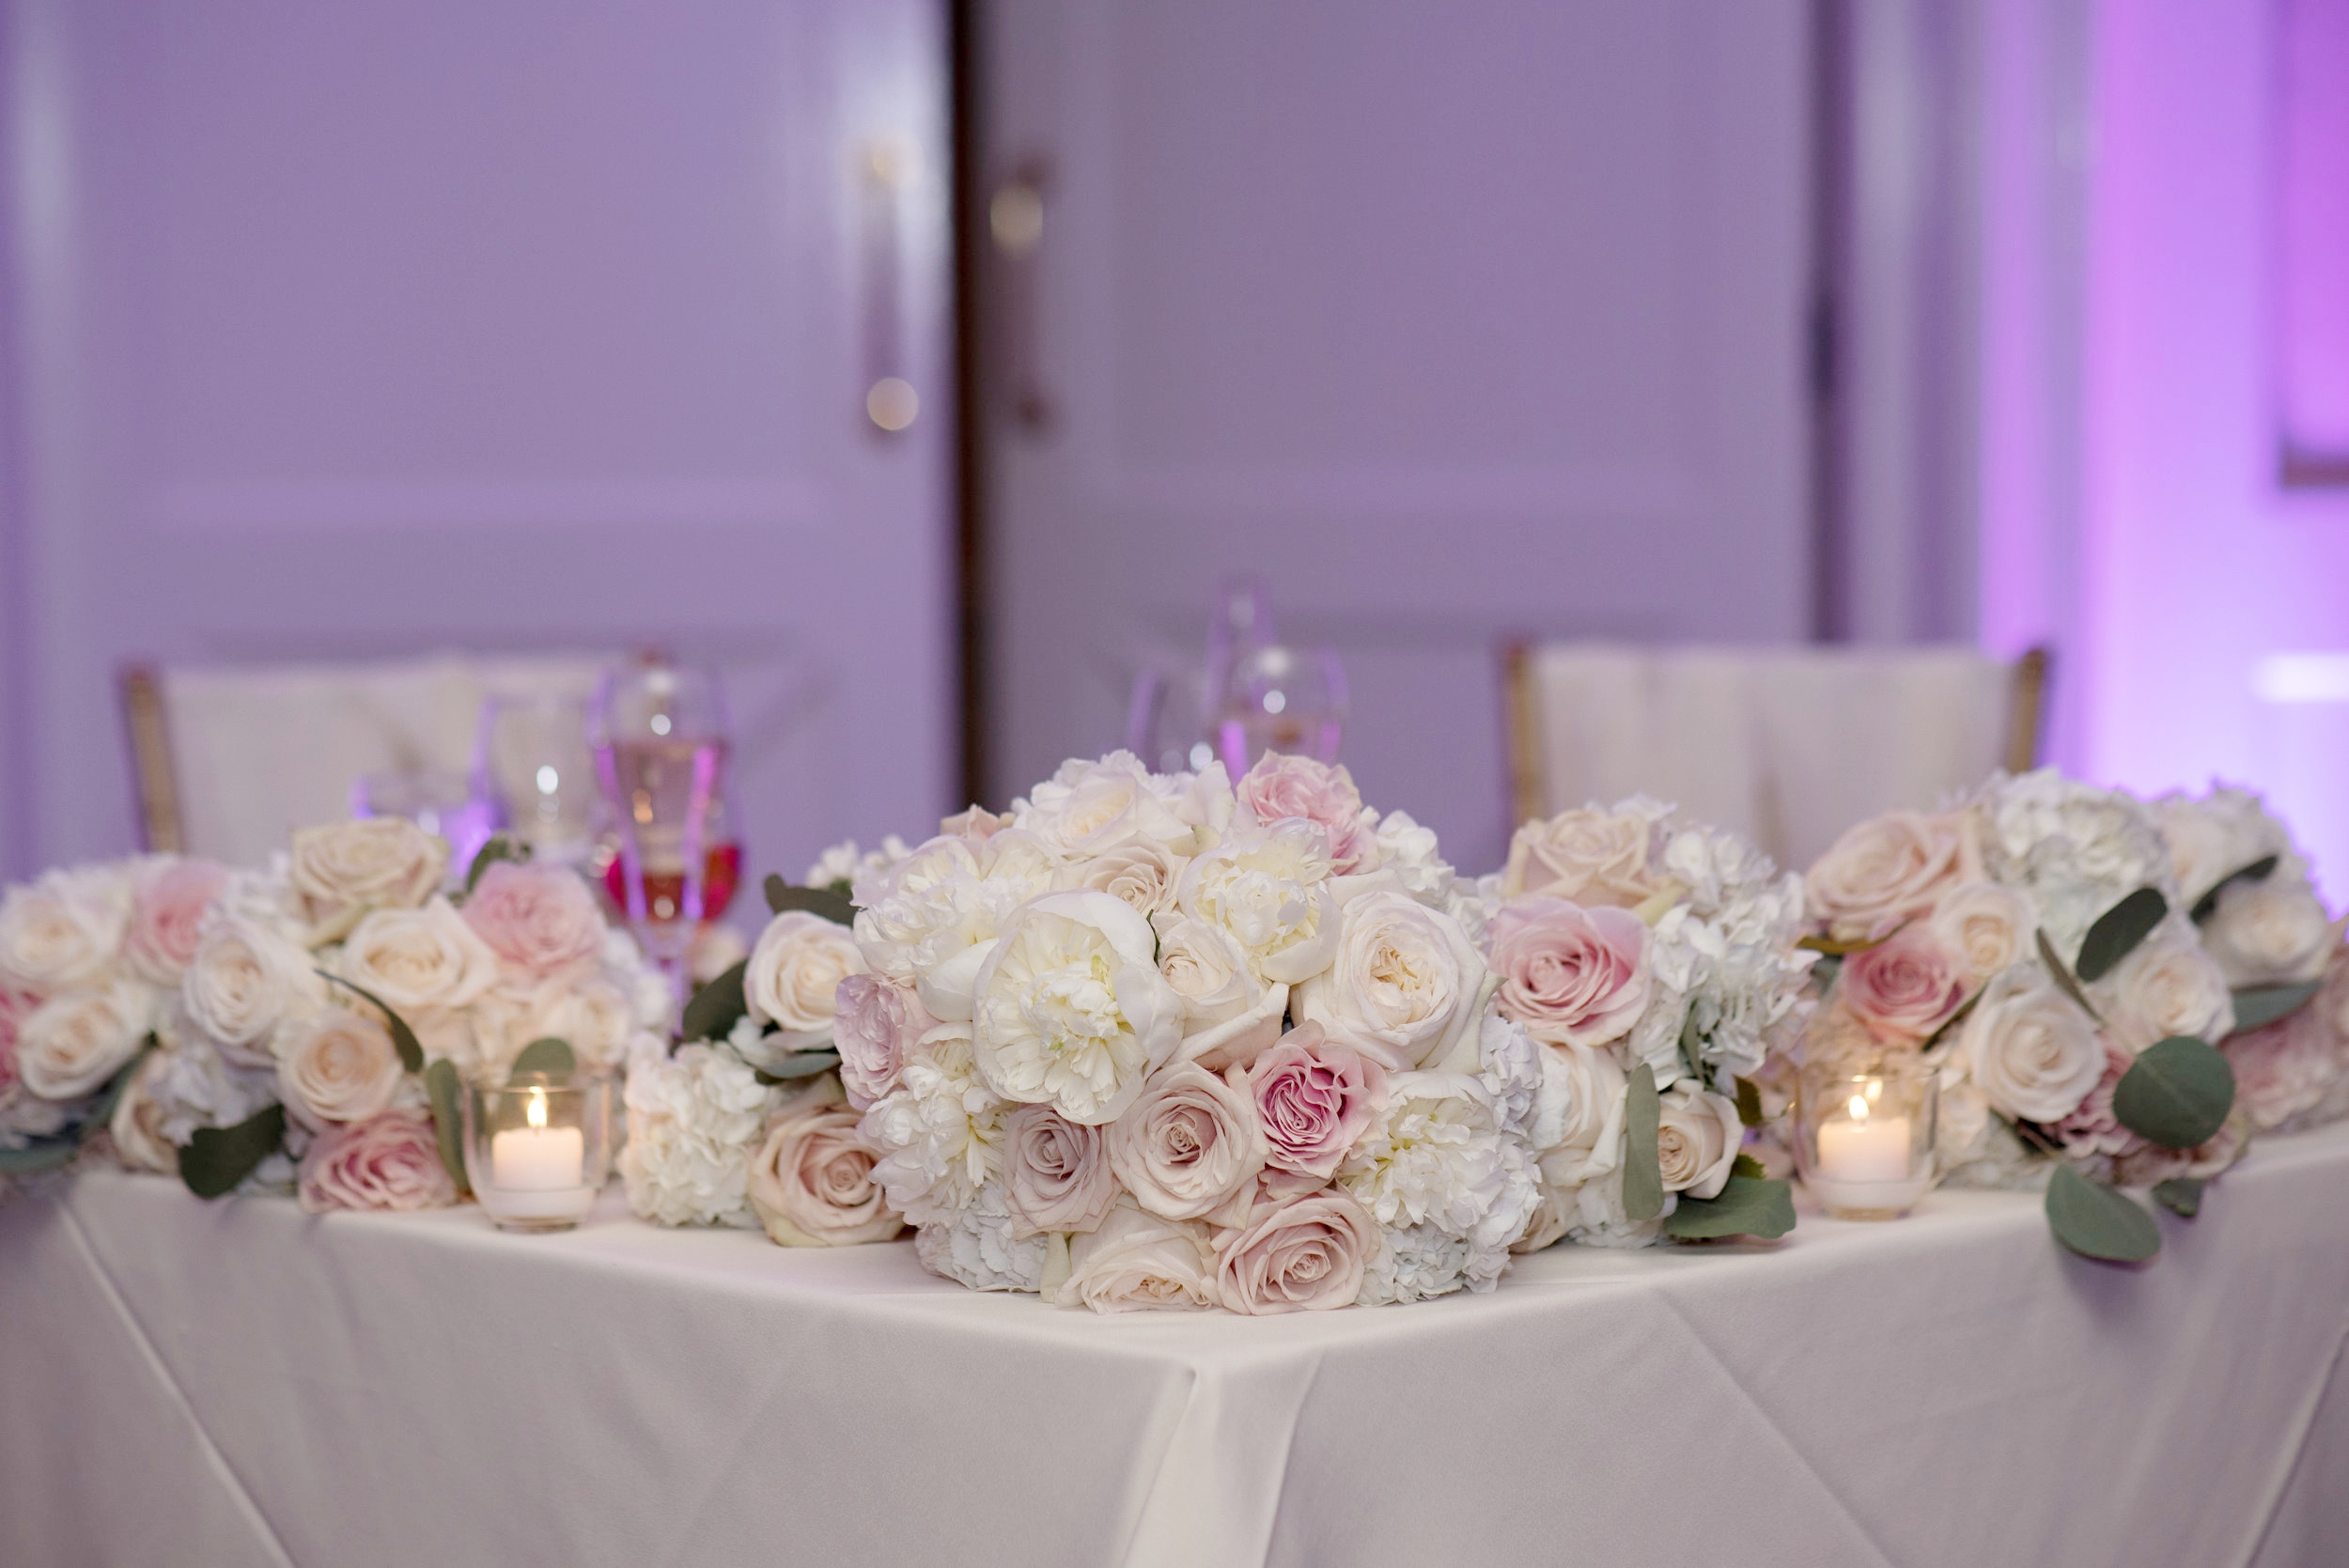
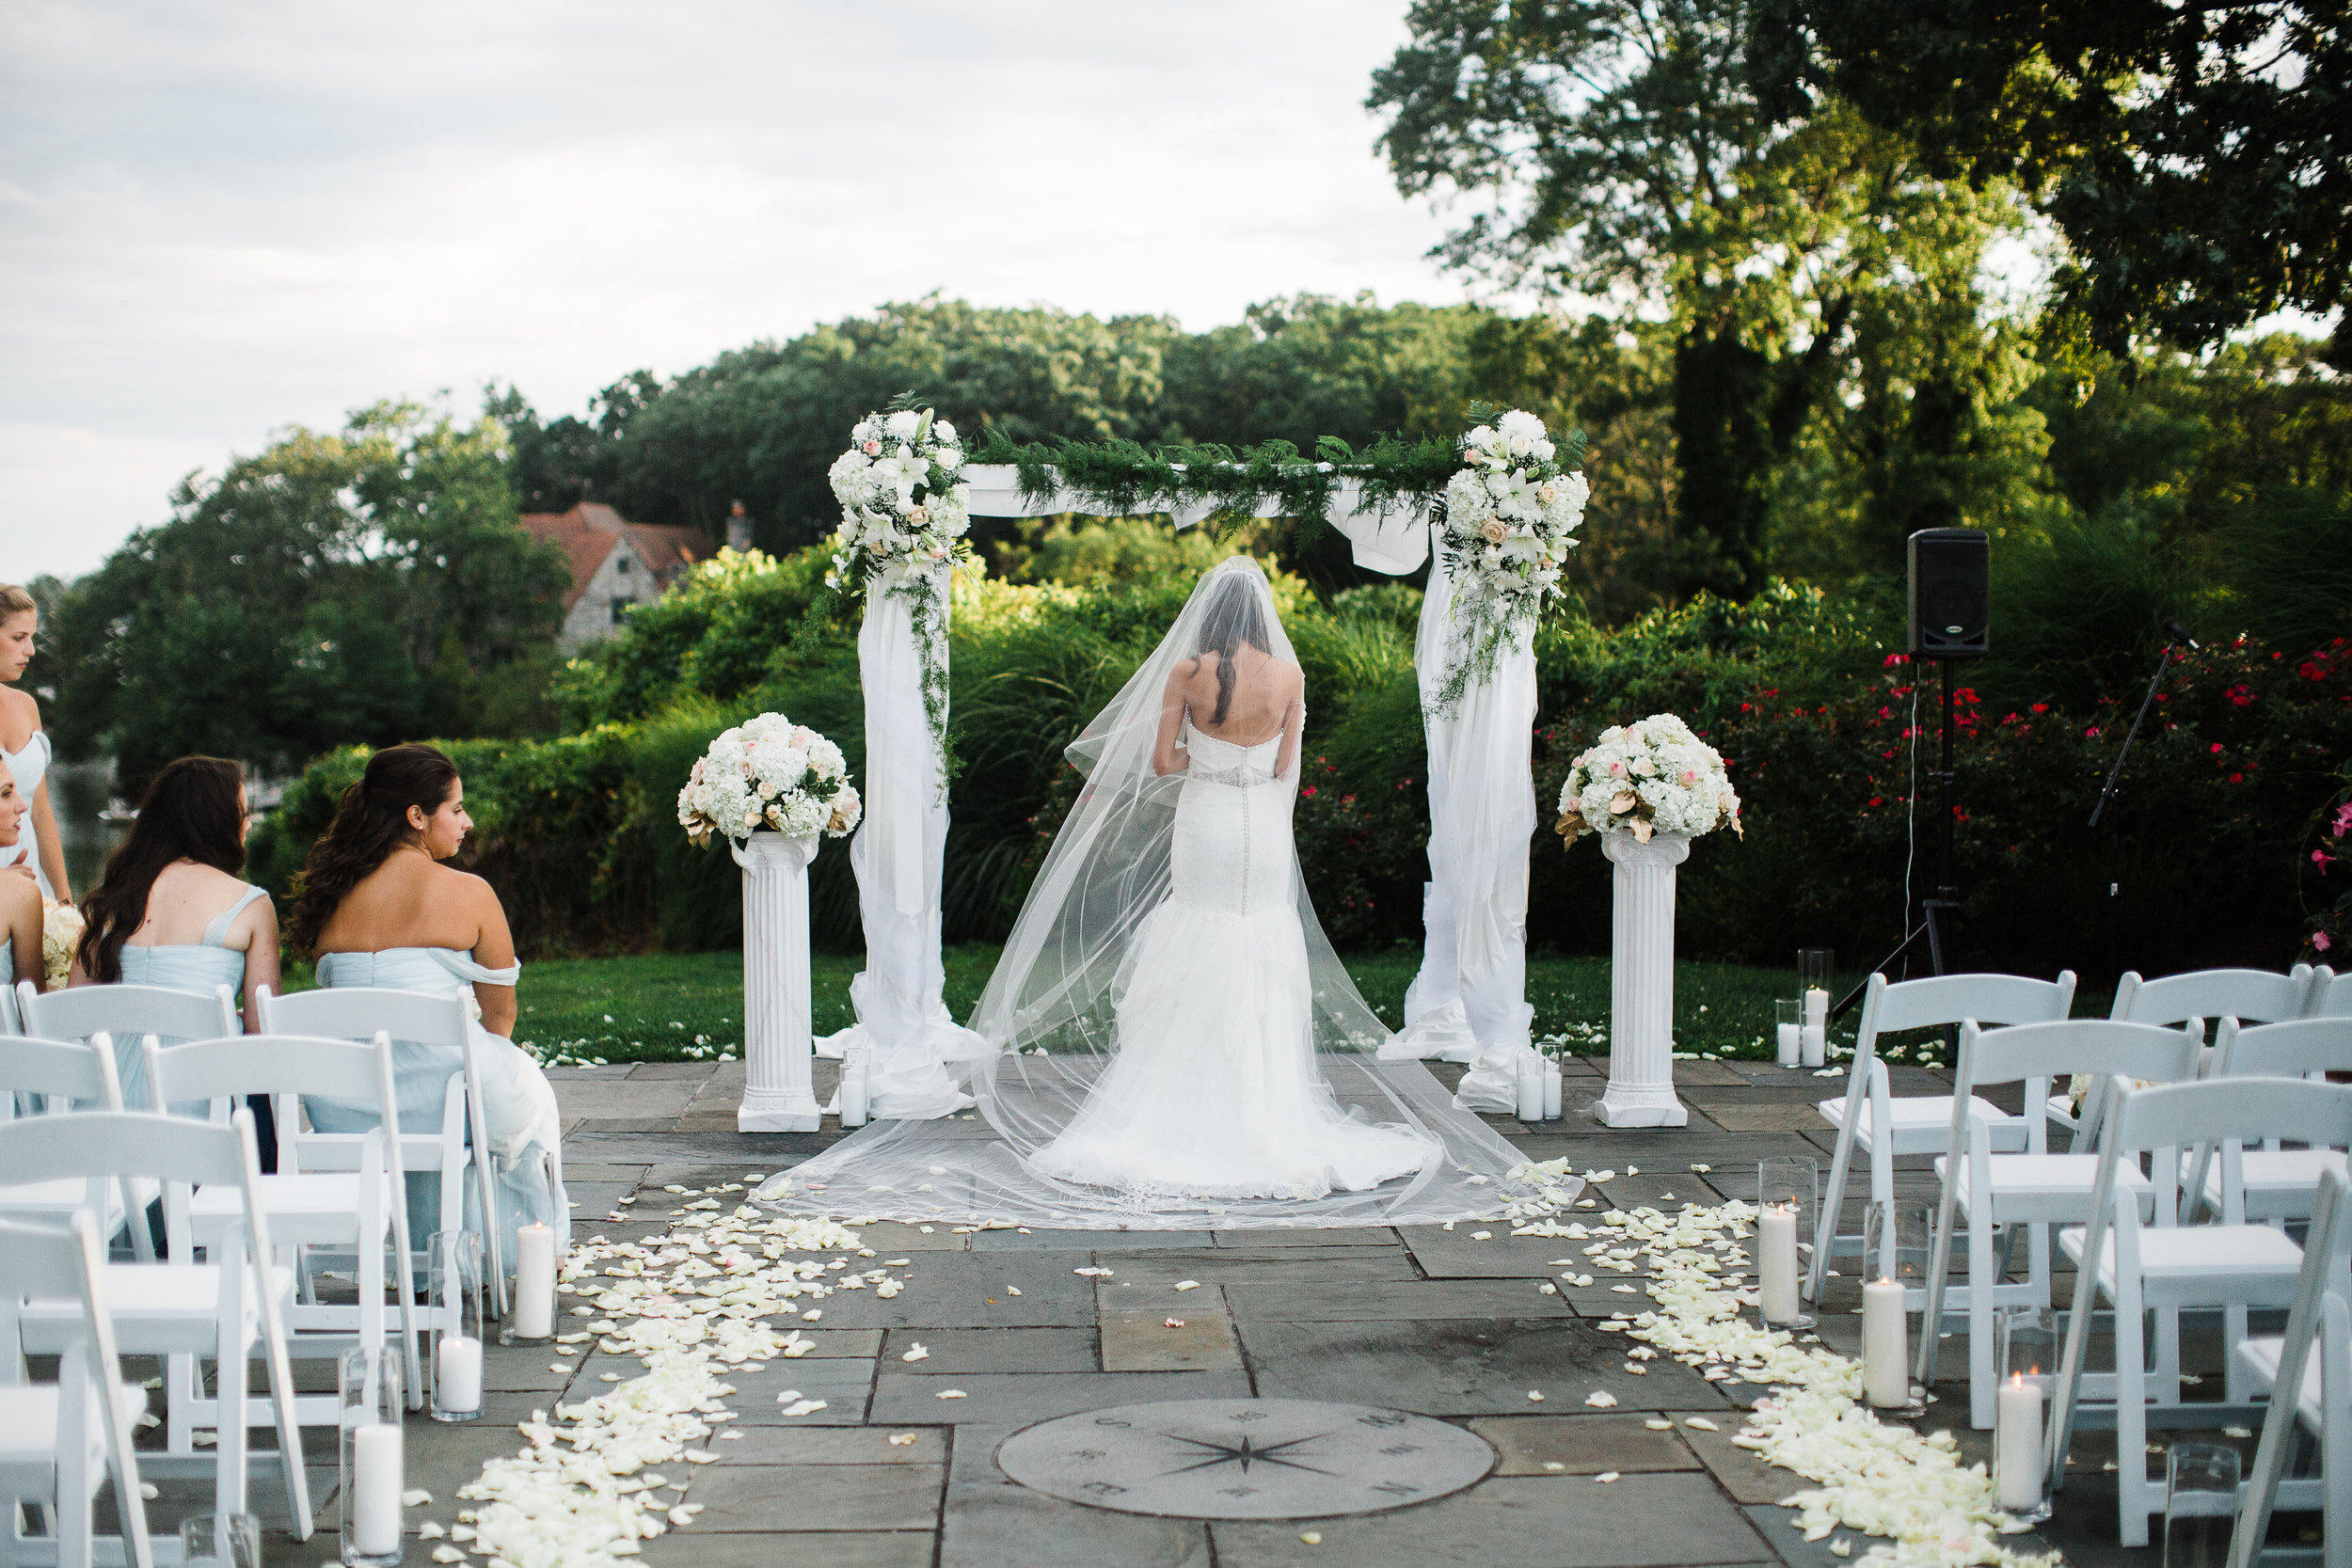
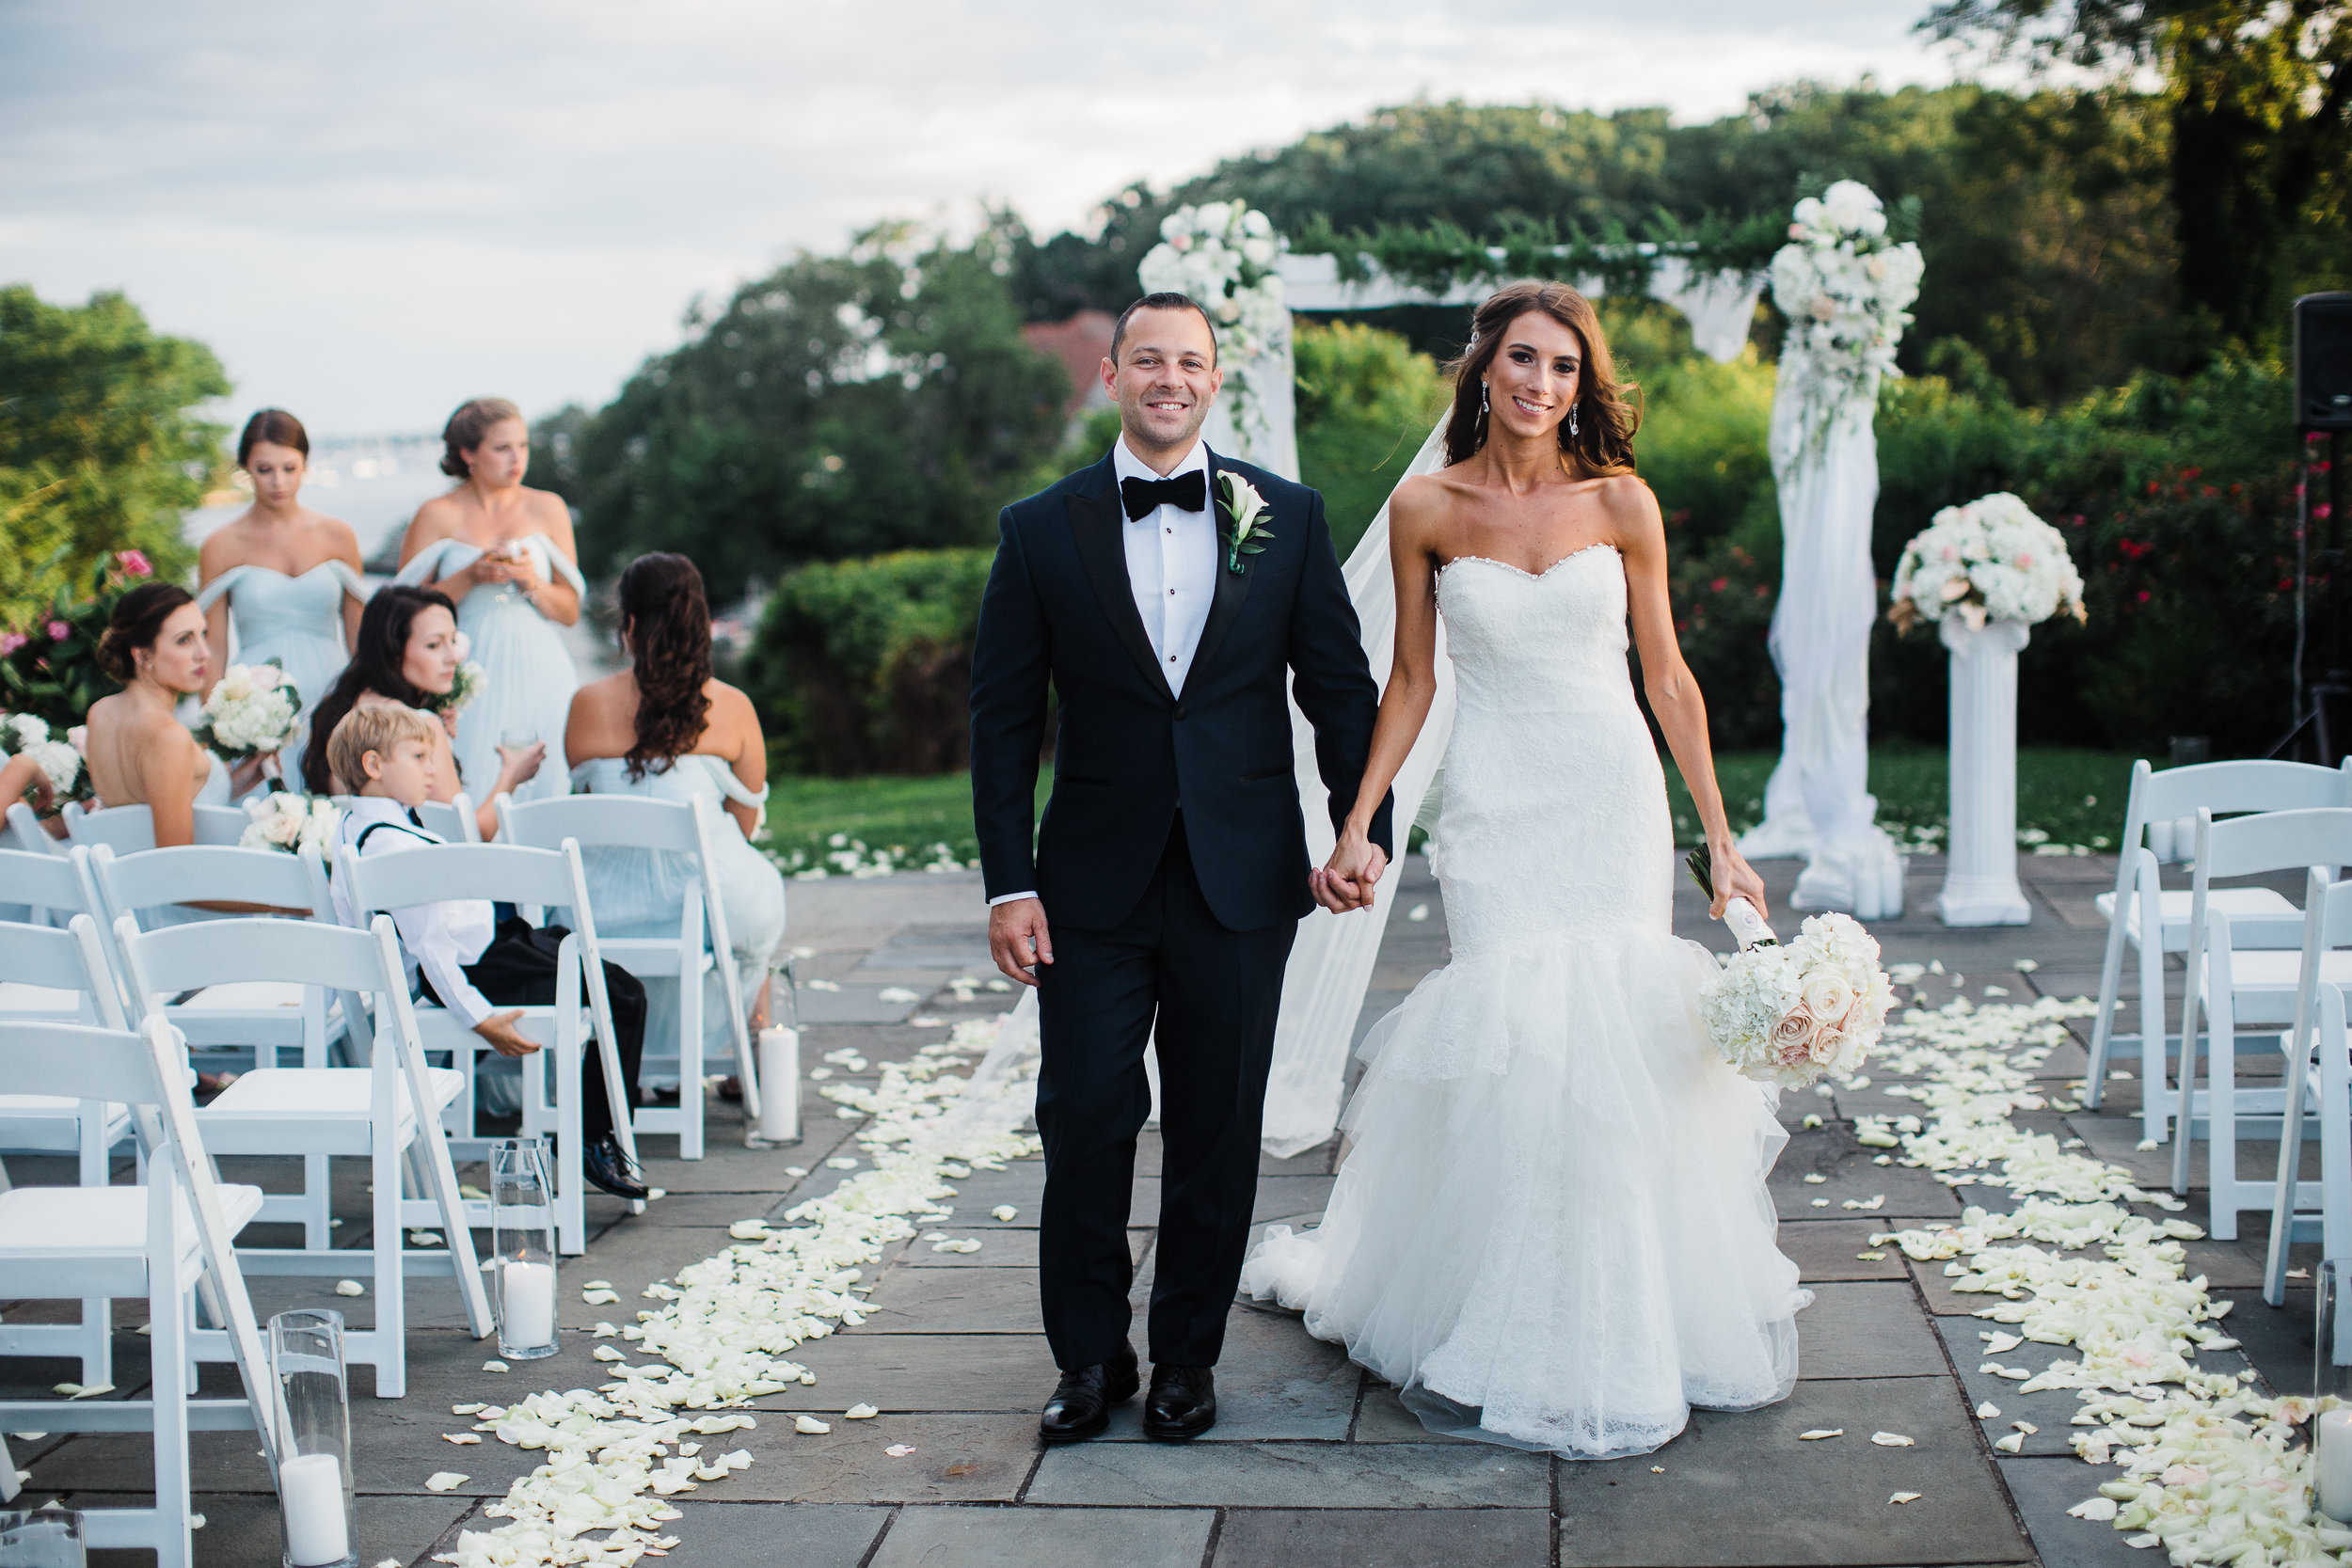
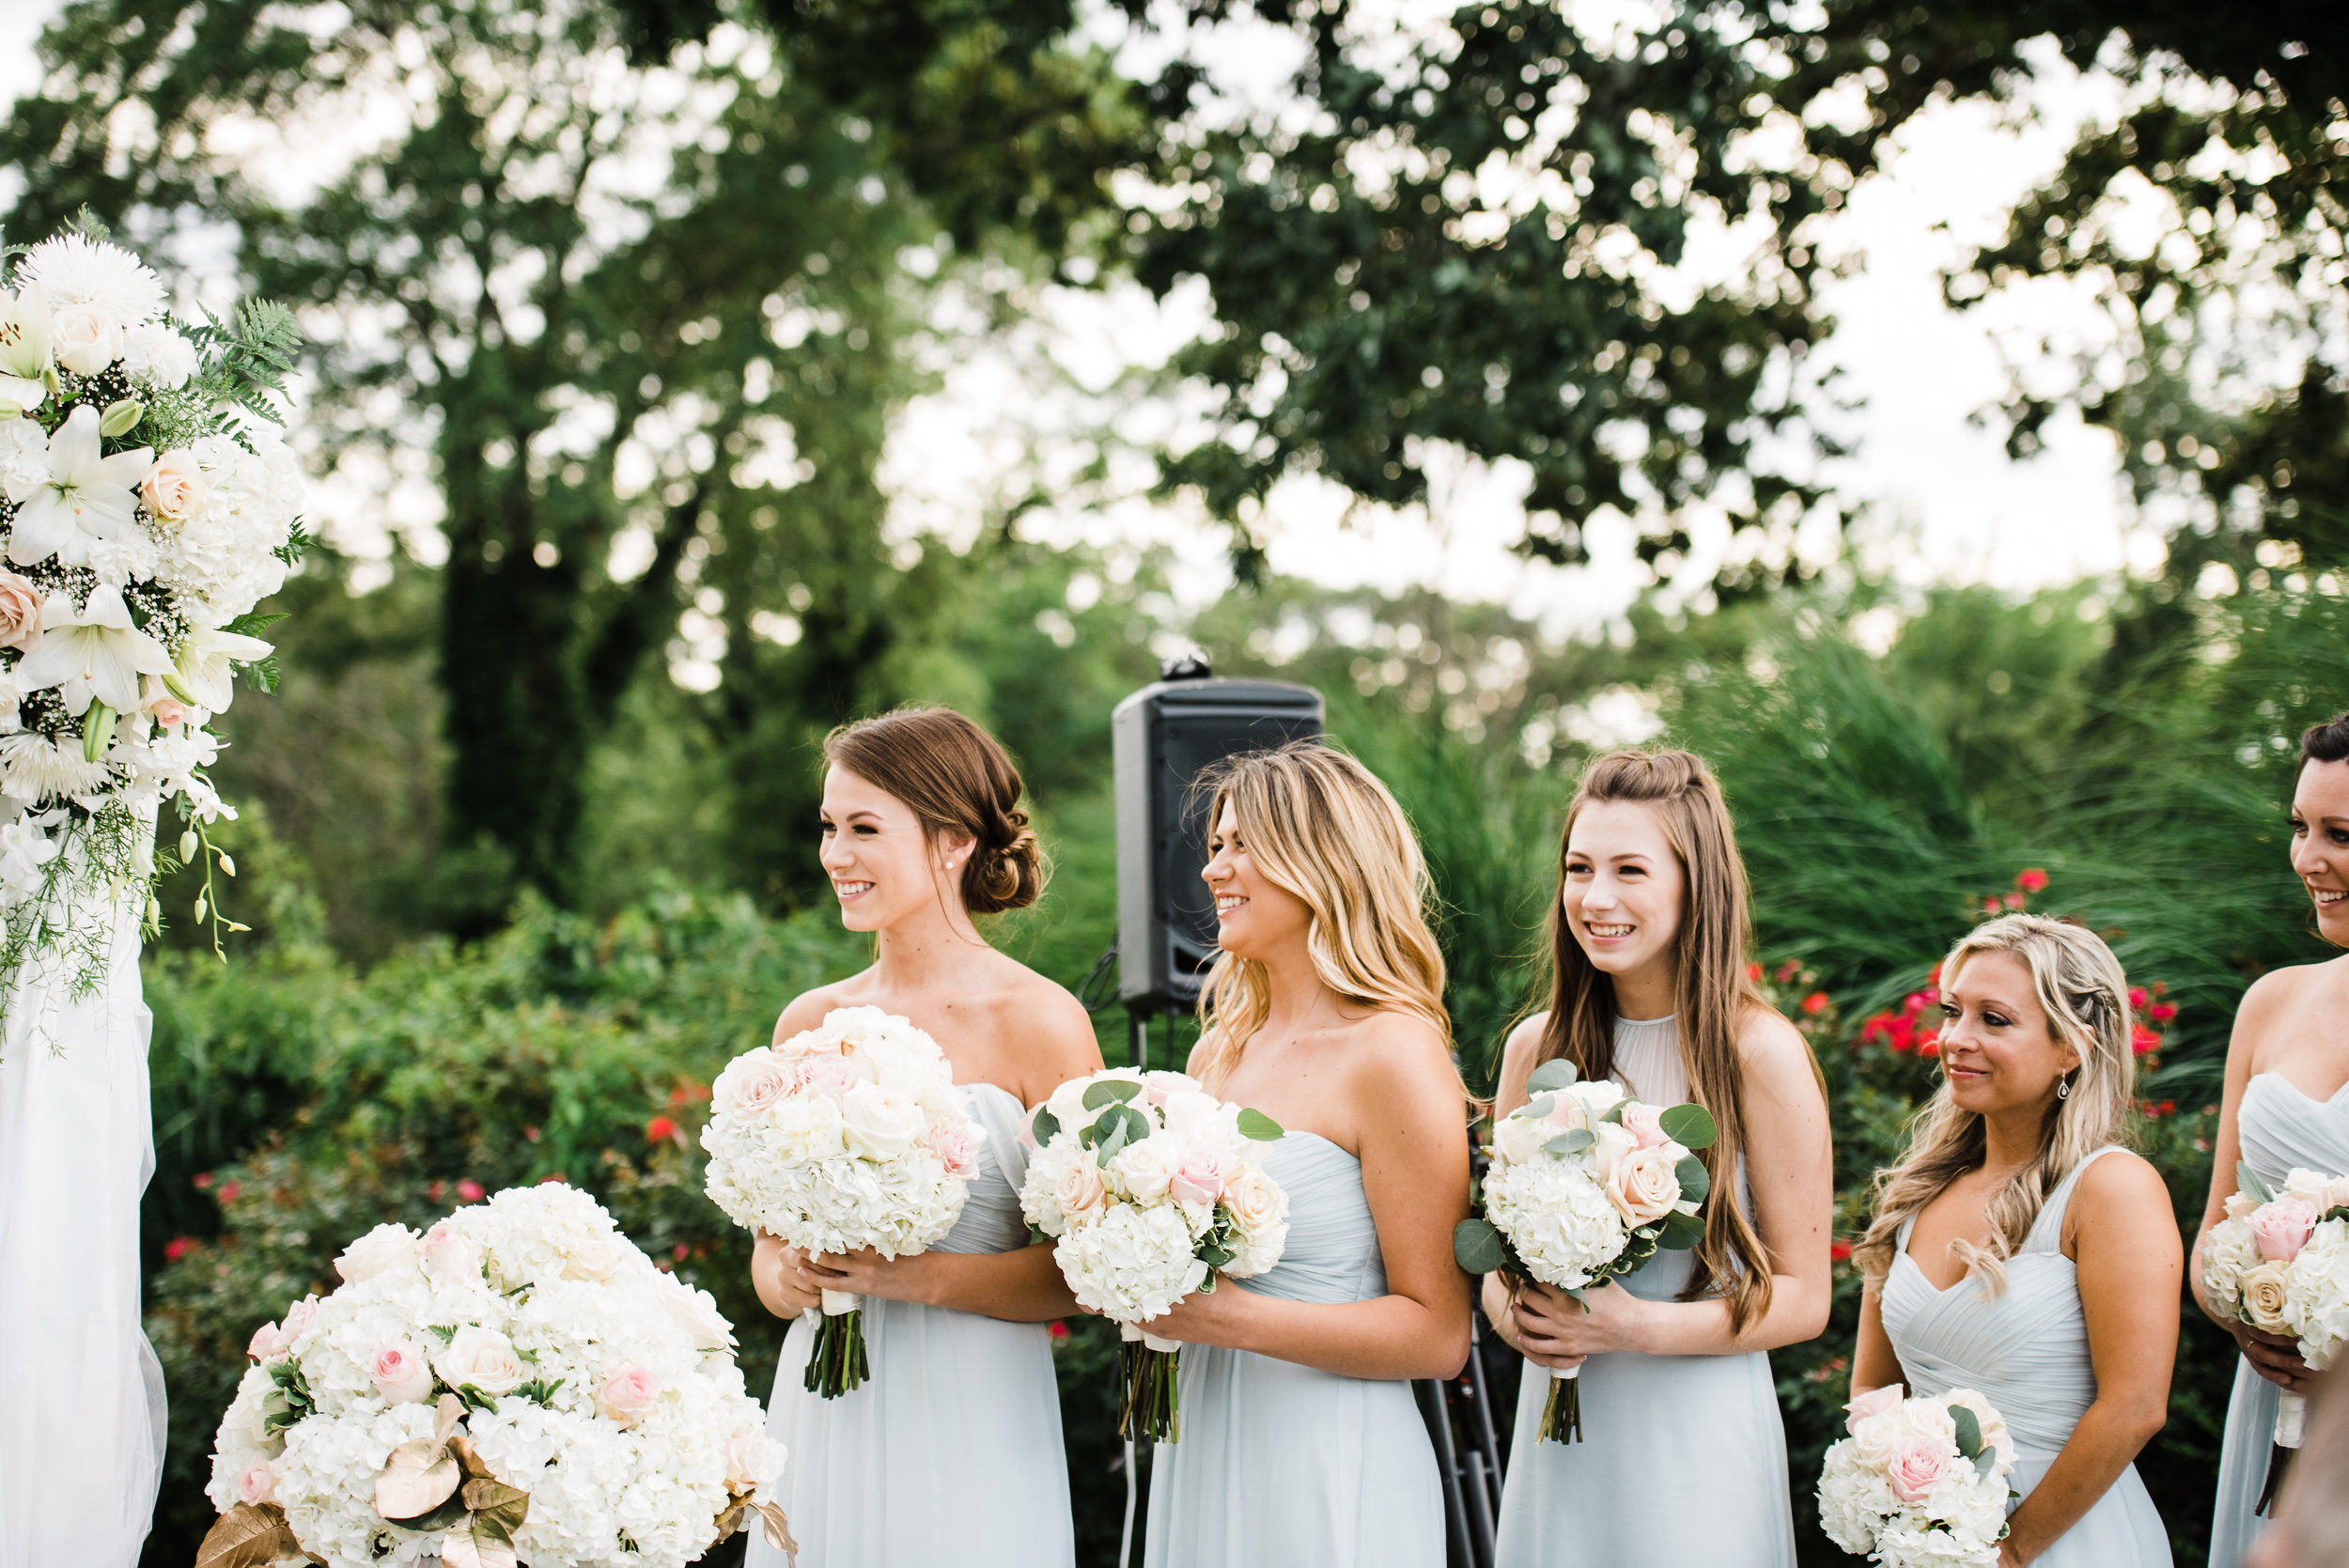
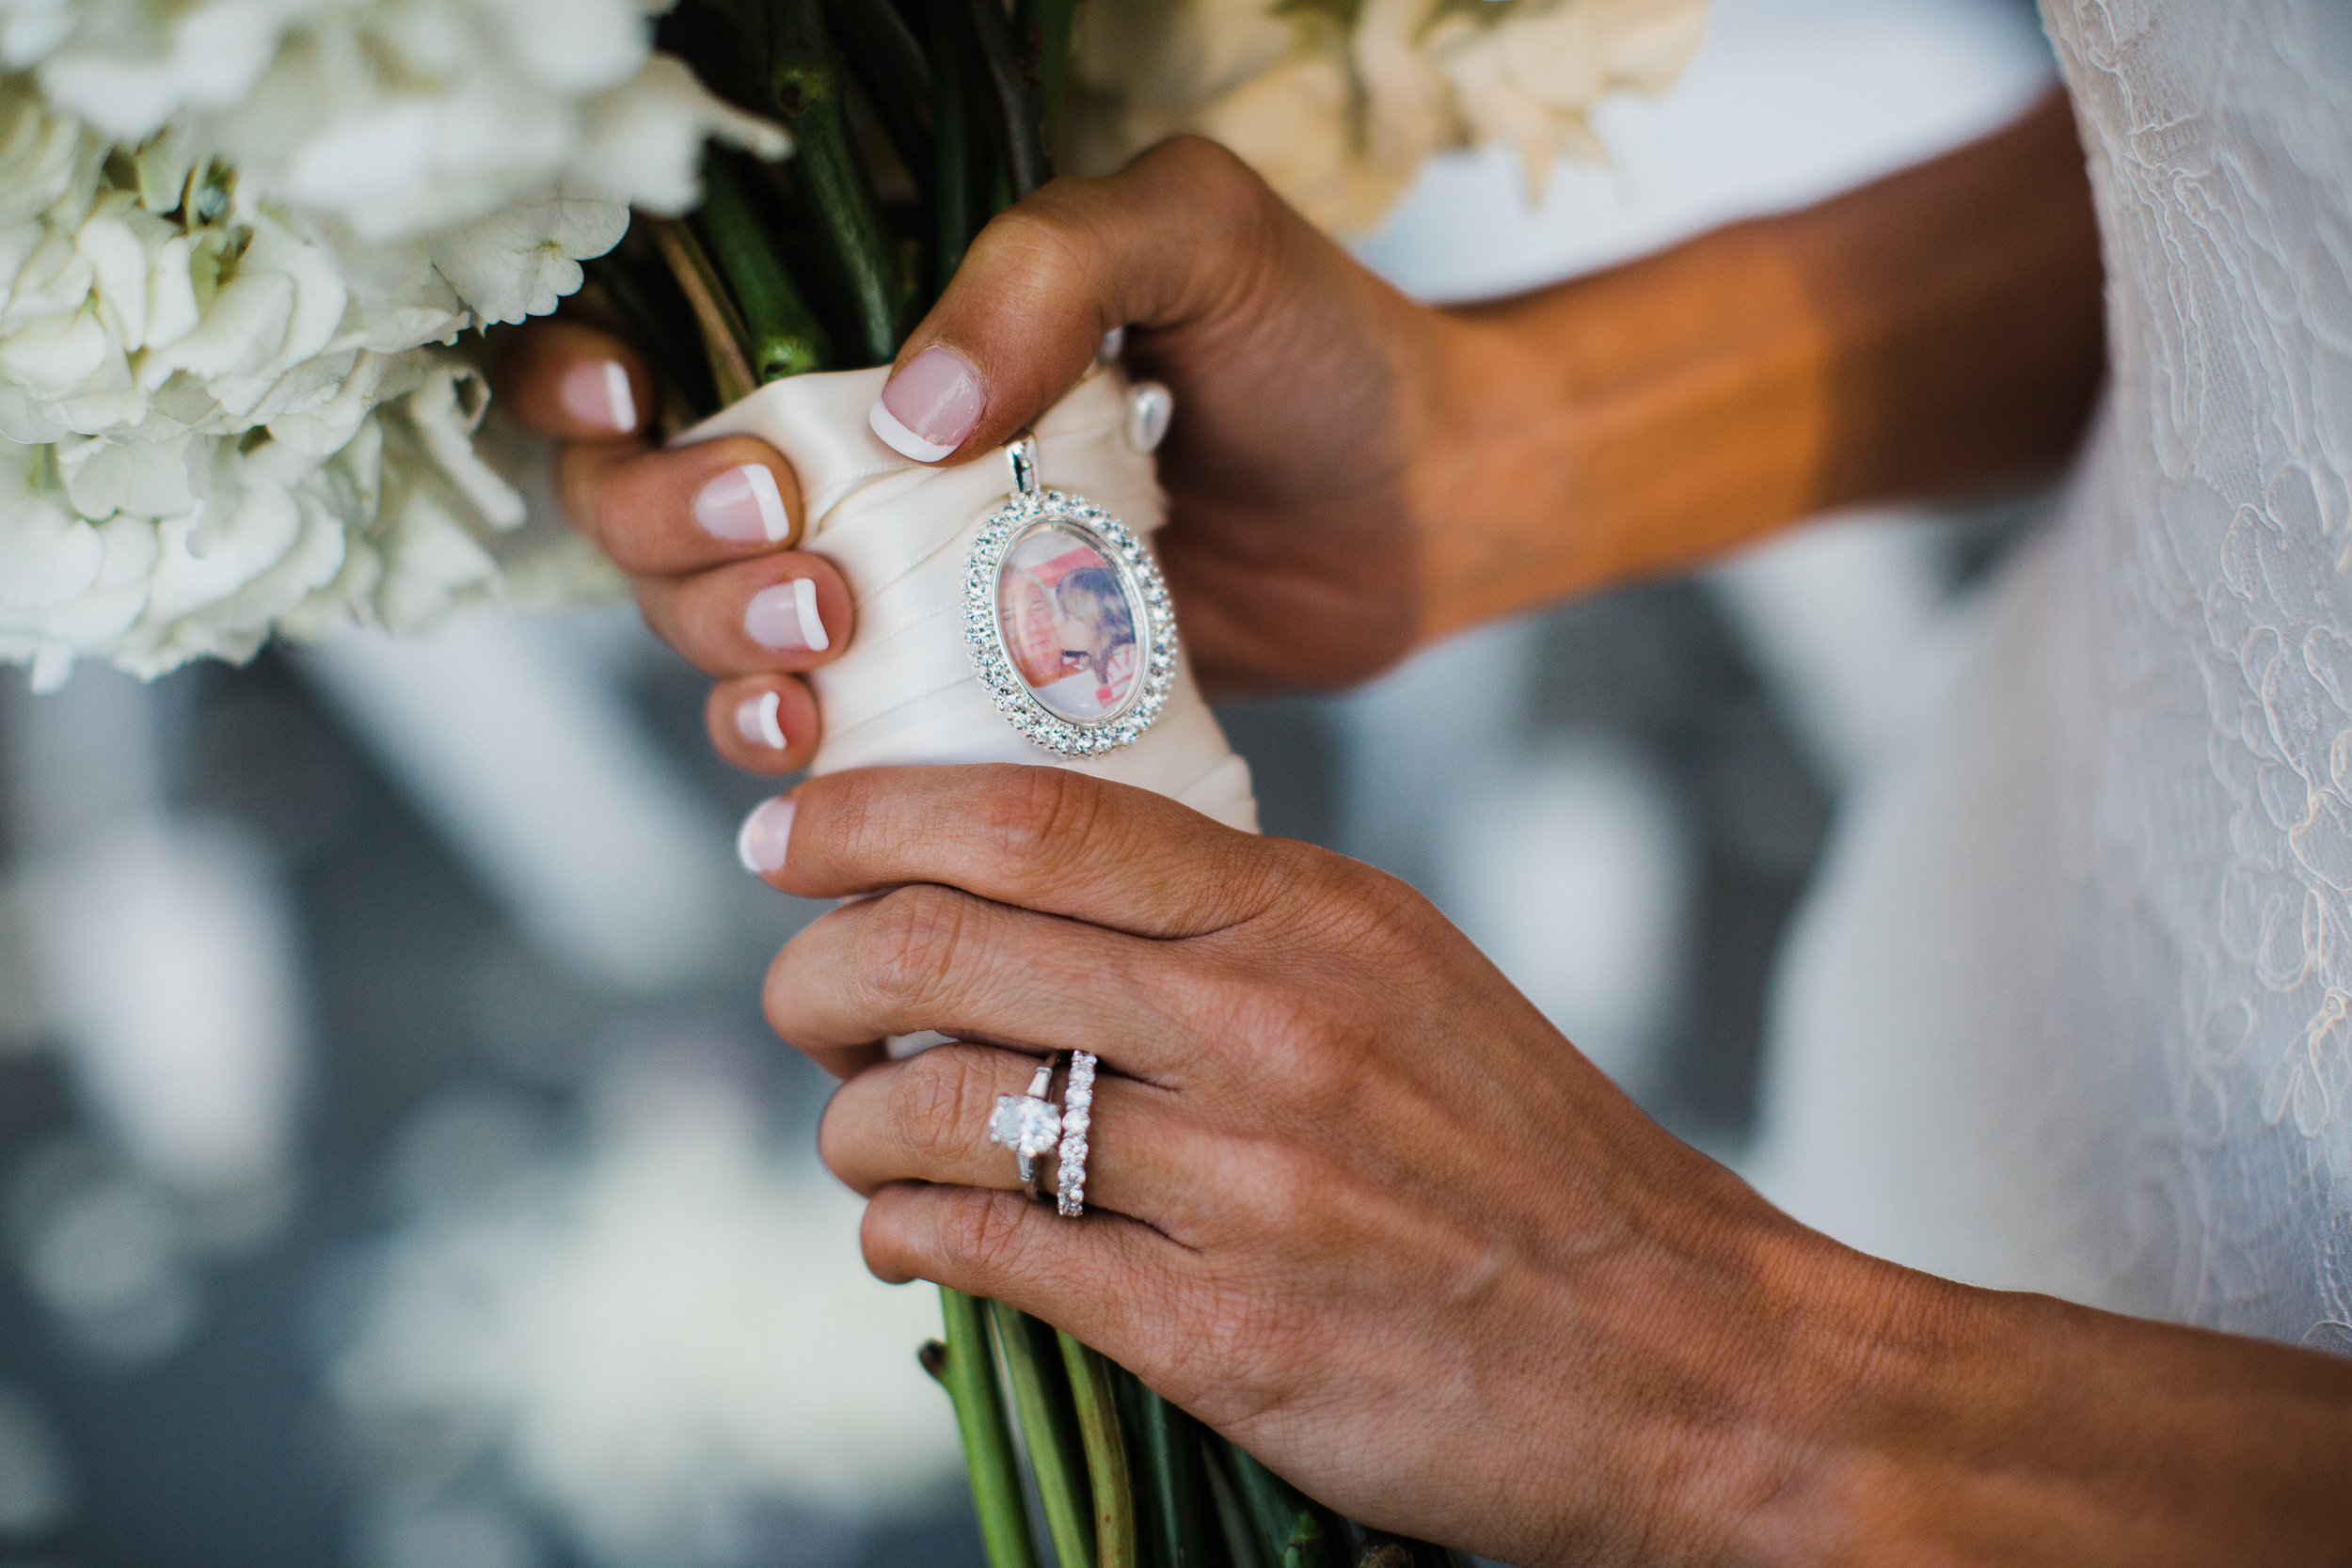
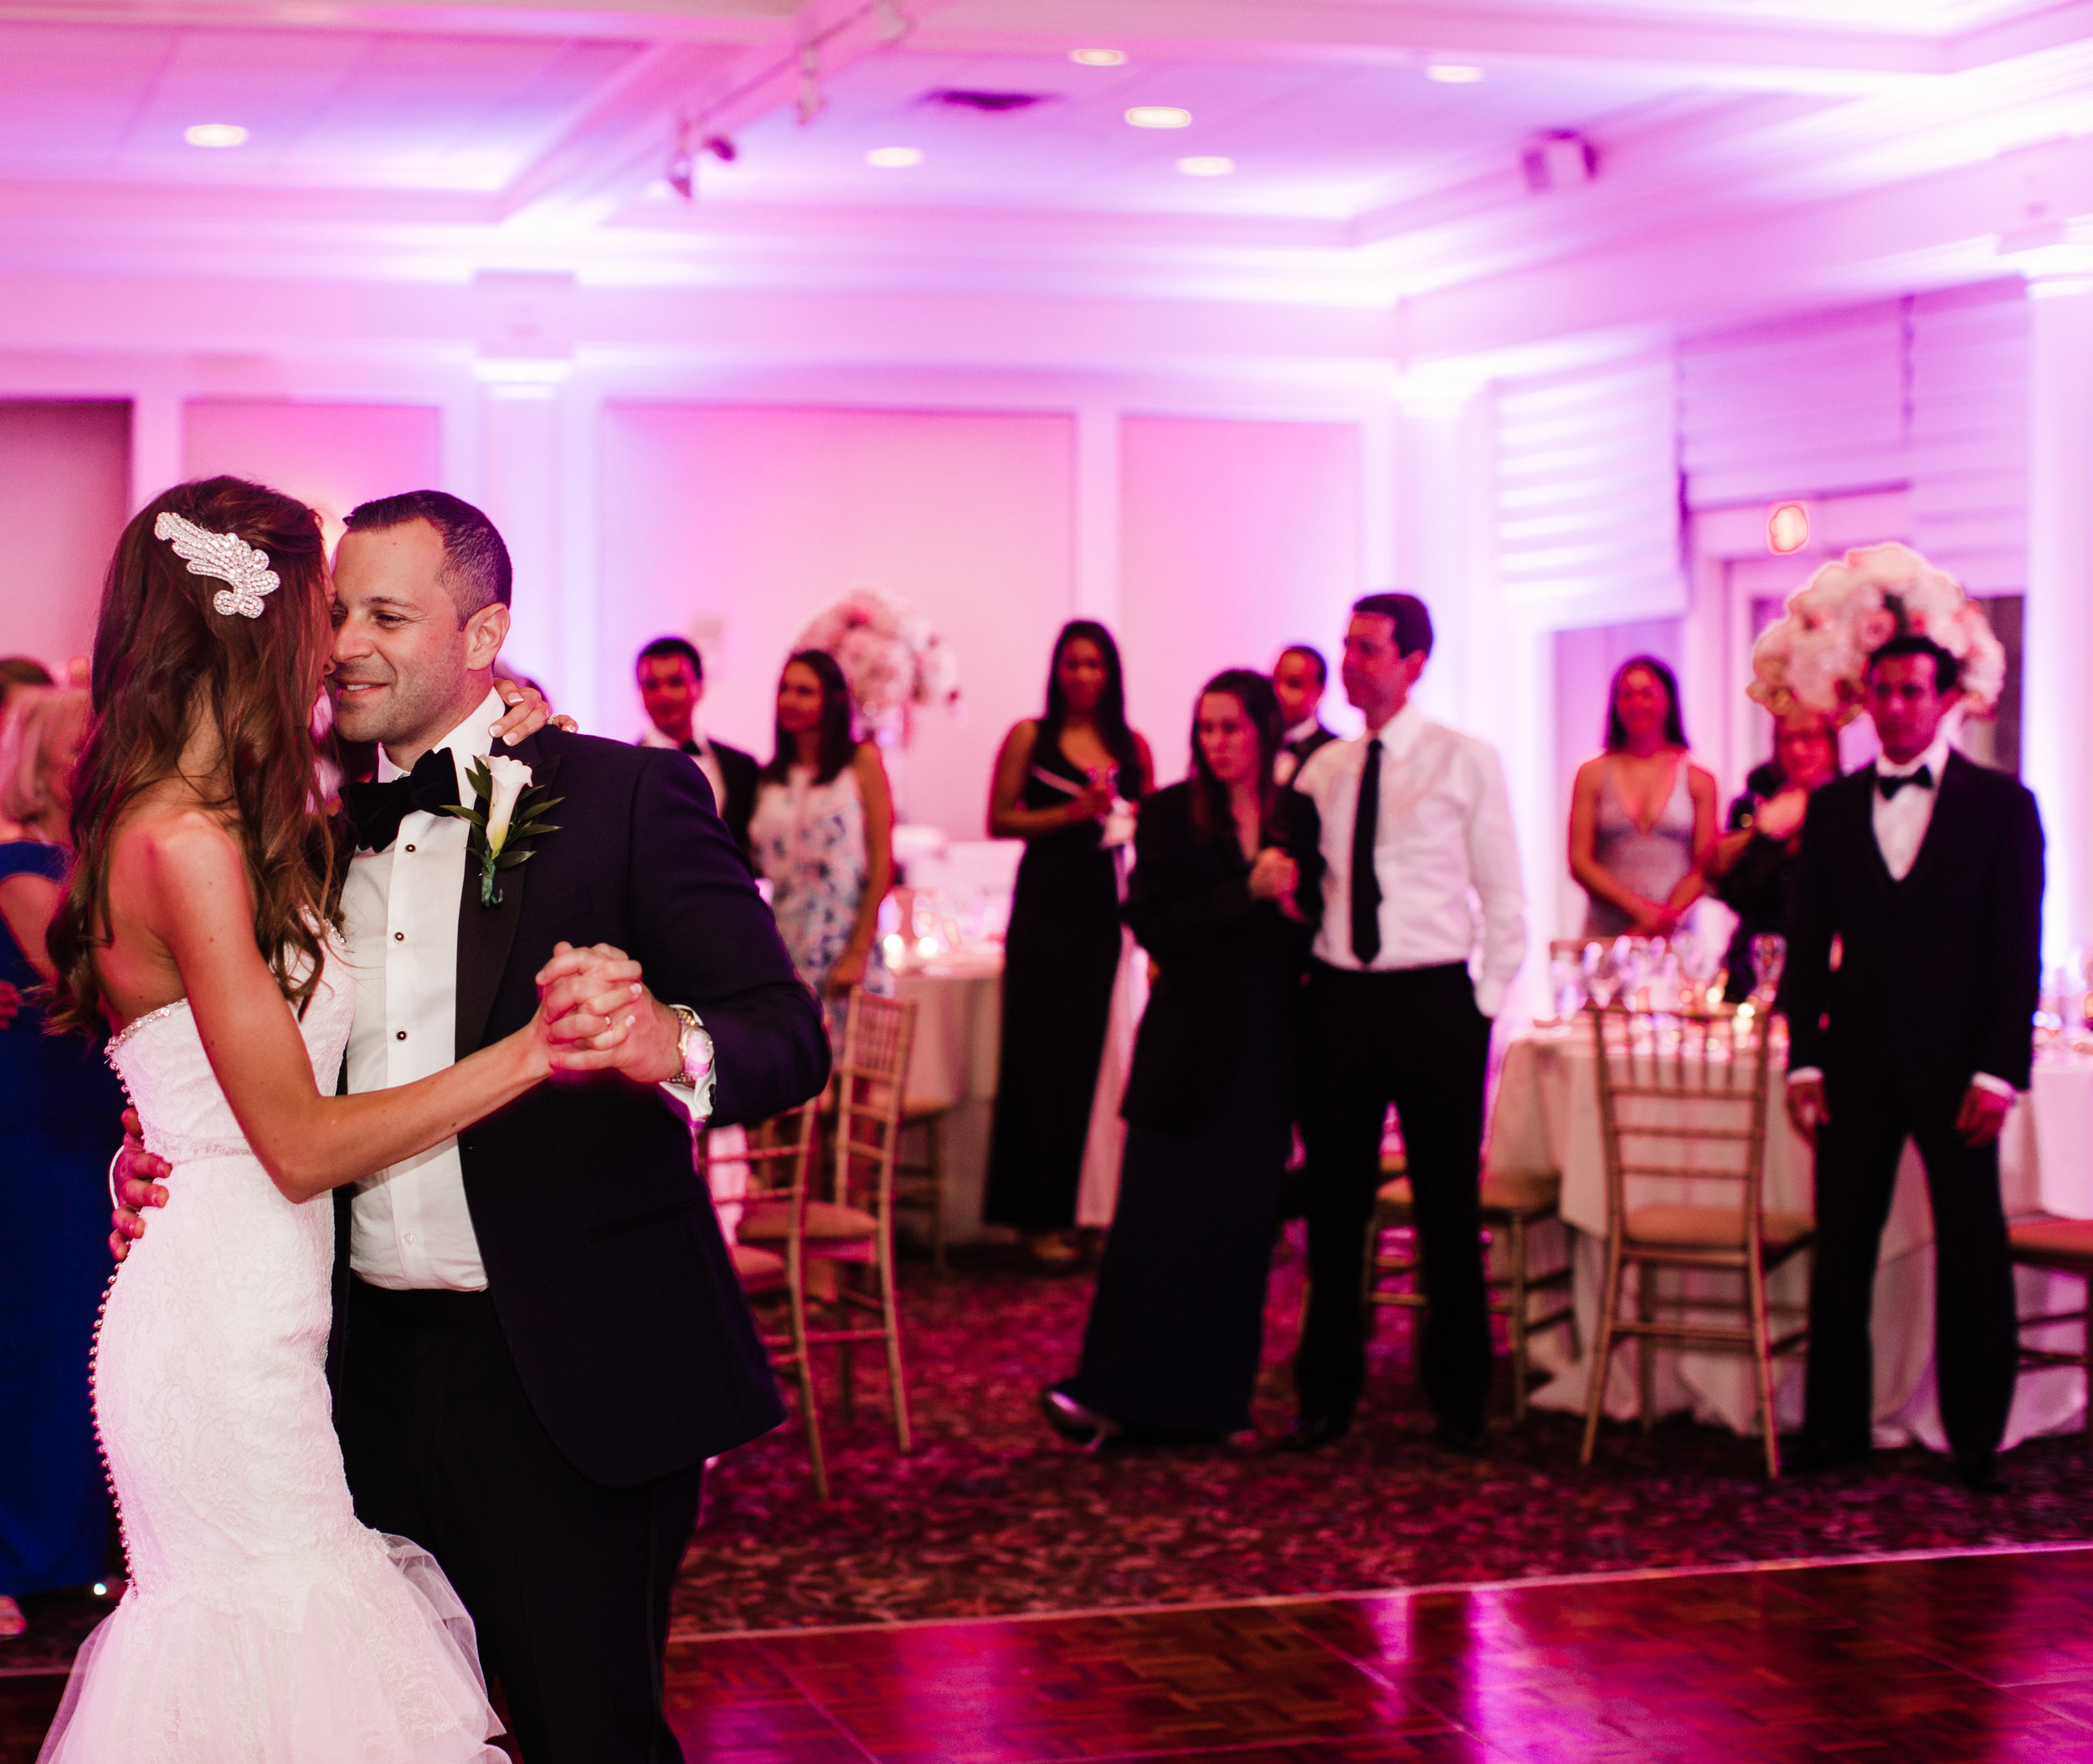
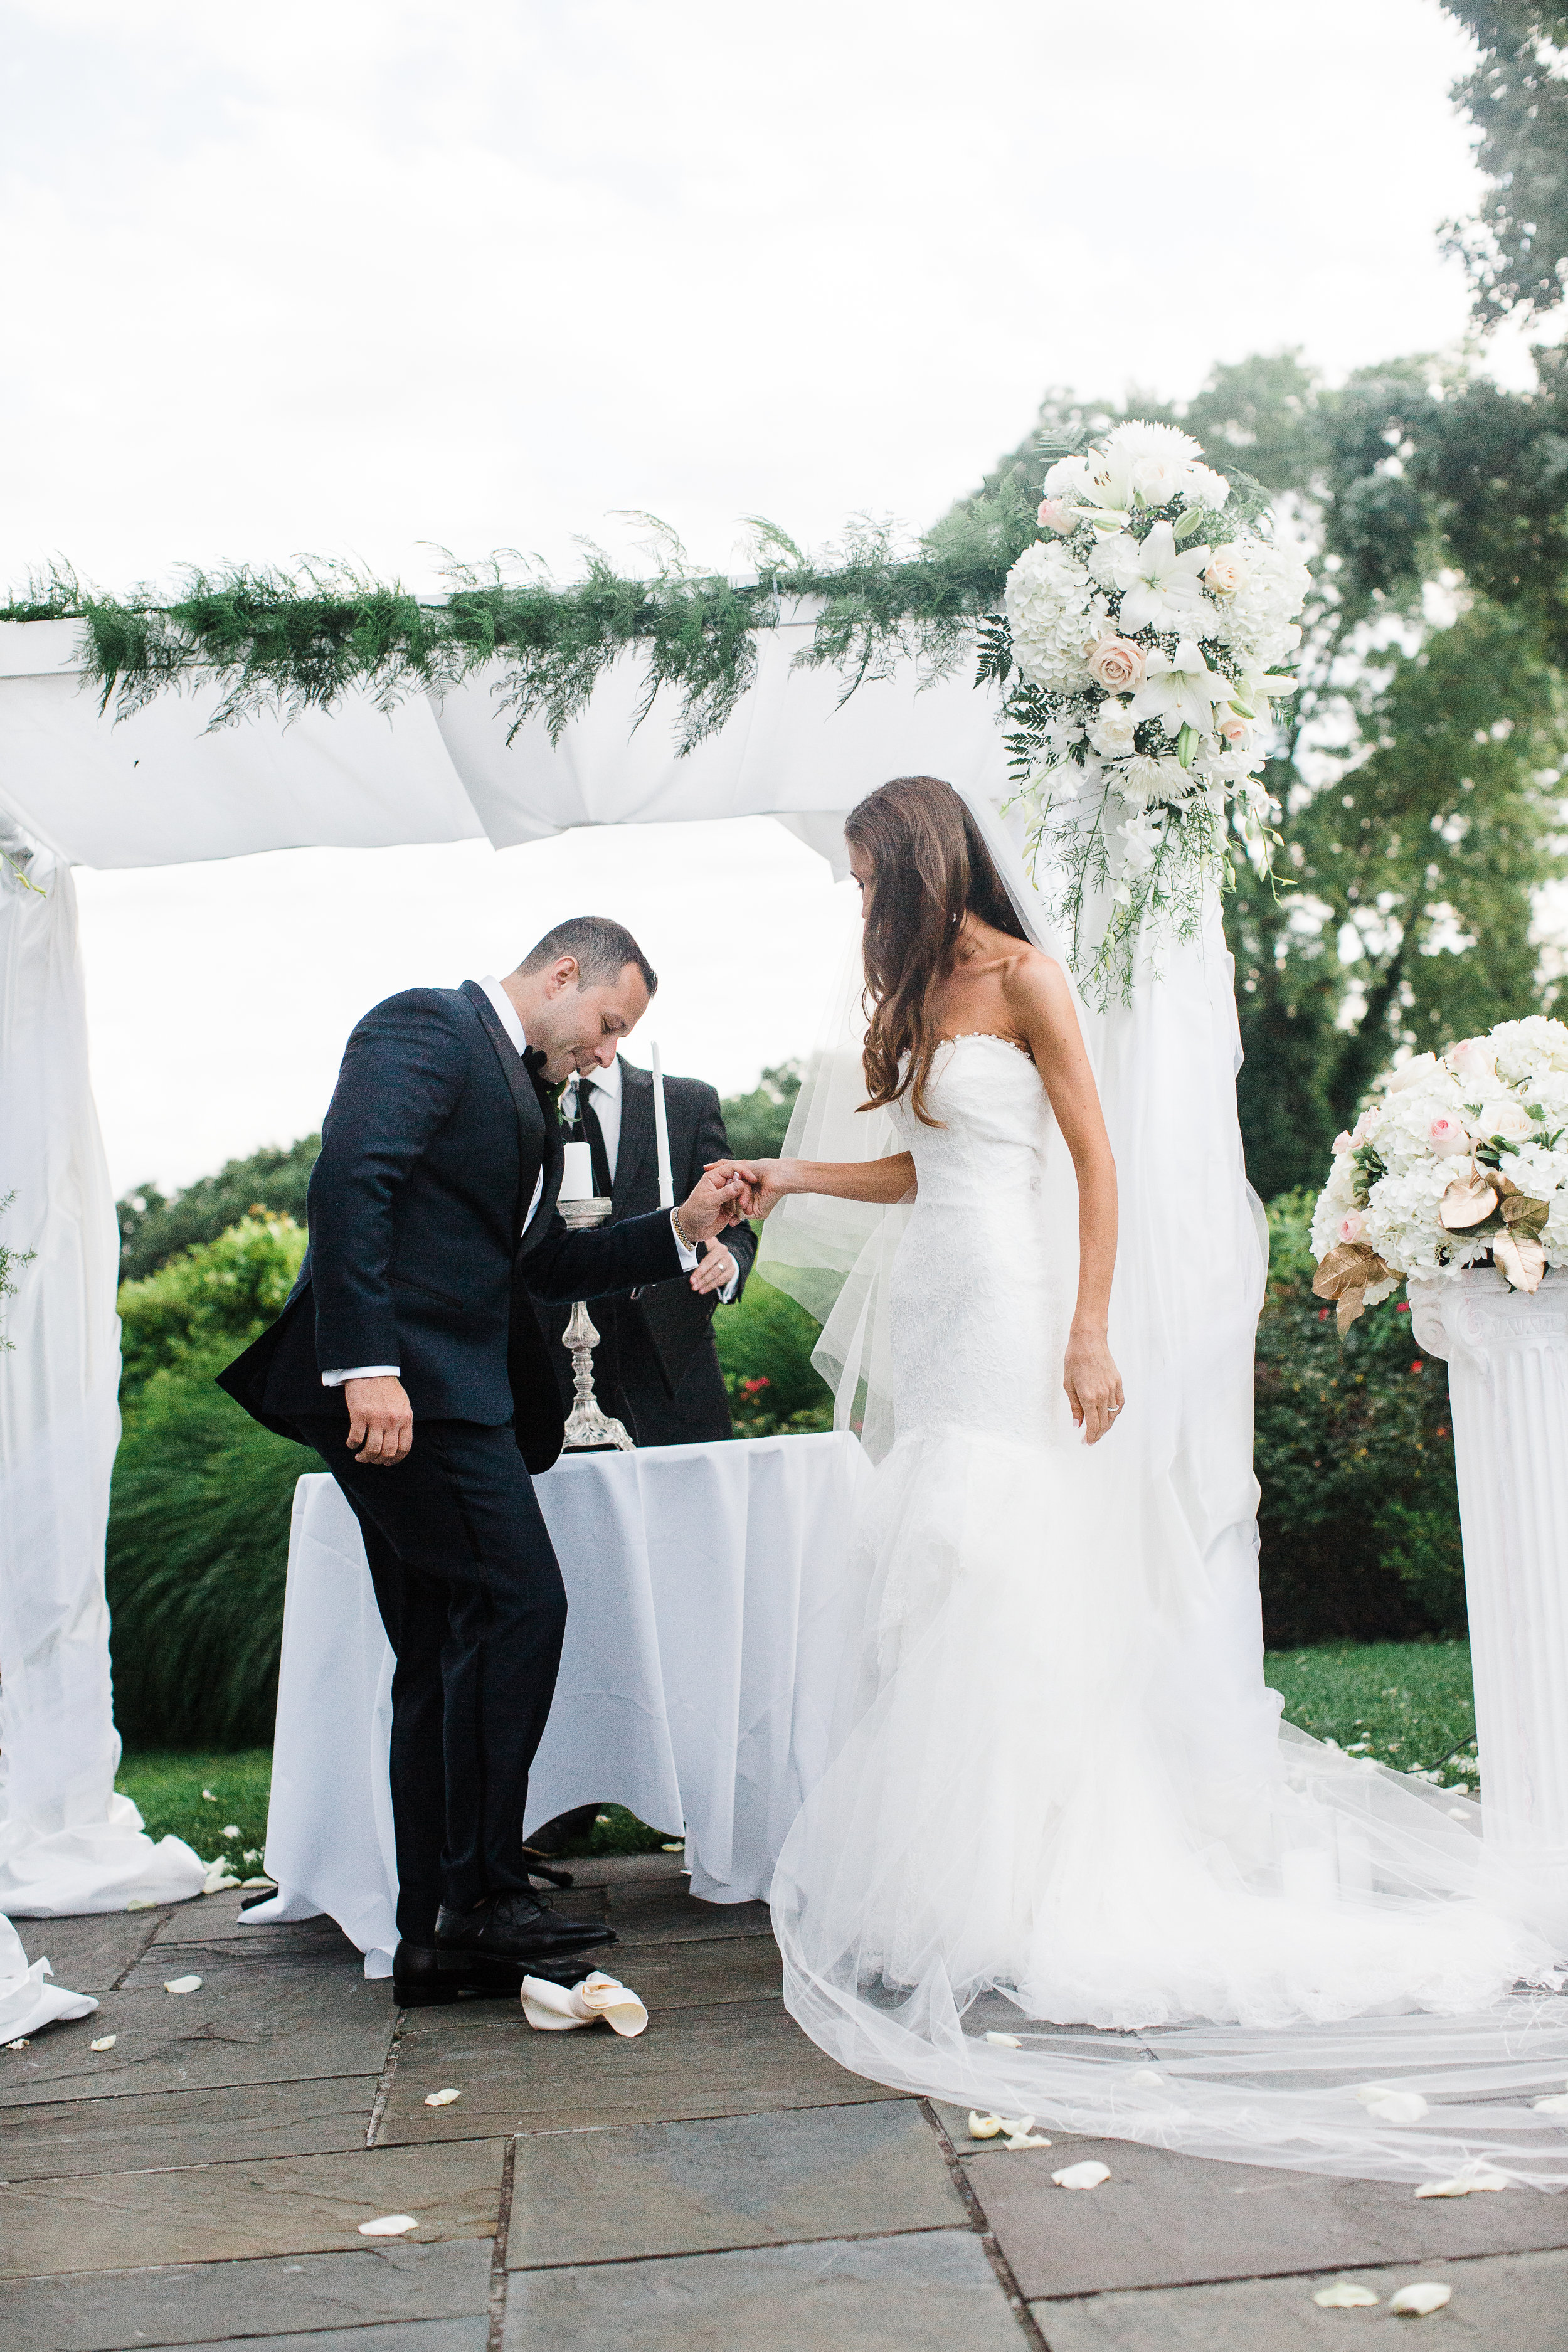
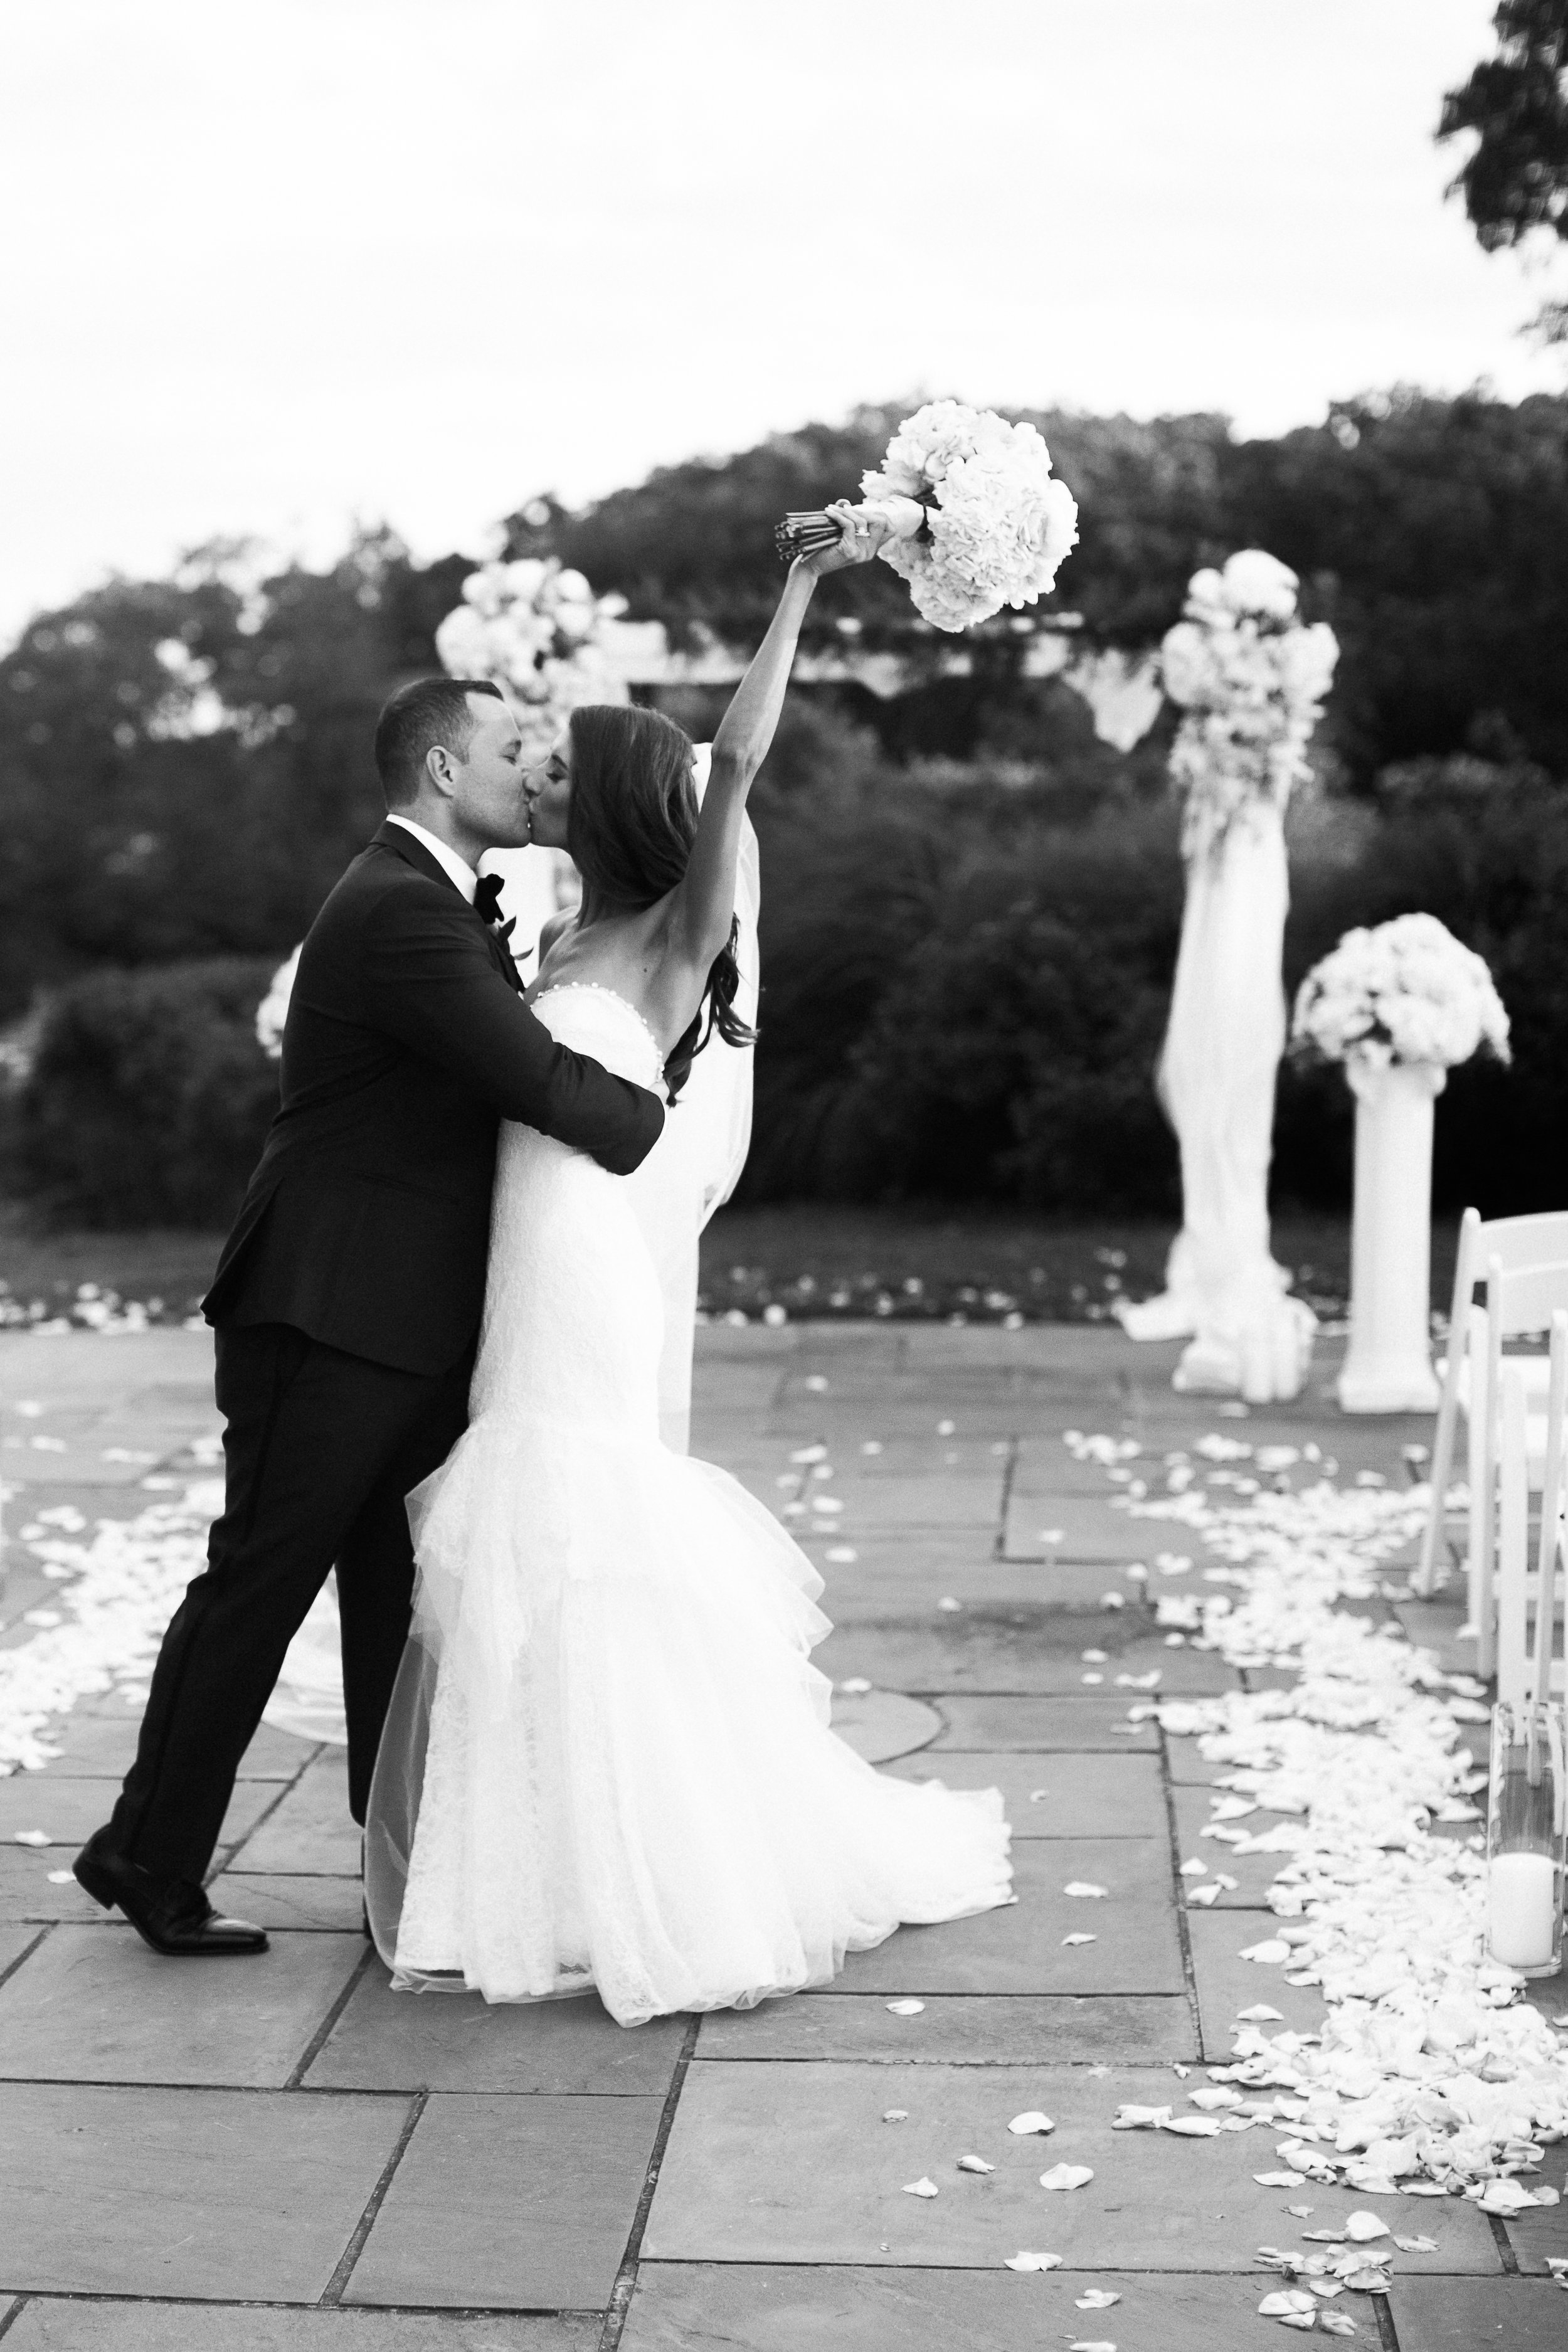
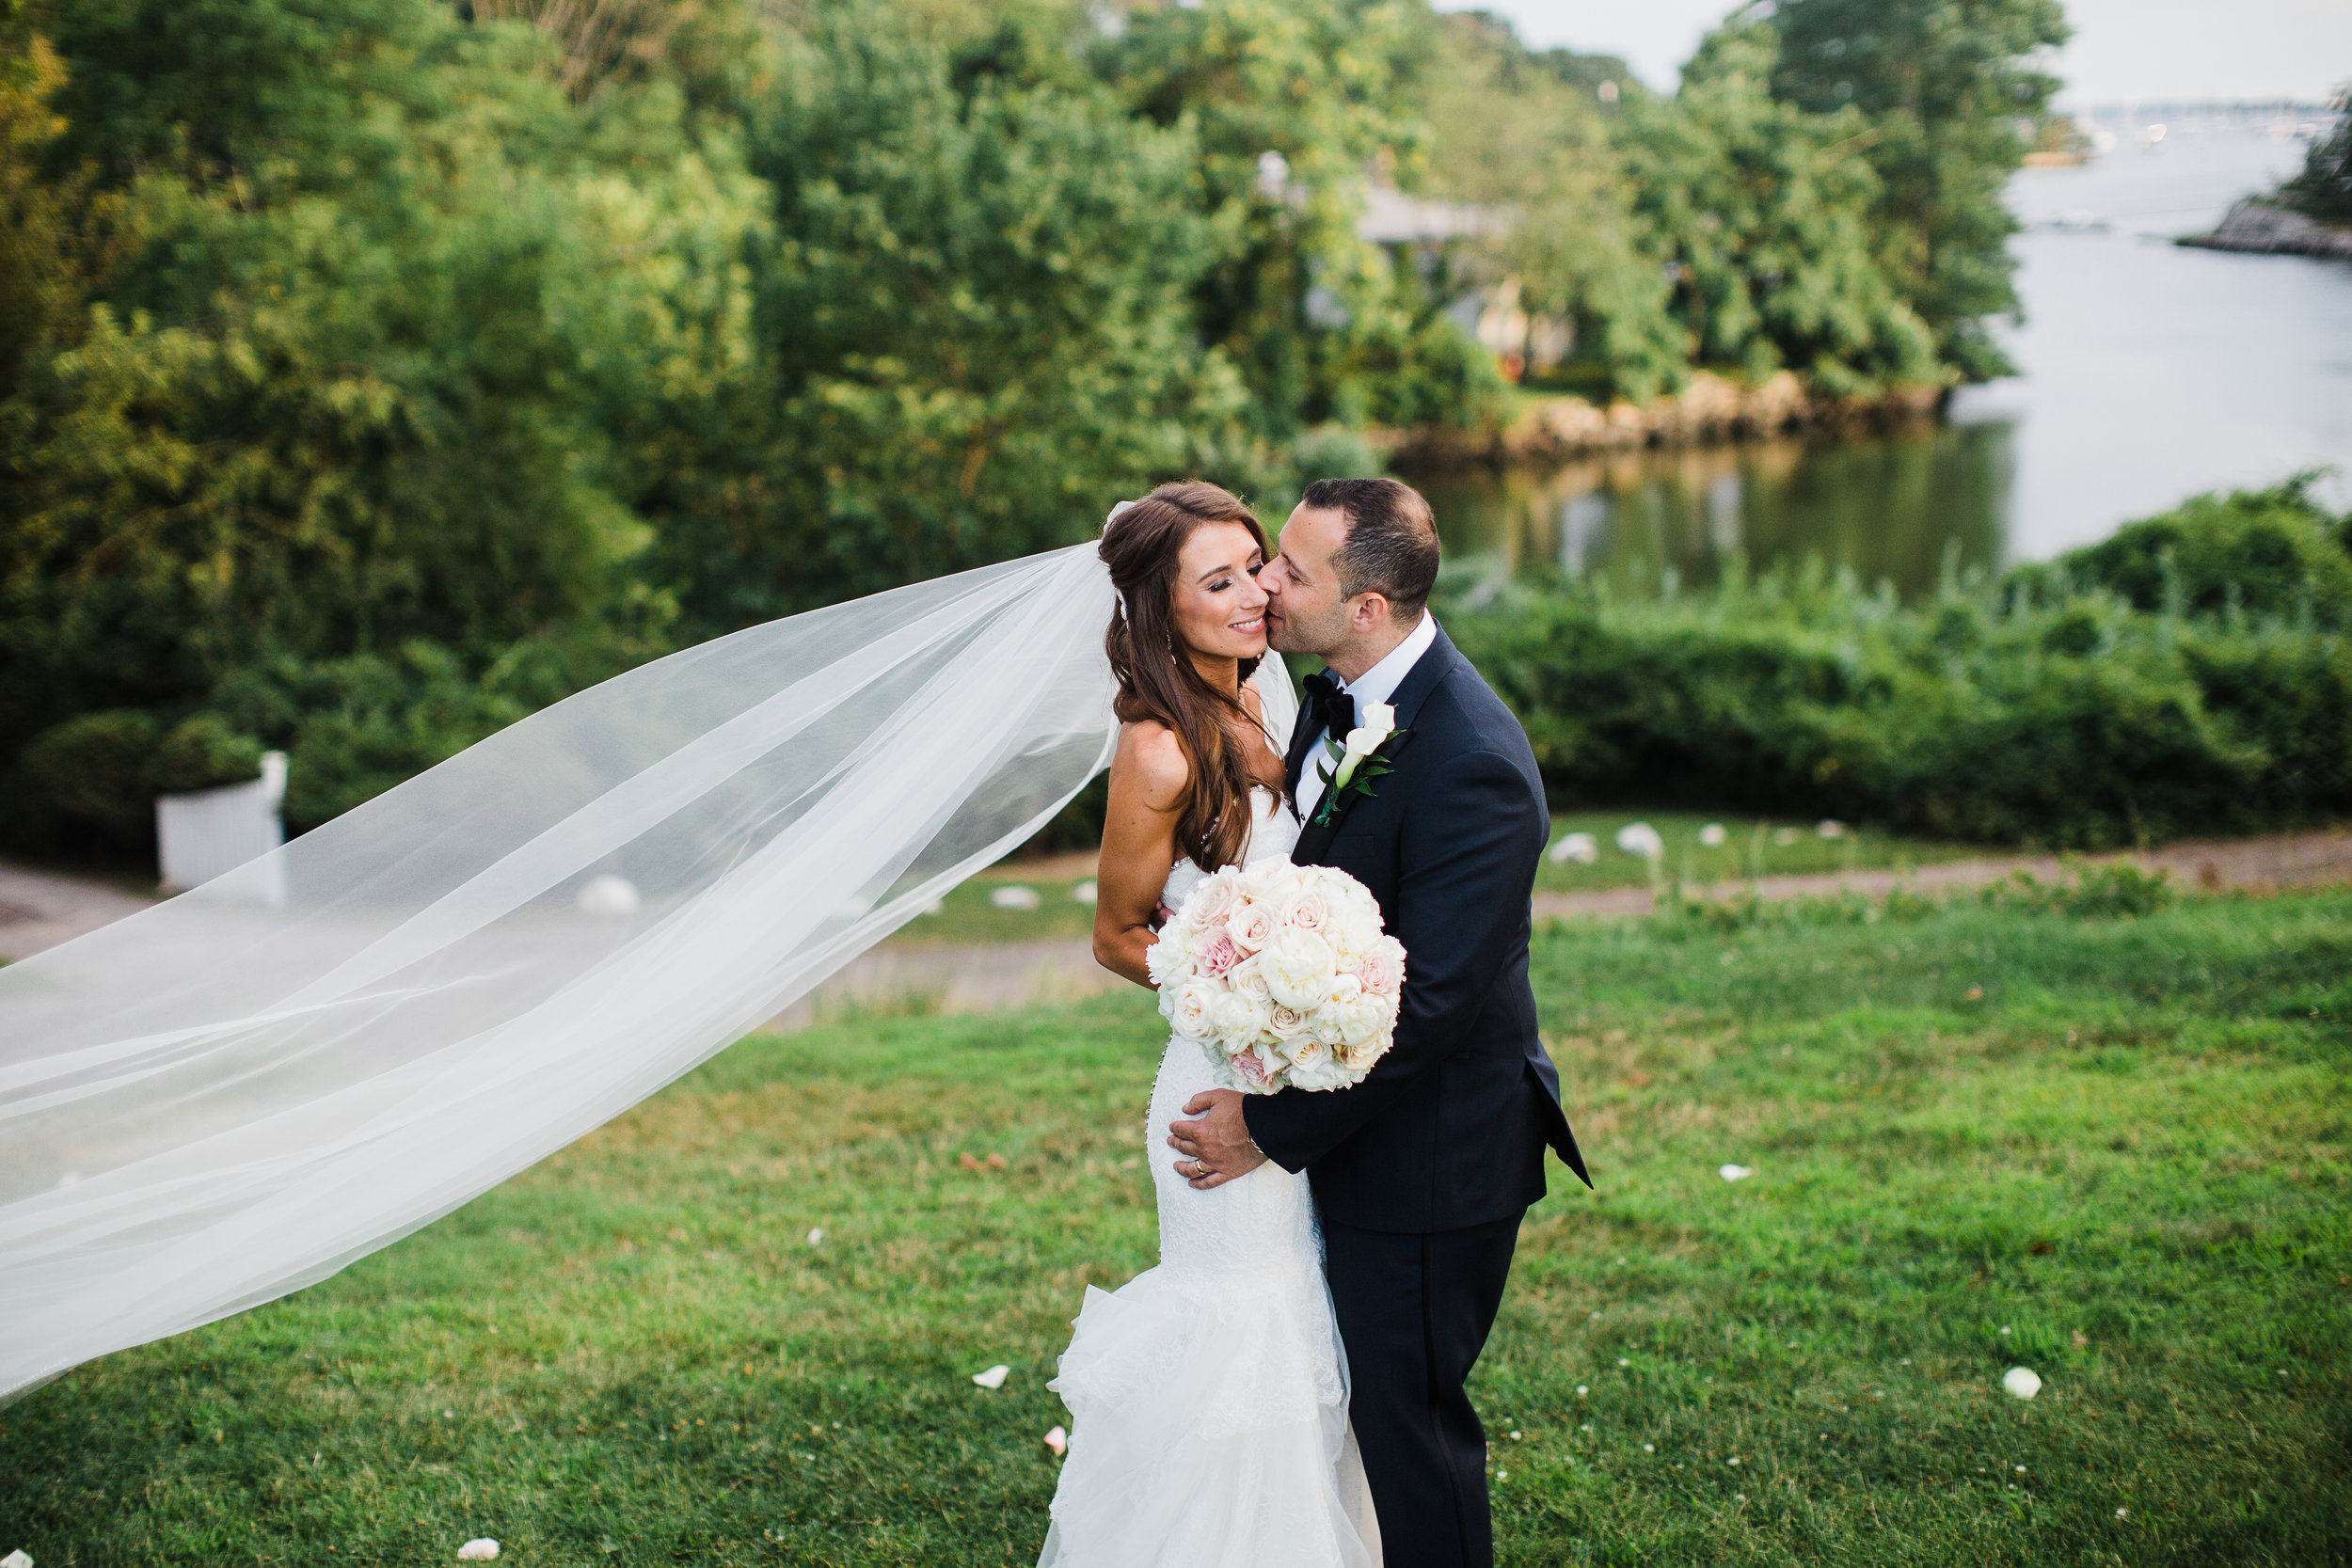
Bedford Village Flower Shoppe also does more than just arrangements for your home, they are full service for weddings and special events. All of you 2019, 2020, actually just ALL OF YOU BRIDES TO BE, go check them out!! They have a stunning online wedding gallery to give you little taste of just how beautiful they can make your special day! Also, go check out their Instagram and Facebook pages for more pictures of their stunning work!

So if you are in need of flowers and arrangements for any and everything, go check them out and tell them I sent you :)

Bedford Village Flower Shoppe

641 OLD POST RD, BEDFORD, NY 10505 

Phone: (914) 228-1587 Email: info@bedfordvillageflowershoppe.com

Instagram

Facebook

IMG_5722.jpg

If you have any questions, feel free to leave them in the comments below!

Here’s to you having a GORGEOUS holiday table this year!

XoXo - Jamie

*This is an affiliate post. However, all opinions and write-ups are my own.

My Birth Story

Hi everyone! I’m finally back after stepping away from posting for a few weeks, and for good reason!  On August 29, 2018 we finally welcomed a baby boy, Rye Joseph, into our lives and here’s how it all went down! 

FullSizeRender.jpg

Okay first, let’s back track a little. My due date was August 21st and honestly I never even thought, and neither did my doctors, that I would make it that far. You may remember me taking about being in bed rest during my pregnancy and that was all due to pre-term labor at 31 weeks and again at 32. I was given steroid shots to develop the baby’s lungs and placed on bedrest for the duration of the pregnancy. My doctors didn’t think I would be getting past 34 weeks. Honestly it was one of the most nerve wracking months of our lives.  But, the baby clearly had other plans because 34 weeks came and went and so did 35, 36, 37 (after which they finally lifted bedrest), 38, 39, and then my due date hit at 40 weeks! Say what?!  

So, when my due date passed, my husband an I were kind of left scratching our heads. This baby clearly had a mind of his/her own (we didn’t know gender through all of this) and now we were just left trying to patiently wait after mentally preparing ourselves to have a baby “any day” since 32 weeks! Not to mention, throughout this entire period, especially the last few weeks before the due date, I had been having a lot of contractions.  Many times they were strong, consistently 2-5 minutes apart and lasting for several hours...but, never the REAL thing.  

As 40 weeks progressed my doctors decided to schedule me for an induction at 41 weeks, with the hopes that I would go into labor on my own before that.  Welp, another week passed and I was walking nonstop, bouncing on my yoga ball, looking up every trick in the book to get this baby moving on out, but nothing was really happening and I was starting to feel defeated and also very uncomfortable. I wanted to avoid an induction if possible so I just kept trying to tell myself and also pray that my body and the baby would get the memo to come before I needed to be induced

August 28, The Induction Day - I was now at 41 weeks, overdue, and starting to get anxious about being induced. I woke up on that Tuesday morning and I think in an effort to keep my nerves at bay, I said to Scott, “How funny would it be if I went into labor today right before they induced me?” I was having some contractions consistently again, but I had been there, done that, bought a t-shirt, so I didn’t think much of it. We were scheduled to arrive at the hospital for the induction at 5 pm Tuesday evening, so we spent the morning packing the car, playing with our dog, and then we decided to havae one last good, big meal before days of hospital food (yuck!). We headed to Bar Taco in Port Chester and it was amazing! Then we went back home and eventually around 4 pm, made our way to the hospital.  

IMG_3856.JPG

When we arrived, it was like the baby flood gates had opened and everyone who was due in August decided to have a baby that day! We checked in and we were placed back out in the family waiting area along with two other couples because they didn’t have any rooms available right away. At this point it was becoming comical because it just added to the saga of what had been the past few months of the pregnancy. As we sat in the waiting area for about an hour, I was still having contractions but didn’t think much of them, and I had a sense of extreme calm and peace for the first time in months. Around 5:30 they finally told us they had a room ready and we headed into Labor & Delivery.

Once we were settled they started monitoring me and I was having contractions ranging from 3-5 minutes apart. The plan was to start cervadil around 7 pm and then early Wednesday morning start pitocin. For some reason I had a gut feeling that we wouldn’t need to go through all of that and that the baby would just get the memo it was time to come on out. So, when my doctor came in around 7 to check me and use the cervadil, she realized I was 3 cm and with the consistent contractions, she decided she wanted to just see what happened overnight without any intervention. At this point I was getting more excited and kept feeling more and more that the baby was going to come on his or her own.

The night went by and my contractions were getting stronger. I kept telling the night nurse that they were more and more intense but she said it wasn’t real labor because my contractions weren’t textbook consistently 2 minutes apart. So a few more hours went by, I couldn’t sleep at all...it was now about 2 am and I was in a fair amount of pain. I also had to pee about every 30 minutes to I kept waking up my poor hubby to help detach me fromhe monitors and IV. Around 3 am I finally called for the nurse to request an IV administered sleep aid/mild pain killer so I could sleep at least for a few hours, especially if the next day would involve being in labor for hours waiting for pitocin to work.  Thankfully, my night nurse was on a break so I got a different nurse who came in and gave me the meds and finally solidified that I WAS actually in labor. I was able to sleep for a few hours and then woke up around 6 am to the nurse and my doctor in the room. 

My doctor checked me and realized I was about 5.5 cm dialated and that I definitely didn’t need the pitocin. I was SO relieved and then within a matter of 5 minutes, she was breaking my water.  My husband slept through this entire ordeal so when I woke him up around 7:00 am on Wednesday morning he was pretty surprised.  

August 29th, Delivery Day - So I know I’ve already recapped part of this day, but anyways.... After they broke my water I started having really strong and painful contractions REALLY fast. They moved me into the delivery room where I would stay until the baby was born. By the time we got over to the laboring room, probably a matter of 10 minutes, I was in a lot of pain and decided I wanted the epidural.  They immediately called the anesthesiologist and by 8 am she was in there getting the epidural ready. They kicked Scott out of the room (standard procedure for epidurals) and I told him to go get some coffee that it would probably be a while since I was only at 5 cm.  She administered the epidural around 8:15 in between some crazy intense contractions. My nurse, now a new one who was amazing, just kept telling me I would feel so much better afterwards. By 8:25ish the epidural was done but I was still just having a ton of pain and contractions....like pain you couldn’t describe. My nurse knew something was off because I shouldn’t have such intense pain after an epidural.  So, she decided to check me around 8:40 and to EVERYONE’s surprise I was 10 cm! 

From that point forward everything was kind of a crazy blur. In between my crazy contractions, the failed epidural, and the chaos of going from 5 to 10 cm in under an hour, I didn’t know what to think. There were nurses flooding in, they were paging for the doctor over and over because I needed to push. It then suddenly dawned on me that Scott wasn’t in the room. I remember thinking to myself “oh shit” he’s going to miss this whole thing! I called him over and over and the nurses were running around the maternity floor trying to find him. They came back and told me they couldn’t find him and I was now just freaking out! This was all probably a matter of 10 minutes but it felt like 3 hours to me. Finally, he walked in, tired but in good spirits with his coffee. The nurse told him to put his coffee down and grab my right leg, that I was ready to push. I honestly wish I had a picture to capture his face in this moment, it was hysterical! 

By this time it was 8:50 and I was ready to push. I was determined to keep pushing and pushing because I didn’t want to be pushing for hours. I know it’s common for first time moms to push for a long time and I decided that wasn’t going to be me! I only had to push for 20 minutes and halfway through the doctor decided I needed an episiotomy because the baby was so big and to avoid a 4th degree tear. We were a little surprised to hear her say the baby was big because I had been measuring “small” the entire pregnancy.

Well the doctor definitely knew her stuff because at 9:10 am, after a fast and furious few hours, we welcomed a baby boy, Rye Joseph Robinson, into this world and he was a whopping 8 lbs, 13 oz and 22 inches!  We were so incredibly excited and Scott was especially thrilled it was a boy...so was my dad, after having 4 girls, that man was holding out hope for a grandson haha. 

IMAGE.JPG
IMG_3947.JPG
FullSizeRender.jpg

After giving birth everything else was pretty uneventful. We had your standard two day hospital stay and then headed home. Postpartum recovery is no joke and having a ton of stitches from the episiotomy didn’t help. But, I am happy to report that at three weeks postpartum everything is going really well from the breastfeeding to recovery to the sleeping...well sometimes we sleep...but either way we have loved every minute of it!! 

Overall, I had a pretty great birth experience. I was bummed about the epidural because I felt like I got it for no reason considering it didn’t work at all and I could have just labored and pushed without it had I known I was already at 10 cm! But, it is what it is and the one silver lining is that now I know for next time I can definitely endure labor without it AND push out a pretty big baby! I am so happy I was able to go into labor on my own without any of the induction drugs. It’s kind of amazing what your body can do and that it knew what to do exactly at the right time.

Thank you all so much for following along with my entire pregnancy and for standing by during my three week hiatus! I’m working on a ton of new content some focused around the typical fashion and lifestyle blogging and the other half focusing on being a new mom! You have all been so amazingly supportive and I can’t wait to continue sharing all of these amazing life changes!

XoXo - Jamie 

Lighten Up Your Bedroom With Palm Print

I've already talked about my obsession with everything palm print, so when I decided that our guest room needed a little "refresh" I knew I wanted to find a a palm print bedding set.  Now many of the sets I found online were a darker print or just didn't go with the light sage green color we painted in our guest room.  But, one day I just happened to be at Bed, Bath, & Beyond and completely lucked out! 

IMG_3378.JPG

I found this Coastal Living Green Palm Comforter Set and fell in love! It is bright, airy, and has pretty, non-obnoxious palm leaves that just give the room a calming, beachy feel.  Now unfortunately this isn't a beach house (MY DREAM) but it does make the room feel like a little escape from the rest of the house.  I actually find myself doing work in here a lot and just relaxing since I purchased this bedding set.  It comes in all bedding sizes and it is on sale right now too! You can get the entire set, even a King, for under $60! Did I also mention the comforter is reversible?  YEP. It's that good! 

The set comes with the comforter and two decorative shams.  Below I'm linking the bedding set and also some great accent pillow choices! I'm obsessed with the straw ones! Oh and the sheets, I have to talk about the sheets on this bed.  So they are also a Bed Bath find and they are the softest sheets ever.  They are made from eucalyptus and I will never buy any other sheets again.  Now they can be a little pricey, but they are an investment that will last you a really long time!  We have them on every bed in our house! 

Grab this great set while it is on sale still!  It's honestly one of my favorite home purchases! 

XoXo - Jamie 

Organizing A Pantry for $100 or Less!

I think I have hit full blow "nesting" mode because I suddenly have had the urge to organize everything in my house! One of the things that I desperately wanted to get organized was the pantry in our kitchen.  Now the pantry we have isn't huge, it actually started out as a broom closet but I quickly convinced my husband this wasn't the most efficient use of space and asked him to install some shelving.  After the broom closet was converted, I sort of just threw a bunch of stuff in there, but quickly found it was getting harder and harder to find things, things were expiring, we were opening multiple packages of the same thing....it was a mess! 

To give you an idea, here's what it looked like BEFORE! What an unorganized mess! 

It's pretty apparent from the picture that something needed to be done, so I turned to Pinterest for some inspiration.  There were some great general ideas, but a lot of the pictures featured these LARGE, gorgeous pantries that you could walk into or at least fit a ton of stuff in.  Unfortunately, I was still working with my broom closet so I knew I would have to measure and be a little methodical when organizing it. So, below I'm recapping the steps I took to make sure things would fit before I headed out shopping.

Step 1: Measure the height and depth of your shelving.  My shelves vary in height and they certainly are not very deep, so I needed to make sure I took proper measurements so I didn't have to make multiple trips to the store to pick up all of the organization supplies. 

Step 2: Estimate how many containers you will need and what they will be used for.  I started out with my cereal - on average, I have about 3 boxes of cereal open at any one time, so I figured I would need at least 3 containers to hold that.  Then I moved on to things like canned goods, I wanted to determine how many cans I keep in my pantry normally.  I estimated around about 15 between soups and things like tomatoes and vegetables.  If there are other things you'd like to keep in storage containers that seal, then make sure you also account for those items.  Lastly, I tried to estimate about how many open containers I would need for things like granola bars, snack items, etc.  You can do this by using a shoebox as a good estimator for how many can fit across your shelf. 

Step 3: Go shopping! I picked up the majority of my supplies at the Container Store, but if you don't have any interest in shopping there or there isn't one close to you, you can find these items online and through retailers like Amazon as well.  I will link everything I bought throughout this post!  I set a budget for myself for around $100.  I knew I wanted all BPA free plastic and also some higher quality sealing containers for the things like cereal that I wanted to keep fresh for a long time.  

OKAY - now it is time to clear out the mess and start ORGANIZING! This is the fun part! Or at least I thought so...............


STEP BY STEP GUIDE to the ORGANIZATION

STEP 1: REMOVE EVERYTHING: You'll want to start with a completely clean and open space so you can see what you are working with! 

STEP 2: PLAY AROUND WITH THE LAYOUT - In this part you'll want to lay out everything you bought in order to determine if you have enough things to store all of your items and also to figure out how you want to space the containers, what things you want on what shelves, etc.  Play around with it for a while!  You'll notice that the picture I took here with spacing everything out ended up being a little different from how I actually ended up organizing the pantry.  

STEP 3: ORGANIZE & LABEL - Now it's time to actually start making some progress.  After you've figured out where you want to place everything, you can start labeling and organizing.  I opted to use adhesive chalkboard stickers and a Chalk Ink marker for my labeling, but you can print labels or make them however you want, put your own spin on it!  The thing I like about the chalkboard labels is that you can easily wipe them clean and re-write if you make a mistake or change what is in your containers.  You can also write directly on the bins and containers if they are plastic, glass, etc. with the Chalk Ink markers!

For the containers, I chose a variety of different types of containers and bins.  With the cereal, I knew I wanted to get the sealing OXO POP containers which help to lock in freshness since cereal seems to always go stale (gross)!  If you have a lot of different foods you plan to store in your pantry like pasta, grains, etc., I recommend purchasing an OXO POP Set like this one.  I then found some smaller bins with handles (I purchased the SMALL size) for things like granola and cereal bars.  At the Container Store, there was also an awesome deal on clear shoebox size bins.  If you bought a case of 5, you saved 20%, making each container about $1.60 each..pretty good deal if you ask me! I also found open stackable bins for soup cans and they are the perfect width for large and smaller cans - I got the MEDIUM size!  All of the fancier things made specifically to store cans wouldn't fit into my narrow pantry so when I found these, I figured I'd give them a shot and they are perfect! You can easily stack cans on top of each other but also see everything that you are storing for easy access. They even came with labels already attached so all I needed to do was write on them.

When organizing, I tried to group things by category.  At the top of the pantry we have a really narrow shelf so I tried to come up with some solutions for it.  I realized that it could easily fit bottled drinks like Gatorade which take up a ton of room in a cabinet.  I also have s'mores stuff for the summer, so I figured I would group all of those items together so when we entertain, it is easy to grab the whole bin out and have everything in one place.  I placed all cereal and breakfast items together on one shelf and just below that shelf I grouped together things like granola bars, breakfast bars, and protein bars.  I figured this would make it easier to find and for my husband to find the things that he wants without rummaging through various shelves and messing up the beautiful organization! On the next shelf I grouped together snacks, chips, pretzels, and cookies. Below that shelf, I placed my canned goods like soups, veggies, and broths.  I tried to organize the canned goods by type.  For example, canned tomatoes placed together and cooking soups placed together.  The idea is that when you go to cook, you don't have to spend time sifting through various bins to find what you need.  

One big thing I figured out is it is always important to utilize floor space! Now I can see people saying ew, not going to put my food on the floor, and my response is you don't have to!  Use any space below your shelves to store miscellaneous items that you don't want taking up space elsewhere in your house, but that you use frequently and want easy access to.

As you can see in the picture above, I used my floor space to hold things like our dog's food.  By the way, don't spend tons of money on those fancy dog food bins, head over to Home Depot or any hardware store and pick up an airtight bucket!  I found this one that is food grade on Amazon! You can fit a ton of food in it and the lid seals even better than some of the specially designed dog food containers do! Now, back to the floor storage...Aside from the dog food, I decided to use a small set of storage drawers for things like paper plates, napkins, and koozies (don't ask me why we have SO MANY koozies) all things that I hate cluttering up my cabinets with! I also had an extra shoe box bin so I decided to put all of my reusable shopping bags in it!  This way, I might ACTUALLY remember to use them.

STEP 4: UTILIZE DOOR SPACE - Don't forget that your door is also useable space in your pantry! Now at some point I'll probably try to make even better utilization of it, but for now, it's the perfect place to keep a calendar, since I can't remember anything these days and also those dreaded plastic grocery bags! Does anyone else feel like they haunt you?  They are everywhere! I highly recommend getting one of these cloth bag holders because you can easily hang it on the door and it doesn't take up any space and they won't be falling out everywhere! 

You can see how I utilized the door space and finally the FINISHED PRODUCT! 

I've linked all of the products for you within the step by step guide so you can get organized too!  By no means do you need to use everything that I did, but I found that these products worked really well for me and also for spaces that are shallow and don't have a ton of room.  Let me know if you have any questions - you can always email me directly or reply in the comments below! 

HAPPY ORGANIZING! 

XoXo - Jamie 

**Post contains affiliate links for products which I personally recommend.  By clicking the links and purchasing the products, I may earn a commission. I do not include affiliate links for the purpose of solely earning product commission, I do so in order to share products I love with you! Purchases are made as-is as the consumers discretion** 

Our Home Renovation Story

Over the past year, my husband and I have been through a lot!  Between getting married, to expecting our first baby, to moving from the city to the suburbs, things have been pretty crazy and exciting!  One of the biggest undertakings that we've had was not only the decision to move, but our decision to take on a home renovation.  So, when I had the opportunity be interviewed by Suburbs 101 about our renovation and move to Westchester, I jumped at the chance! 

In the pictures below, you can see a series of before and after shots.  I'm really regretting the fact that I did not take more "before" pictures of every room just to show how BAD things really were!  But, I think these pictures at least give you a general idea! 

As my interview with Suburbs 101 mentions, our home hadn't been touched since it was built in the 1950's...well, with the exception the addition of ENTIRELY too much wallpaper!  

My husband and I spent our weekends for over 10 months commuting back and forth from our NYC apartment to work on the house.  Oh, did I also mention we were planning a wedding?!  Yeah, don't do that....

Anyways, we decided to take on this renovation as an almost entirely DIY project with the help of my father-in-law.  We did all of the demo, construction, and decorating, with the exception of a few things you need experts for like the electric and plumbing.  Demo is not as fun as those home renovation shows make it look.  You have to understand that they hit a few walls for the camera and then there is a crew of 30 something people hiding ready to demo things within a day or two.  When it is just you, it takes A LOT longer and it is super labor intensive! 

Making decisions about the design also brought a lot of frustrating and sometimes arguments!  We didn't hire a designer so we had to do everything from picking paint colors, to cabinetry, countertops, and fixtures.  Now I will admit I loved this part more than anything, but I also had a VERY specific vision in mind and many times I was met with a lot resistance about what was or wasn't going to look right...in the end, I won (most of the time) and if I do say so myself, all of the design decision made were good ones!  

One of my biggest non-negotiables was the kitchen design.  I love to cook and entertain so I knew I wanted a kitchen devoted to that, especially after being stuck with apartment size closet kitchens for the past 5+ years!  The design was inspired by a lot of Pinterest boards and research for styles I liked after visiting various showrooms around Manhattan.  We like to think of it as a "transitional" style which mixes some modern and traditional elements together.  The Carrera countertops pair beautifully with the modern brass hardware and are tied together with the mixed metal effects of the appliances and the farmhouse style sink.  The kitchen is by far the most used room in our home and it has been so amazing to have it as an entertaining space.  

The floor color was also a big decision.  Can you believe we kept the original hardwood??! It's so amazing what sanding and staining can do for old floors!  The floors were entirely too dark, almost black, and just made the house look dated and dismal.  My husband and I kept looking at stains and couldn't find anything we loved.  We knew we wanted something with some versatility and unexpected style running throughout the house.  Our ideal house would be a beach house with really light, beautiful distressed floors.  But, that style doesn't really work very well in a house in the middle of the suburbs of Westchester, NY!  So, with that element in mind, we started to mix stains to see what effect we could get.  Finally, after some trial and error, we came up with this beautiful, customized stain for the floors and we couldn't be happier with them!  They are one of the most complimented pieces of our home! 

Now, one thing about home ownership is that you are always going to have projects to do and things to update.  We are so happy with how the renovation turned out but we are continuously doing things to make everything that much better and to update things as we've settled into living here.  For example, the next job I want to tackle is my dining room area.  We bought this GORGEOUS glass dining table, but I have older antique chairs that we recovered, but still aren't doing it for me.  The dark wood makes the space look dated so I have a few tricks up my sleeve on how to update that specific area, so stay tuned for that !

Overall, renovating was a very long and at many times, stressful process.  But, doing it ourselves and seeing the entire process come together in the end is still one of the most rewarding things to this day.  My husband and I take a lot of pride in our home and I think this is what makes us continue to improve things throughout it (almost every weekend).  We want it to be a place where we can be comfortable and that reflects both of our very different personalities.  It doesn't always work at first, but in the end, we really make a great DIY team and enjoy doing things ourselves, even if it does take more time and effort.

Thanks for checking out this post and don't forget to read my full Suburbs 101 DIY Home Renovation Interview!  If you have any questions on anything renovation related, please reach out!! 

XoXo - Jamie