Last Minute Easter Egg Hunt With Downloadable Clues

Just your last minute mama here giving you everything you need to throw together an awesome Easter Egg Hunt! We are not talking about eggs thrown on the lawn, we are talking about an egg hunt with fun clues and active participation from the kiddos and a guarantee there will be no fights over who collected more eggs! The best part? This egg hunt can be modified for kids of all ages…even teens!

IMG_0354.jpeg

So to give some background, my aunt came up with true Easter egg hunts for my sisters and me every year and we absolutely loved it. Each year the clues got harder and it’s something we looked forward to, so I knew after I became an aunt and a mama that I wanted to carry on the tradition. Shout out to my sister Jess for helping me put together this post!!

Keep reading to download clues, learn how to set up the hunt and even print a letter from the Easter bunny!

Egg Hunt Instructions:

  1. Download the clues and letter from the Easter Bunny below. There are both blank clues if you’d like to create your own OR you can use the premade clues that will work for most houses and kids.

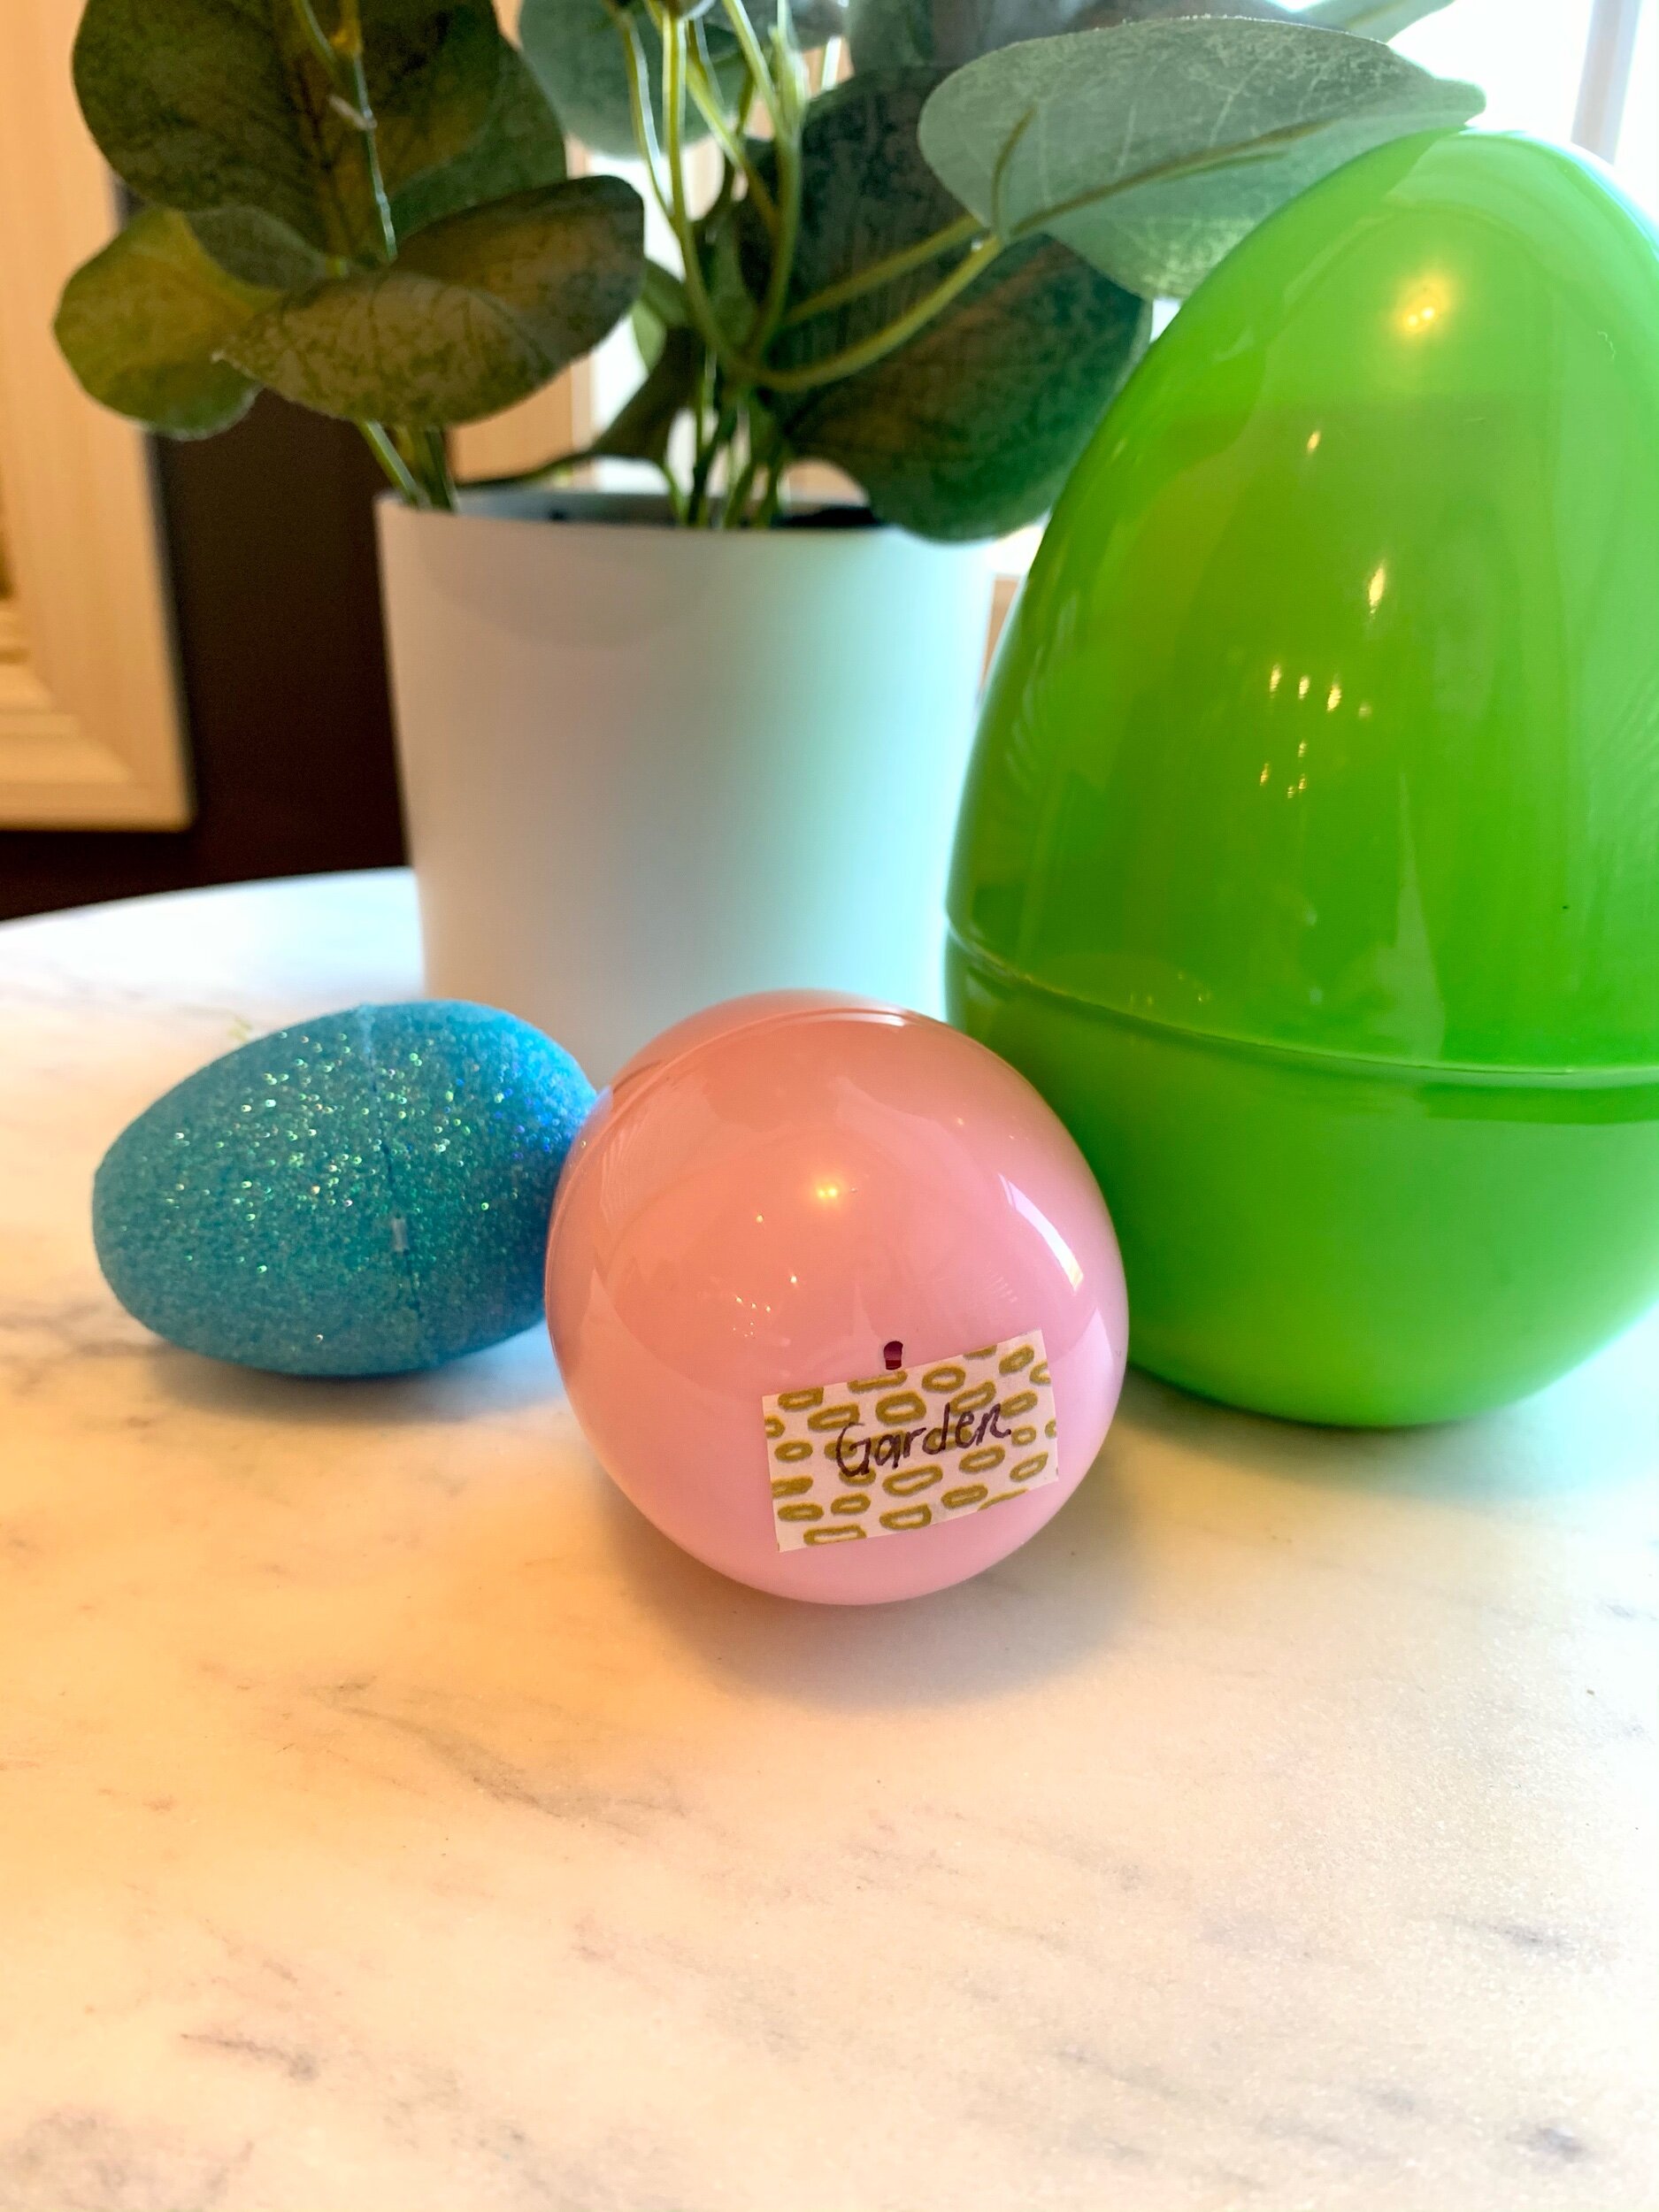
  2. Determine how many clues you’d like to have. The kids will start with one clue in an egg and that will be the “starter clue”. The clue will lead them to another egg containing clue #2 and this will continue for as many clues as you would like! TIP: Label the clues and eggs with numbers and you can even designate where they are supposed to be placed too so it’s very easy when it comes time to hide everything!

  3. Optional: With each new clue you can also hide a prize. This can be separate from the egg or something inside the egg. Usually I include a prize and with each new clue/egg I have a new prize. But, you can also do it where you have one big prize at the end of the hunt.

  4. Place your Target order pickup with everything you need including eggs, prizes, candy and baskets! Drive Up is life for me!

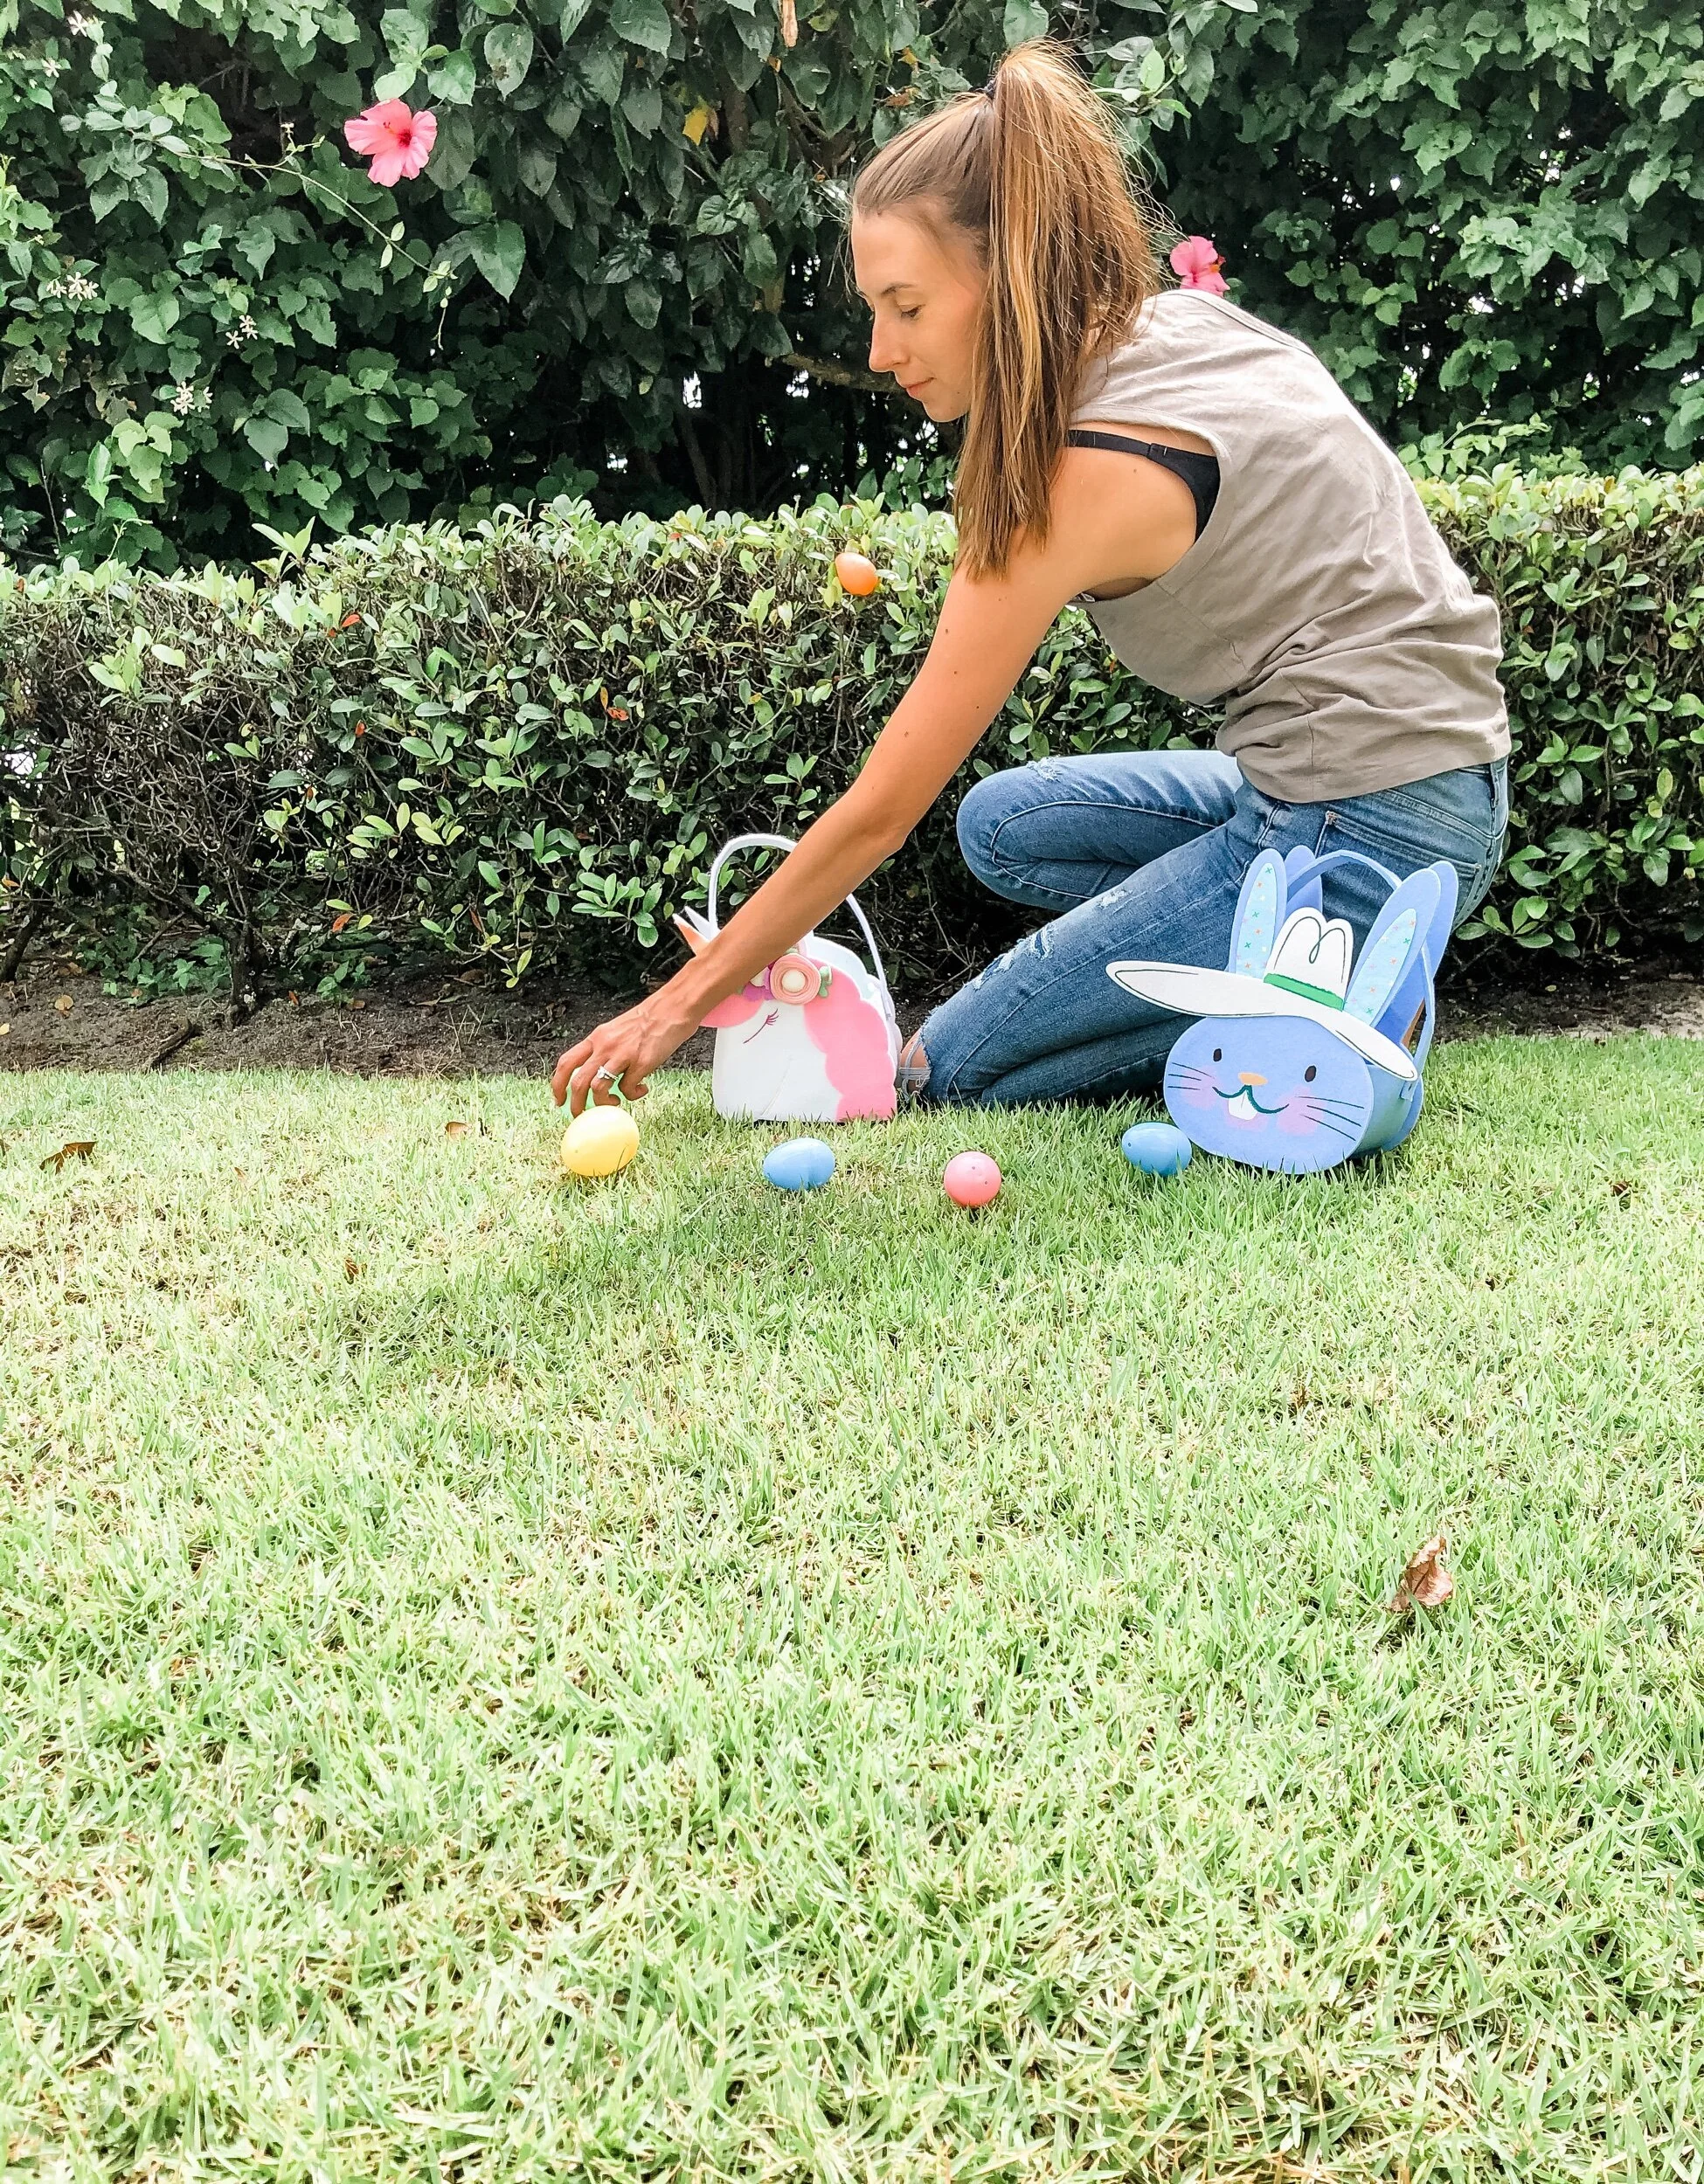
  5. Hide the eggs and prizes! You can recruit others to help you do this and get everyone in on the action. Remember my tip on labeling eggs with the places they are going? Here’s where it really comes in handy!

  6. Start off your hunt with the Easter Bunny Letter (below) then explain the rules for the hunt. Present the first egg with the first clue and have the kid(s) read it aloud. Now, go hunting and have fun!!

Be sure to follow me on Instagram for even more details about the egg hunt and some sneak peaks into what I’m planning this year! And make sure you tag me or send pictures if you use the clues and plan your own egg hunt! I’d love to see!

Last Minute Mother’s Day Gift Guide

Did anyone else just have an epiphany that Mother’s Day is exactly a week away?! I cannot believe it is almost mid-May, you’d never know from this gloomy NY weather but hopefully a week honoring mamas all around will bring some sunshine to us all! And because I’m a chronic last minute shopper, I figured I’d help all of my fellow procrastinators out there and round up some of my favorite picks for Mom! All of these options are great choices with no perfume or flowers included! Plus, everything comes with fast shipping so you can order it in time for the special day!

MOTHER’S DAY GIFT GUIDE

Something for EVERY MOM and most picks are Under $100!


THE STYLISH MAMA


THE COOKIN’ MAMA

*P.S. The Cookbook is one of my personal faves!


THE LOW MAINTENANCE BEAUTY MAMA


THE GLITZY MAMA

*But at a great price!

 You can also shop my looks through my Instagram page and through

downloading and following me on the LIKEtoKNOW.it App!

*The products in this post may be linked as affiliate posts where I receive a small commission at no cost to you!

10 Tips for Hosting Any Party

Hope you are all recovering from a weekend full of holidays! This weekend we hosted a party to celebrate Easter and Passover with 25 of our family and friends. The party was a success but the planning is always a process, so I wanted to share with you my TOP TEN TIPS for hosting any party. These tips will help you to plan for a gathering of 5 to 50 people!

P.S. Also find a fund outfit like this jumpsuit - I’m wearing an XS for reference

P.S. Also find a fund outfit like this jumpsuit - I’m wearing an XS for reference

TIP #1 - Make a Guest List and Send Invites

This first tip may sound obvious, but it is important! Making a numbered list of guests, and separating adults from kids, will help you get an idea of how many people you need to plan for with food, drinks, etc., and it will also help you set budget (see TIP #2). Once you have your list figured out, take the time to send out formal invitations. I typically opt for e-invites using platforms like Paperless Post because you can send it directly to an email address, see if your guests have received and opened the invite, track RSVPs and send reminders if anyone forgets to RSVP. E-invites are also nice because if you remember a guest you forgot to invite later on, you can send an invitation without worrying about whether or not it will get there in the mail. Paper invites are fine too and for really formal occasions I use them, but with busy lives, e-invites are typically my go-to!

TIP #2 - Set a Budget

Once you have an idea of how many guests you’d like to invite, try to set a budget and stick to it! With party planning it is really easy to get carried away and keep adding expenses here and there (I am my own worst enemy with this) but if you have a set amount you’d like to spend, it will help to keep stress to a minimum. When setting the budget, think about the type of party you want to have - are you looking to do a formal, sit-down dinner? Or a backyard barbecue? Do you want cocktails and crudités? Or a multi-course meal? You can set the budget per person for food or allocate a general amount for food and decor. See TIP # 4 for more on this!

TIP #3 - Choose a “Theme”

Theme may not be the right word but choosing a aesthetic for your party and deciding how you want everything to look is another important tip for making it appear that you have everything together (even if you don’t) and your guests will appreciate cohesiveness. Trust me, you don’t need to be creative to do this! If you want a rustic or boho theme, opt for things like burlap, white, and muted greens. Looking for formal? Stick to colors like gold, silver, black, royal or navy blues, and classic white. For summer parties or barbecues I like to use brighter, tropical colors like pinks, yellows, greens, and decorate with inexpensive pieces like palm leaves. If you are trying to decide on a theme, feel free to shoot me an email or comment below, I would love to help!

TIP #4 - Go Shopping (and How to Plan for Food)

My rule for shopping is two-fold. First, purchase decor two weeks ahead of time (especially if ordering online) because it gives you time to add pieces later if needed and also exchange products if they aren’t what you expected. Second, purchase food the weekend before, if possible, or the week of, but not later than 2 days before. Buying the food can be a challenge because things don’t last forever. I like to buy things like proteins ahead of time and freeze them if needed. For our party we had a ham and turkey that were frozen and we thawed them out a starting on Tuesday for a Saturday party. For things like vegetables, fruit, cheeses, and any cooking ingredients, most can be purchased 5 days before and will keep. Use your best judgment here and pay attention to how the food looks before you buy it. If the strawberries look super ripe, maybe hold off for a few days. When figuring out how much food to buy, I like to follow the rules of one protein for every ten people or 1/2-1 lb of meat per person. Obviously this can vary greatly but we come from families who LOVE leftovers so having extras is never really an issue. I also like to have variety so I want to give people the option of two different meats. And for things like a barbecue this can mean chicken and burgers, you don’t need a fancy carving protein! For sides I like to have two sides for every 10 people and 1 vegetable. You can be creative here depending on dietary restrictions, etc., but I think the more variety, the better. For desserts, always have at least 2 options, no matter how many people! If you are doing more of an appetizer type party, I like to have 5 different items for 25 people and estimate 3-4 of each per person. Oh and speaking of appetizers, I always like to have something for people to nosh on even if there is a dinner to follow so stick with inexpensive things like deviled eggs, a veggie tray, or frozen items like spanakopita that you can throw in the oven quickly! Obviously, you can always cater too, but my family and I love to cook!

TIP #5 - Allocate Tasks and Accept Help

If you are having a larger party, this is important! Do NOT try to do everything on your own if you have people offering to help. If you are worried about things not looking how you want them to, allocate tasks that can’t really be messed up. Have someone help count seating and set the table, run to the store, etc. And if you have anyone really creative helping you, use them to your advantage! I wouldn’t be able to plan such great parties without the help of my sisters! Also, if you are making food on your own and someone offers to bring something, don’t be afraid to take them up on the offer! Things like fruit, veggie trays, even a salad, are all great options.

TIP #6 - Tablescapes

This tip can apply whether or not you are having a formal sit down party or not. Tablescapes are super easy to throw together and they give your party that extra touch of wow! Once you’ve chosen your theme, measure your tables and create something that flows with the rest of your decor. It doesn’t have to be expensive or complicated. For our Easter/Passover party we opted for white table cloths, some fake garland, wide burlap ribbon and gold speckled eggs - all of which were found at the local craft store. If you want to add an extra touch, you can always opt for chargers underneath your plates and fun napkin folds - we made really easy bunnies for our table. Fresh flowers also go a LONG way on any table. If you do nothing else, run and grab some fresh florals and place them on your tables! I like to get bigger blooms like hydrangeas that take up a lot of space so you don’t need to spend as much! Trader Joes or a local farm market are the best places for fresh flowers in my opinion. You should aim to set your tables and tablescapes 1-2 days before your actual party.

TIP #7 - Label Your Serving Dishes Ahead

It’s never fun scrambling last minute to make sure you have enough platters and that they are all of the right sizes, so my sister taught me a great tip - label everything ahead of time! If you know you want your salad in a pretty glass bowl, label it, and if you know you need 5 different plates for appetizers, write down what they are on a sticky note and stick it on the dish. This not only will help you keep your sanity the day of, but it also will allow others to help plate things without asking a bunch of questions because you have already told them where it’s going!

TIP #8 - Create a Signature Cocktail and/or Drink Station

Another great thing you can do to add a nice touch is create a signature cocktail or drink station for your party. This will allow people to have a choice in what they drink and they can even make a mocktail if no alcohol is added ahead of time for a signature cocktail. It’s a nice way to get your party started as well and has an air of sophistication about it. Lemonade always makes for a great base because it can be mixed well with all types of alcohol. Adding fresh fruit and herbs too allows for a truly custom crafted cocktail. I love this letter board too which could be customized for the cocktail or for the party occasion.

TIP #9 - Don’t be Afraid to Guide People

Parties need a host for a reason, if there isn’t one, everyone would sit around and not really know what to do when. So, don’t be afraid to guide people to different things. If you are serving appetizers, announce it. When it’s time for dinner, ask everyone to find their seats. Don’t be afraid to ask more than once - the more people, the harder it is to corral everyone, so make sure you let everyone know when it’s time to transition to the next thing!

TIP #10 - Work the Room and Say Thank You

As a host, you also need to remember to work the room and thank all of your guests for coming. You don’t have to get into a 1/2 hour conversation with everyone, especially if there are a ton of people, but a personal “thank you” goes a long way. You can do this while offering drinks, taking coats, showing them around, etc. Nobody is going to be mad at you for walking around to greet your guests and if they are then either put them another cocktail or don’t invite them the next time ;-)

BONUS TIP - Create Something for the Kids

Okay I know I said this would be 10 tips, but here’s a BONUS. If you plan to have kids at your parties, make sure you have something for them to do and give them their own table if possible. You can do simple things like a coloring station, or a few little prizes - we did an egg hunt! Giving the kiddos something to do will help to keep them occupied and their parents will thank you for allowing them to be adults for a minute! Also, if you give them their own table then it’s much easier to use things like paper plates, etc. and minimize a mess and broken dishes and it also is less likely to disrupt anyone eating at the “adult” table.

I hope you all loved reading these TOP 10 HOSTING TIPS! If you have any questions, want to bounce an idea, or just wonder where something is from, please shoot me an email, comment below, or DM me on Instagram! I would love to help you with planning your next party!

XoXo - Jamie

IMG_9656.jpg

The Perfect Holiday Centerpiece: Featuring Bedford Village Flower Shoppe

I don’t think there is anything more welcoming in a home than fresh flowers..am I right?? And honestly, during the holidays we all want to step up our flower game to impress those dinner guests and family members coming from near and far. However, I know during this time of year when we are all as busy as can be, it’s pretty easy to overlook such an important detail, but that is why the world gave us AMAZING florists like Bedford Village Flower Shoppe! If you are in the Westchester/Connecticut area, you don’t need to look any further for all of your holiday and floral needs. Whether you are in search of a gorgeous holiday arrangement or a gift for that special someone, Bedford Village Flower Shoppe has you covered!

Peonies, Brunia, Amarylis, and Evergreens - GORGEOUS!!

Peonies, Brunia, Amarylis, and Evergreens - GORGEOUS!!

I just received the MOST STUNNING holiday arrangement ever from them and it looks absolutely gorgeous on my dining table, and matches my china perfectly (#winning)! This particular arrangement is a lovely mix of Peonies, Brunia, Amarylis, and Evergreens. It also has a beautiful rustic, winter touch with the pinecones and distressed wooden holder. No matter what you are looking for by way of size, shape, color, and cost, they can accommodate your every need and truly help you create a customized arrangement! These also are TOP QUALITY flowers. No filler, no fluff, just truly beautiful and fresh flowers and products that are sure to last!

IMG_5713.jpg

Oh and not only are their flowers absolutely stunning, but this shop is owned by the world’s sweetest couple. They go above and beyond to make sure that you get everything that you want as a customer…a quality that is hard to come by these days if you ask me! They also have a blog which gives great tips and tricks for choosing a perfect arrangement…a must read for the holidays!

Bedford Village Flower Shoppe also does more than just arrangements for your home, they are full service for weddings and special events. All of you 2019, 2020, actually just ALL OF YOU BRIDES TO BE, go check them out!! They have a stunning online wedding gallery to give you little taste of just how beautiful they can make your special day! Also, go check out their Instagram and Facebook pages for more pictures of their stunning work!

So if you are in need of flowers and arrangements for any and everything, go check them out and tell them I sent you :)

Bedford Village Flower Shoppe

641 OLD POST RD, BEDFORD, NY 10505 

Phone: (914) 228-1587 Email: info@bedfordvillageflowershoppe.com

Instagram

Facebook

IMG_5722.jpg

If you have any questions, feel free to leave them in the comments below!

Here’s to you having a GORGEOUS holiday table this year!

XoXo - Jamie

*This is an affiliate post. However, all opinions and write-ups are my own.

Easy Hanukkah Holiday Recipes

How is it December already?? I swear I was just lounging in the pool a minute ago. But, no denying it, we are in full blown holiday season and for most of you that probably means you are B.U.S.Y….I know I am! Now after Thanksgiving I am pretty over cooking, at least for a few weeks, but with Hanukkah approaching and Christmas right behind it, I like to use recipes that are both fun and easy to make.

fullsizeoutput_3aaf.jpeg

I also hate showing up empty handed, even if it’s to family events, so for this year’s Hanukkah celebrations I made two really easy recipes that I’ve shared with you all below. These Hanukkah Cookies and Crockpot Applesauce are a perfect mix of festive and traditional, and are sure to be enjoyed and appreciated by all!

Hanukkah Iced Sugar Cookies (2-3 hours total prep/cooking/decorating time)

  • Cookie Ingredients (yields about 30 cookies)

    • 3 cups unbleached flour

    • 1/2 tsp baking powder

    • 1/2 tsp salt

    • 1 cup unsalted butter (room temperature)

    • 1 1/3 cups white sugar

    • 2 large eggs

    • 2 tsp vanilla extract

    • Hanukkah (or any holiday) cookie cutters

  • Frosting Ingredients

    • 1/2 cup salted butter (room temperature)

    • 1/2 cup vegetable shortening

    • 5-6 cups powdered sugar (taste after 5 cups)

    • 4 tsp vanilla extract

    • 3 tbsp milk

    • Blue gel based food coloring

  • DIRECTIONS

    • For the cookies, mix together the flour, baking powder, and salt in separate bowl. Then, in a stand mixer with a paddle attachment, whip butter until smooth. Add in the sugar to the butter and mix for a few minutes until fluffy. With the mixer on low, add in each egg and the vanilla.

    • When all wet ingredients are mixed, turn the mixer off and add in 1/2 of the flour mixture. If you have it, you can switch out the paddle attachment with a dough hook before adding in the rest of the flour mixture (if not, just keep adding the flour in as usual). A pretty stiff dough should form. Be sure not to over mix the dough. If it is combined and looking like cookie dough, you are done.

    • Remove dough from mixing bowl and form into a round disc shape. Wrap in plastic wrap and refrigerate for at least one hour. I usually make the dough the night before (if you do this, be sure to bring to room temperature before baking).

    • While you are waiting for your dough to chill, you can make the icing. This recipe couldn’t be easier…In a stand mixer, with the whisk attachment, add in the butter, shortening, vanilla, powdered sugar and milk. I suggest adding powdered sugar in gradually so it doesn’t look like the first snow storm in your kitchen (speaking from experience here). If you want your icing a bit sweeter, add in more powdered sugar. And if it seems really dry, add in a bit more milk. You really can’t mess this up! The taste should remind you of those soft sugar cookies with the colored icing and sprinkles you can buy in the supermarket.

      • **This icing is designed to crust over (which is why we add the shortening) so if you prefer that it doesn’t, you can just sub with more butter, but I highly suggest using the shortening, especially if you want cookies that can transport easily.

    • If desired, split the icing in half and add blue food color gel to the icing until you’ve reached the desired color. Kids LOVE the colored icing. Be sure to keep the icing covered while waiting to ice your cookies.

    • BACK to the cookies….

    • Once your icing is done, set the oven to 350 degrees. While the oven heats, cover two cookie sheets with parchment paper.

    • Remove the dough from the fridge and split in half. Place each piece of dough between two sheets of wax paper and roll until it is about 1/4 inch thick. After rolling the dough out, cut desired shapes with cookie cutters. Any extra dough can be rolled again to yield the maximum amount of cookies.

    • Place cut shapes onto the cookie sheets and bake for 10 minutes. Watch for the bottoms to get slightly golden if you want a crispier cookie (about 11 min), if you want a softer cookie, take them out right at the 10 minute mark or just before. Be sure to move to a cooling rack immediately and cool completely before icing

    • The FINAL STEP - let’s decorate! This is the fun part so feel free to get creative and get the kiddos involved! You can spread or pipe the icing on (if piping, be sure to add a little more milk) and then decorate with any sprinkles or decorations you have! I found great Hanukkah themed sprinkles at Home Goods of all places!


Another super easy dish that makes a perfect topping for latkes is homemade applesauce. This Crockpot Applesauce is also so easy and delicious!

  • Crockpot Applesauce

    • 12 apples (I like Golden Delicious)

    • 1/2 cup sugar

    • 1/2 cup water

    • 1 tbsp lemon juice

    • 1/2 tsp cinnamon.

  • DIRECTIONS

    • Core, skin, and cut your apples into quarters and place in crockpot. Add in lemon juice and toss (if your crockpot isn’t huge, I suggest doing this beforehand). Toss apples with cinnamon and sugar. Then add water into crockpot.

    • Place top on and turn on high for about 3 hours or until the apples are really soft and can be mashed. Once soft, turn heat off and let cool for about 10-15 minutes. Then, mash the apples with a potato masher to desired consistency.

    • Next…just kidding, you’re done! How easy was that!?

Remember, all of these recipes can be adapted for any holiday and to your tastes! They are both so easy and delicious and you can make them ahead of time! Woohoo!

If you have questions, please feel free to comment below!

Happy Hanukkah and Happy Holidays!!

XoXo - Jamie