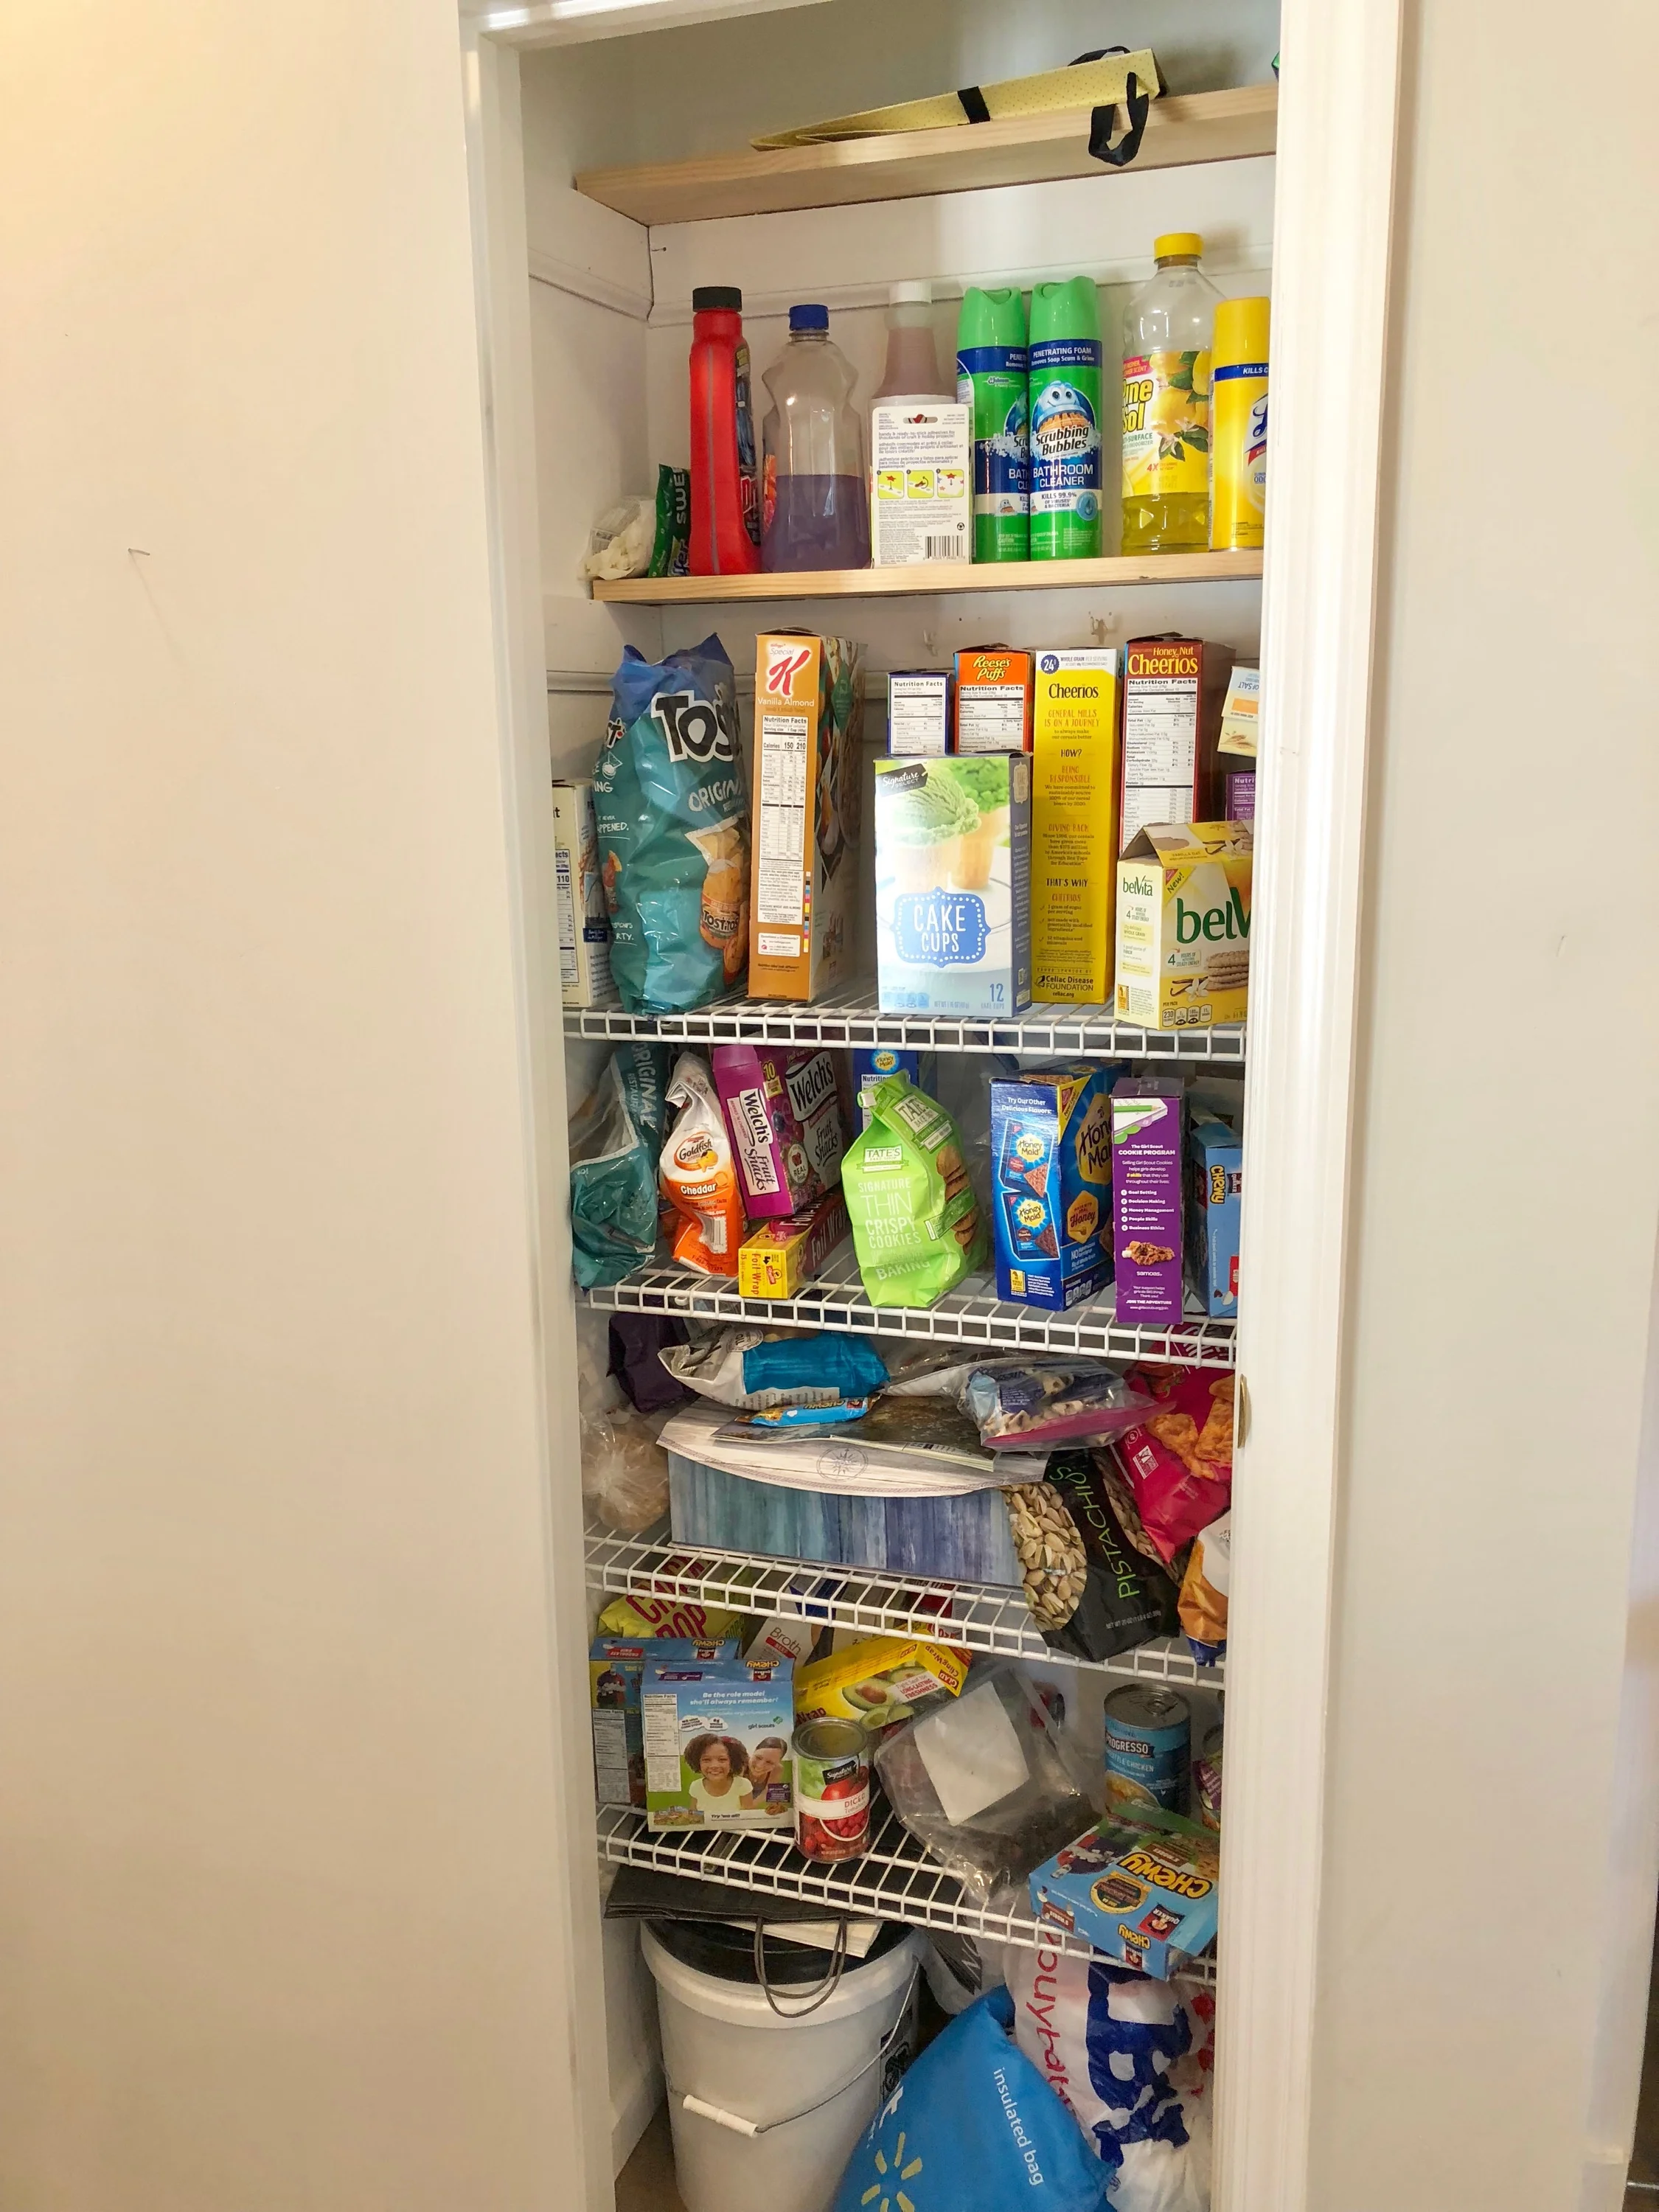
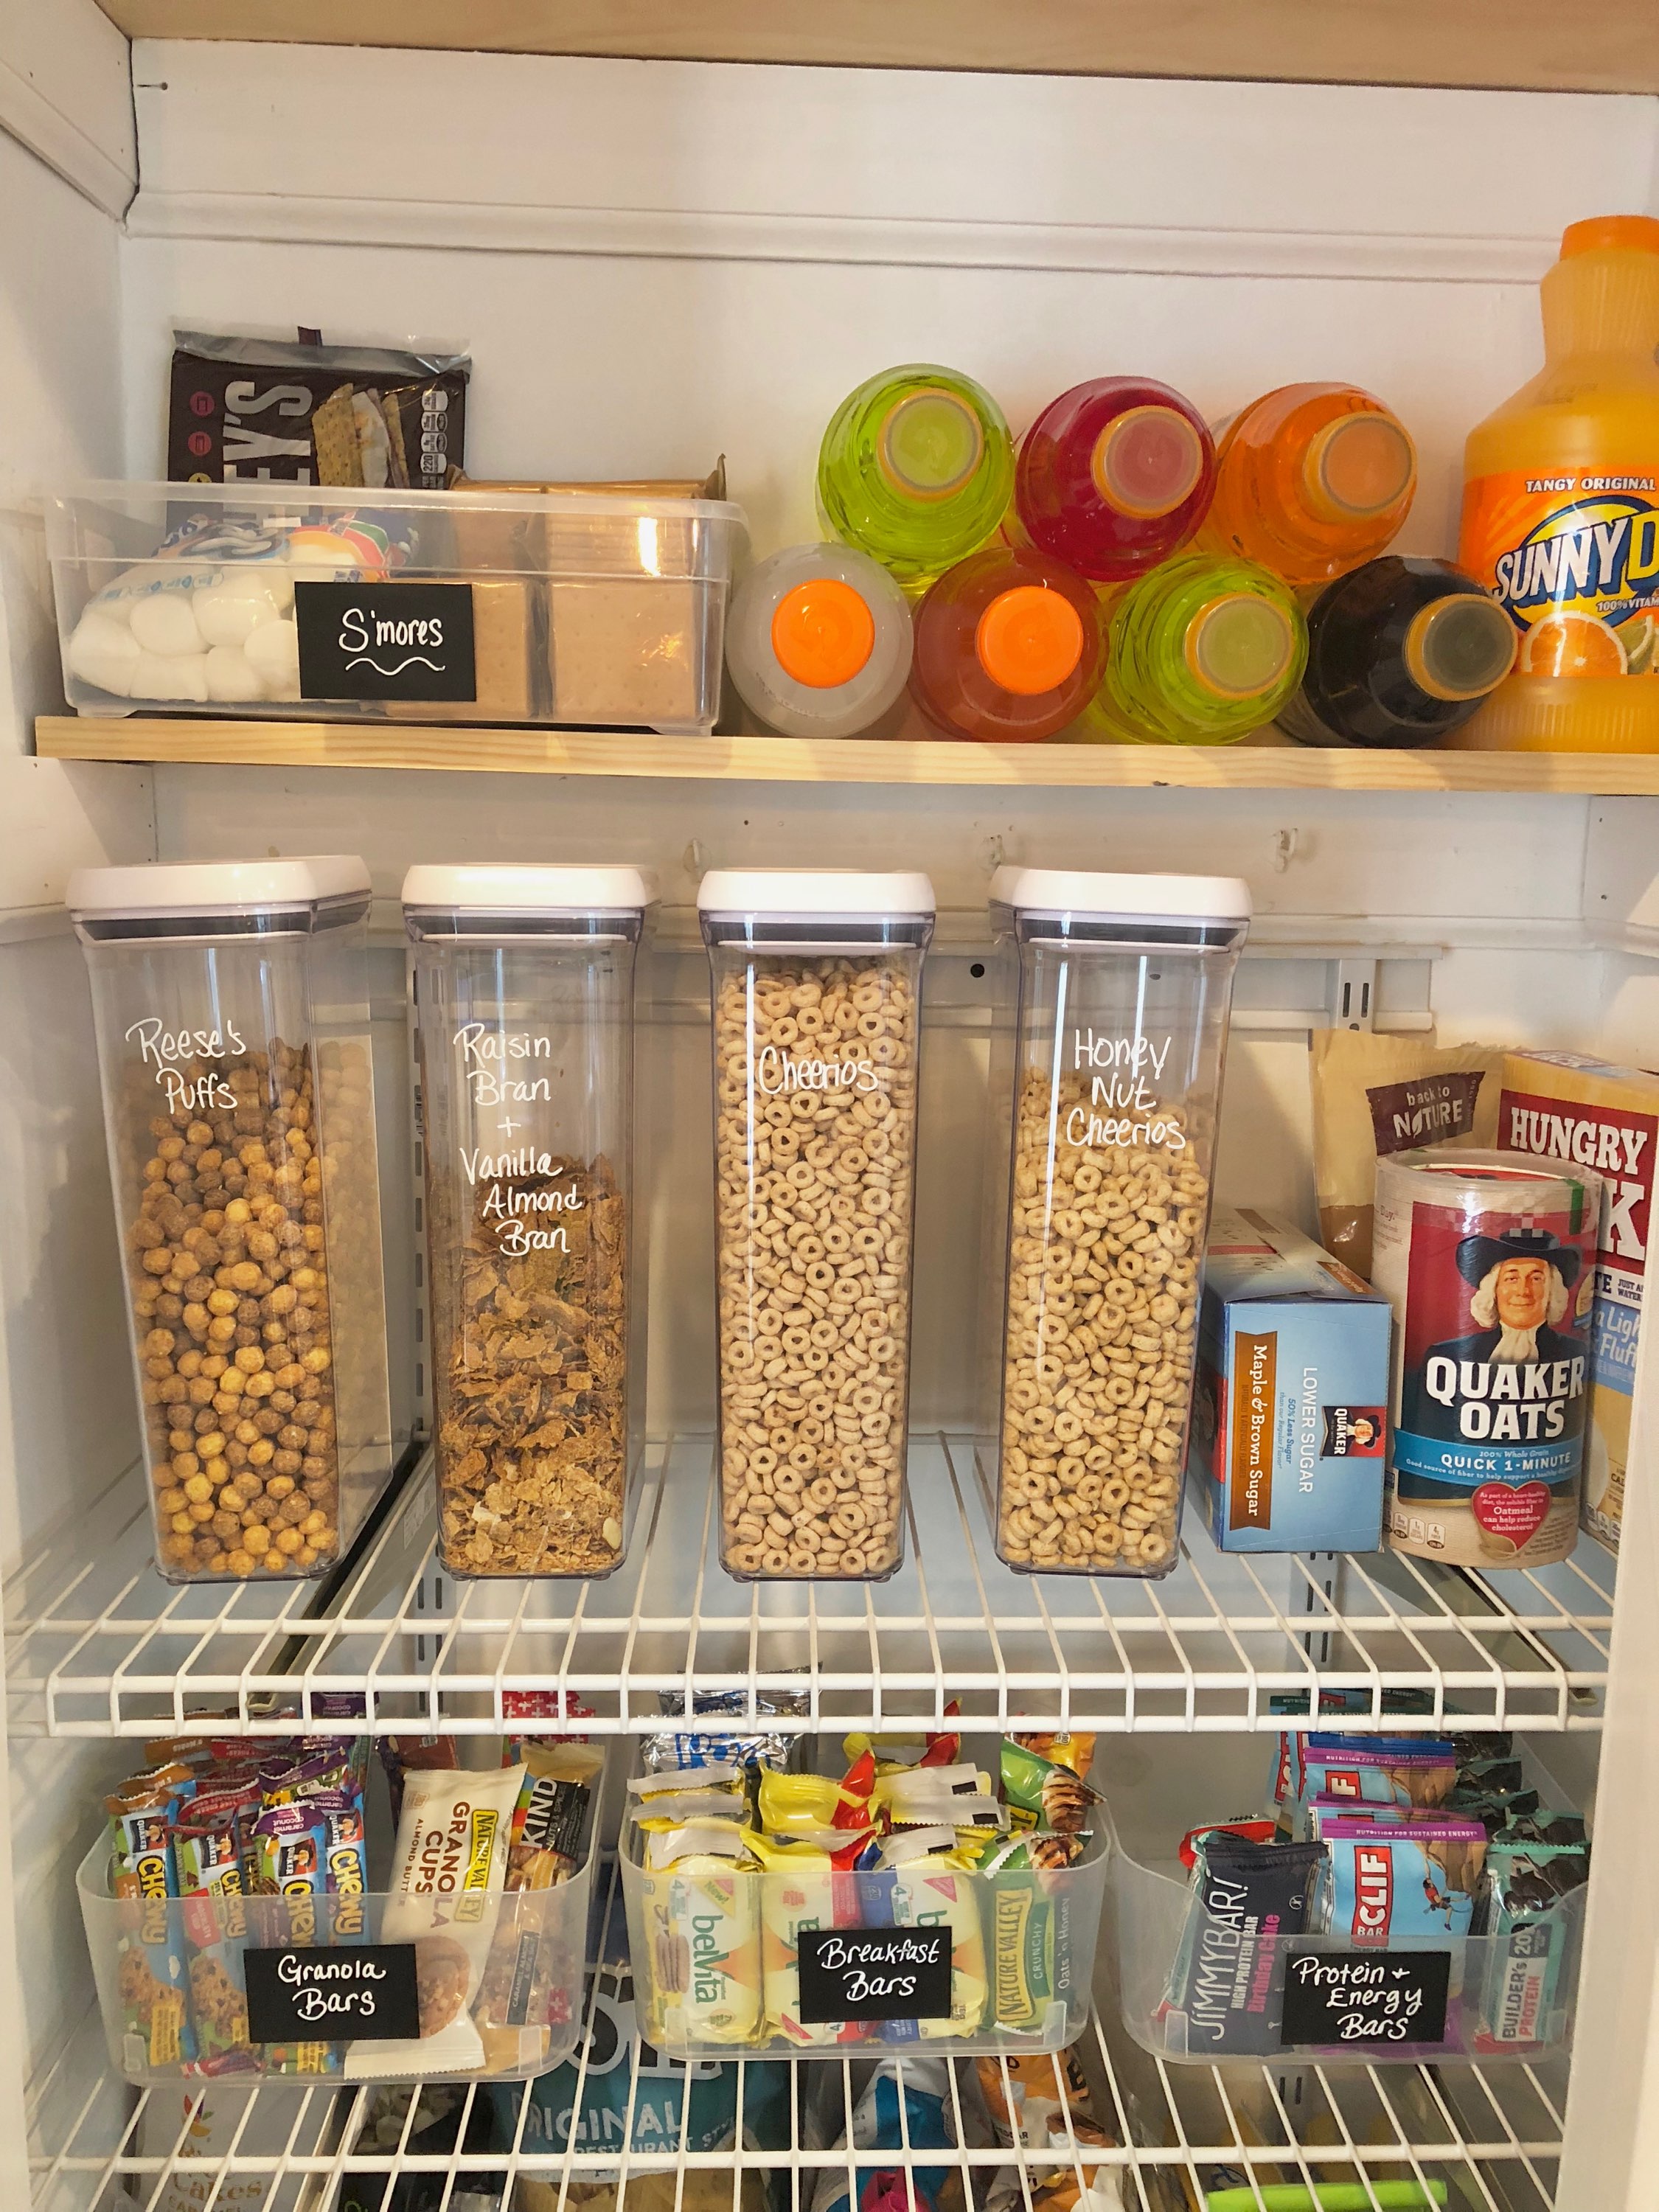
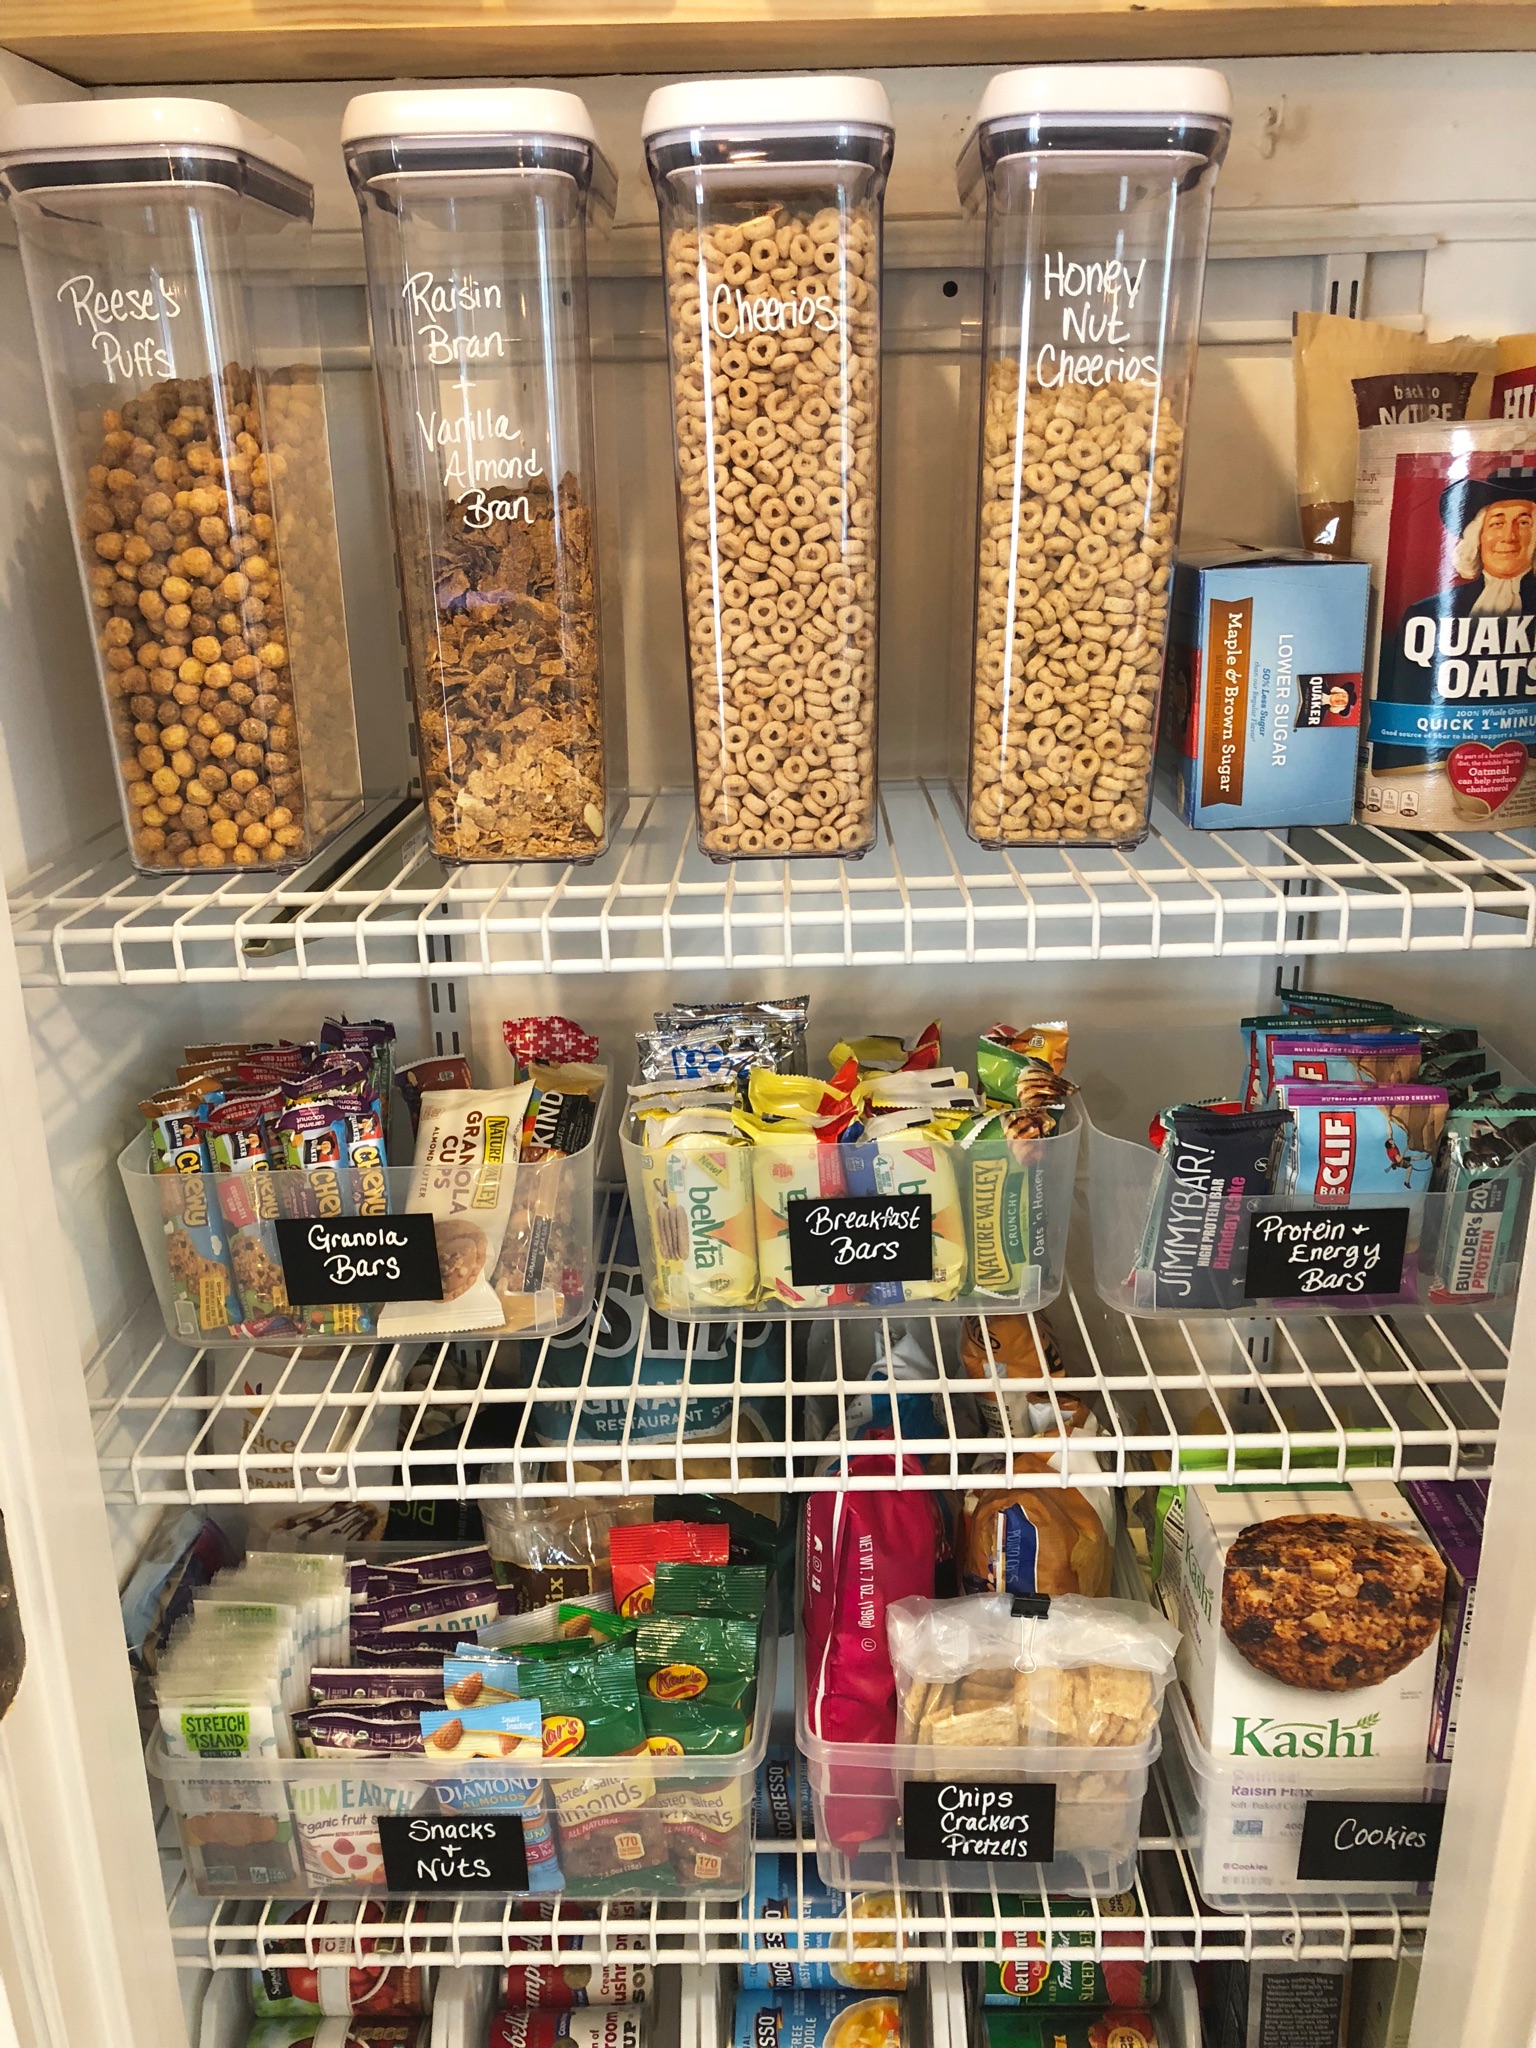
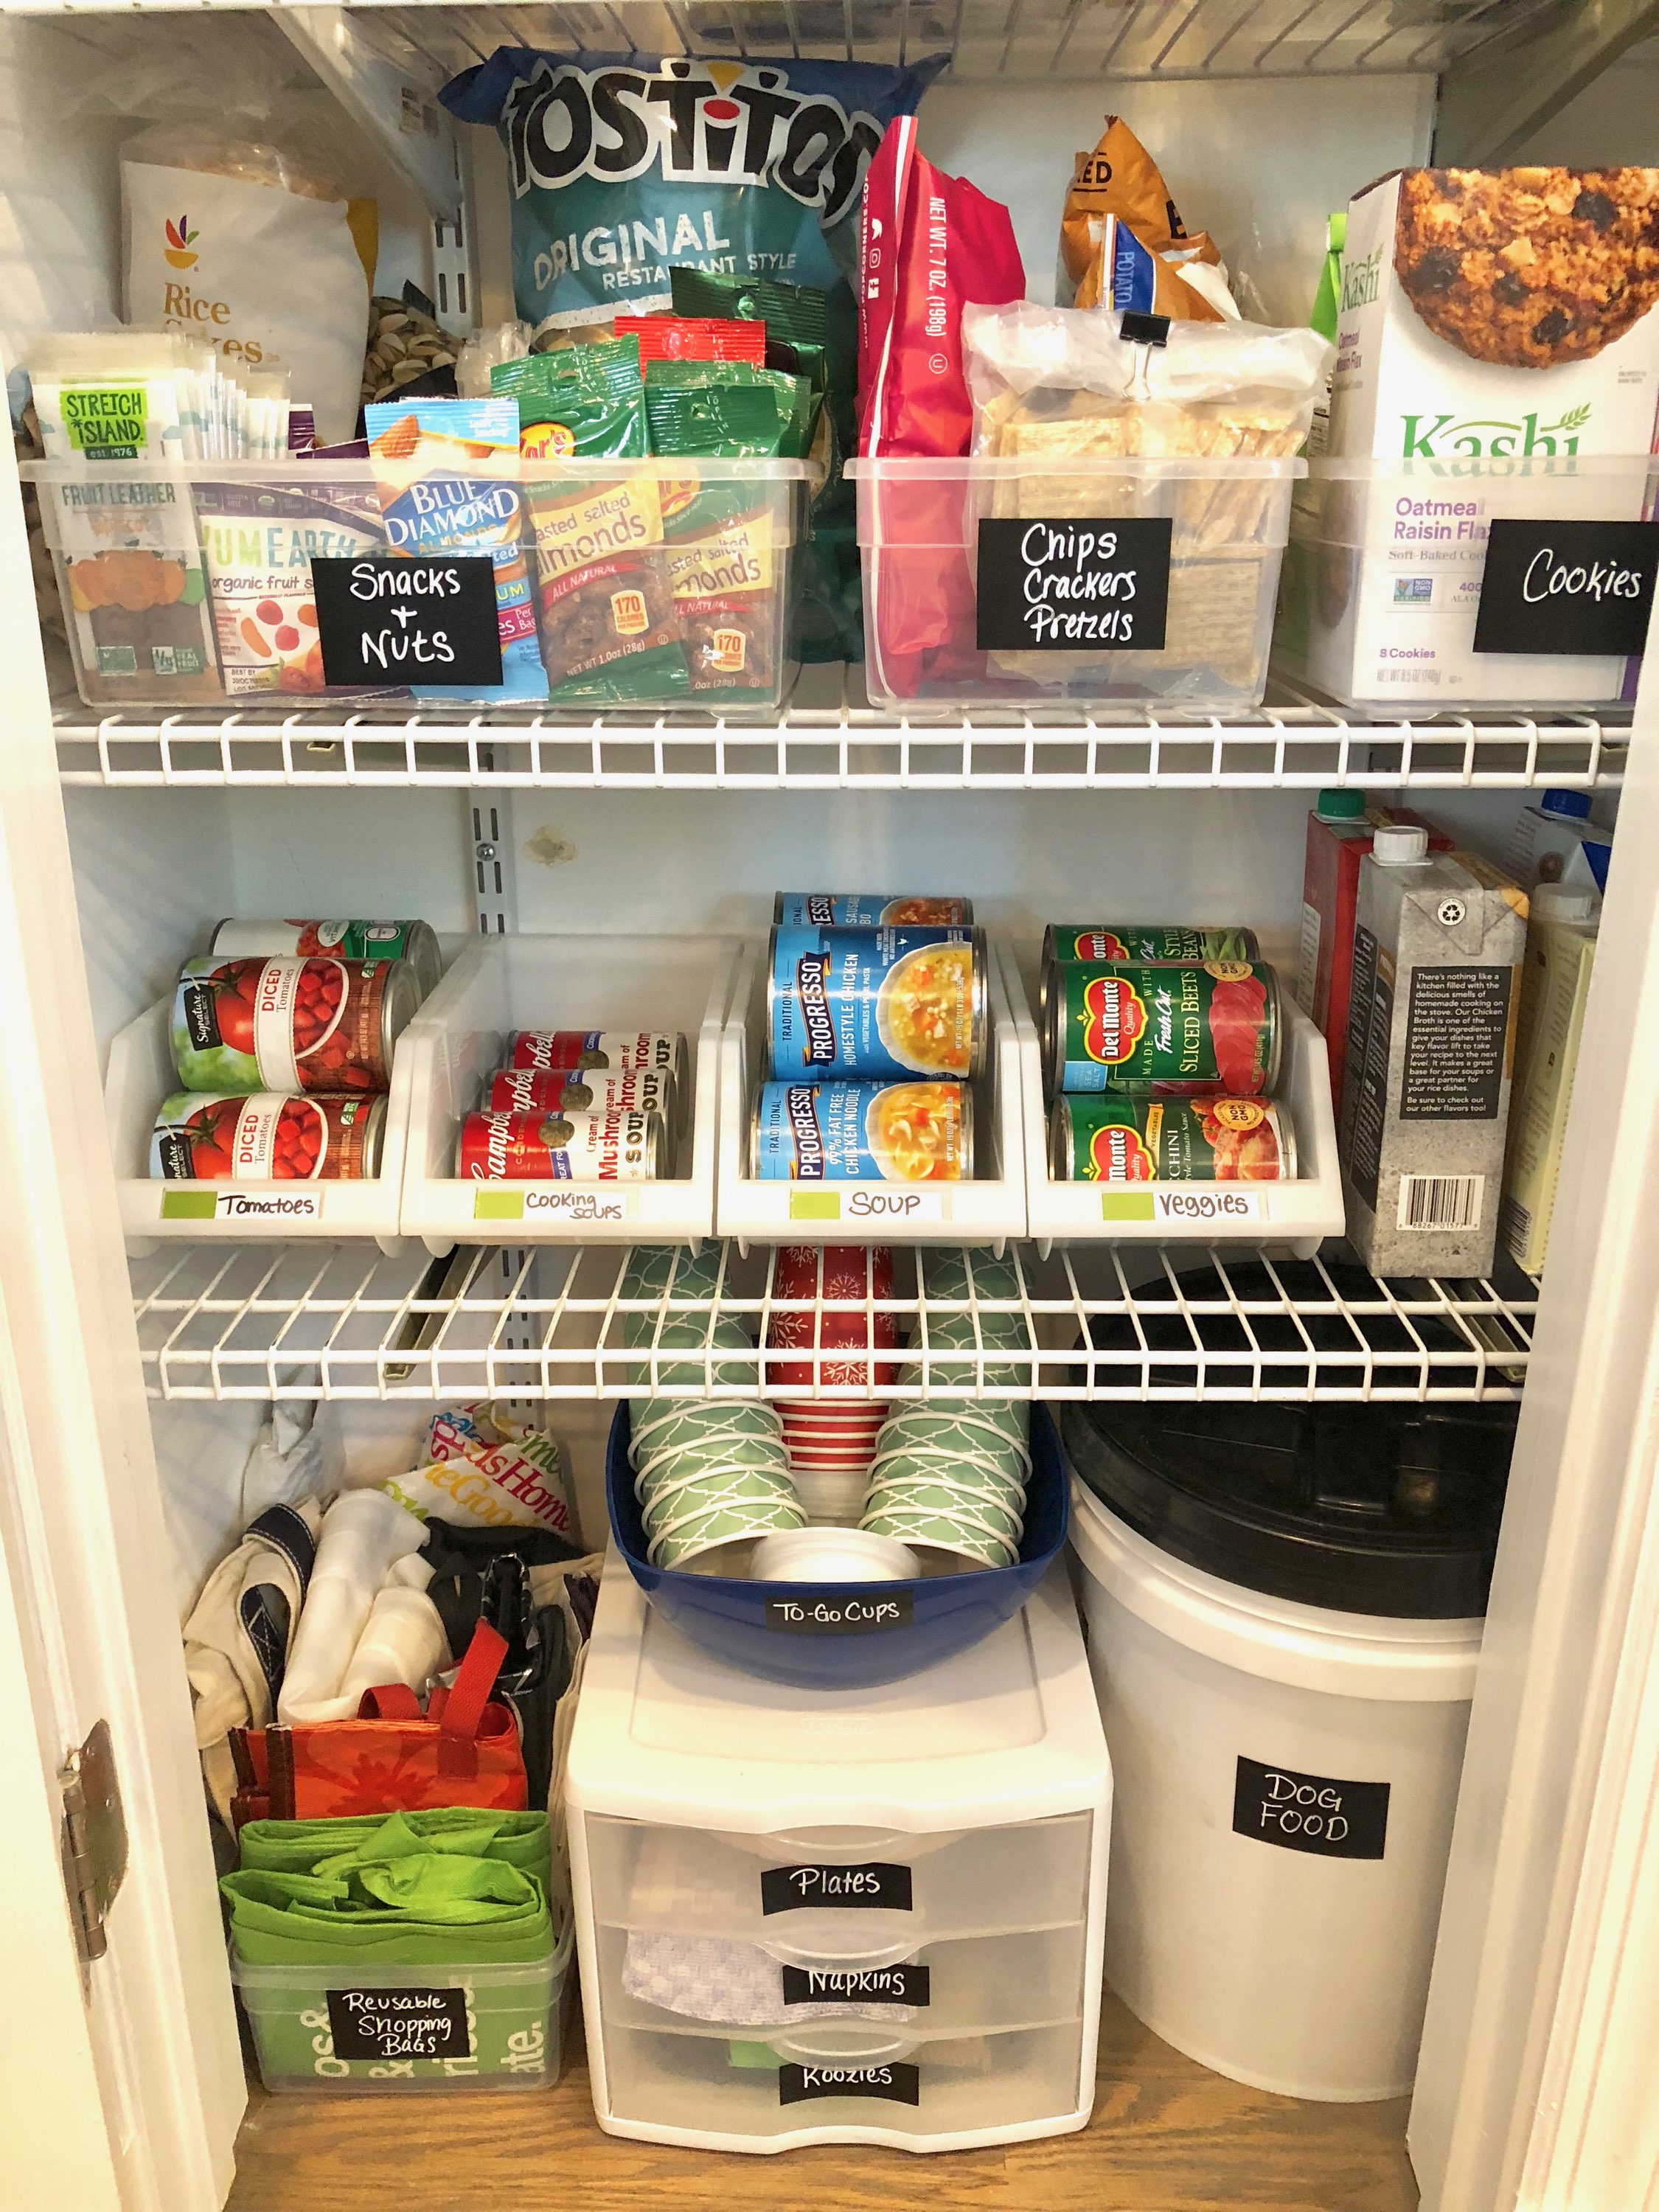
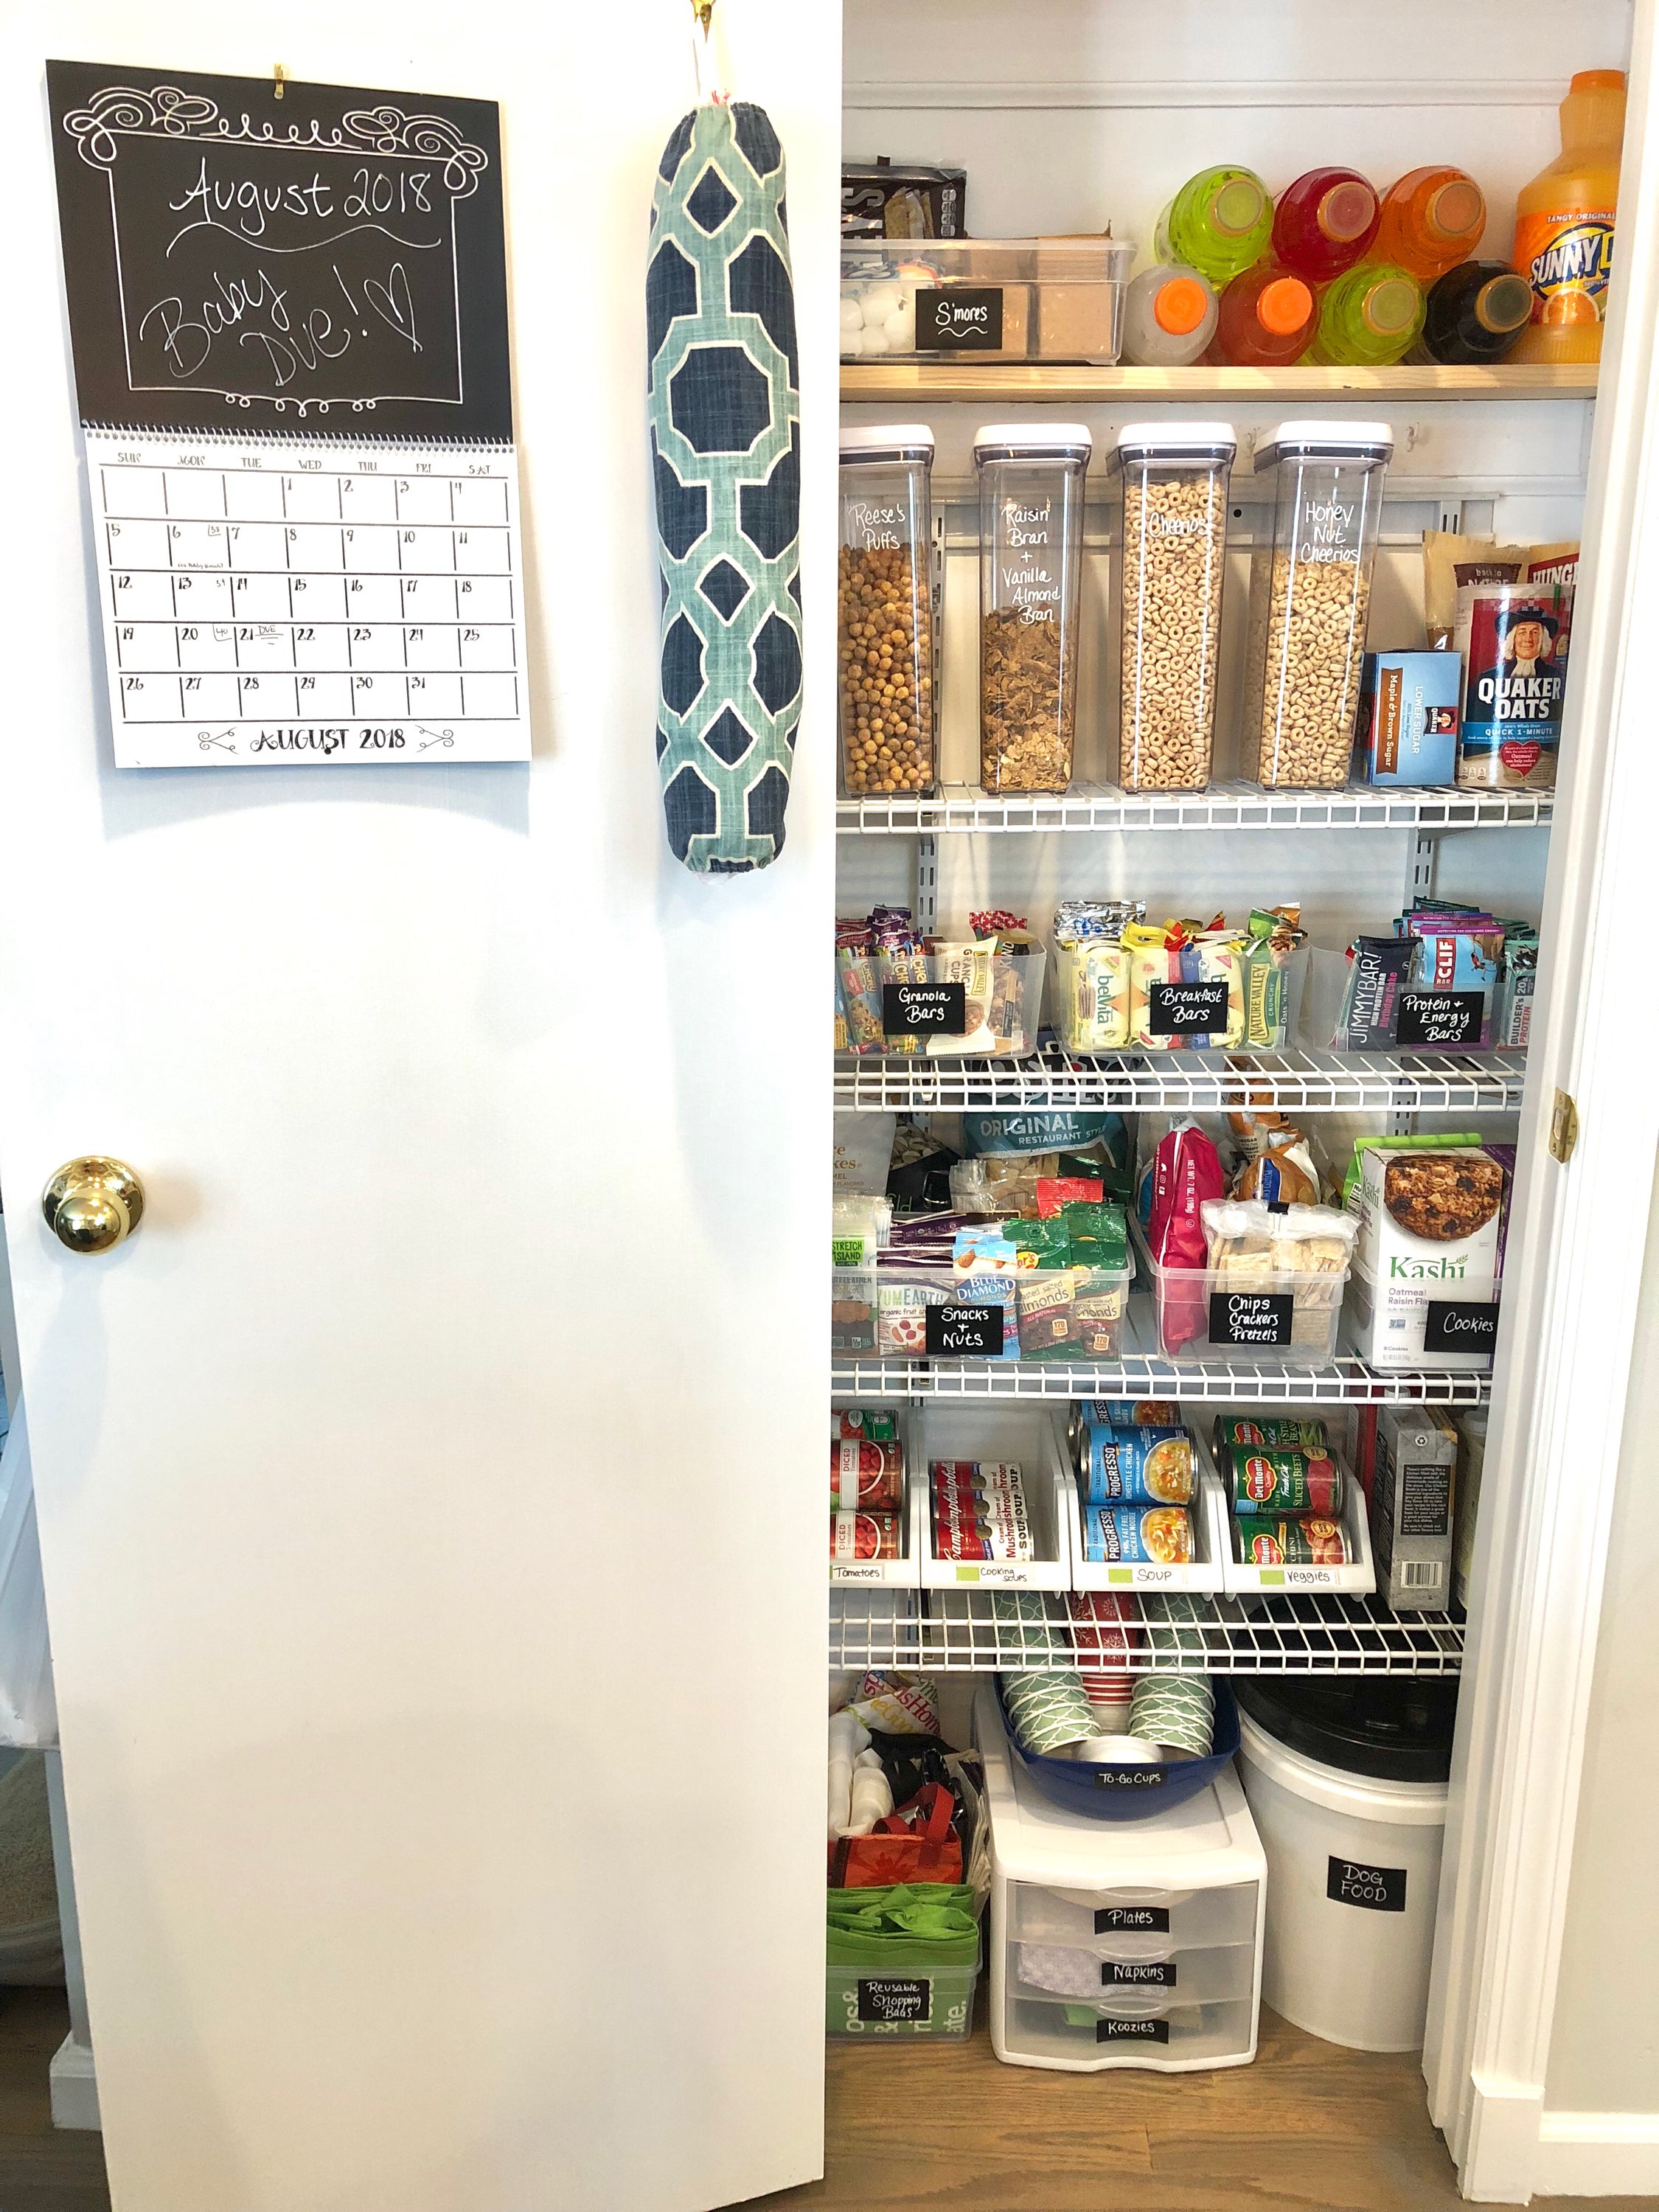
STEP 3: ORGANIZE & LABEL - Now it's time to actually start making some progress. After you've figured out where you want to place everything, you can start labeling and organizing. I opted to use adhesive chalkboard stickers and a Chalk Ink marker for my labeling, but you can print labels or make them however you want, put your own spin on it! The thing I like about the chalkboard labels is that you can easily wipe them clean and re-write if you make a mistake or change what is in your containers. You can also write directly on the bins and containers if they are plastic, glass, etc. with the Chalk Ink markers!
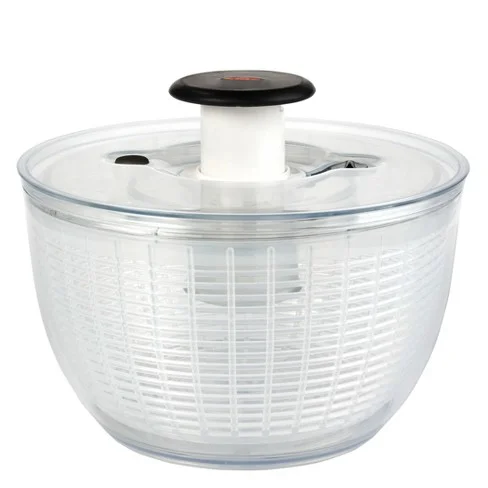
For the containers, I chose a variety of different types of containers and bins. With the cereal, I knew I wanted to get the sealing OXO POP containers which help to lock in freshness since cereal seems to always go stale (gross)! If you have a lot of different foods you plan to store in your pantry like pasta, grains, etc., I recommend purchasing an OXO POP Set like this one. I then found some smaller bins with handles (I purchased the SMALL size) for things like granola and cereal bars. At the Container Store, there was also an awesome deal on clear shoebox size bins. If you bought a case of 5, you saved 20%, making each container about $1.60 each..pretty good deal if you ask me! I also found open stackable bins for soup cans and they are the perfect width for large and smaller cans - I got the MEDIUM size! All of the fancier things made specifically to store cans wouldn't fit into my narrow pantry so when I found these, I figured I'd give them a shot and they are perfect! You can easily stack cans on top of each other but also see everything that you are storing for easy access. They even came with labels already attached so all I needed to do was write on them.
When organizing, I tried to group things by category. At the top of the pantry we have a really narrow shelf so I tried to come up with some solutions for it. I realized that it could easily fit bottled drinks like Gatorade which take up a ton of room in a cabinet. I also have s'mores stuff for the summer, so I figured I would group all of those items together so when we entertain, it is easy to grab the whole bin out and have everything in one place. I placed all cereal and breakfast items together on one shelf and just below that shelf I grouped together things like granola bars, breakfast bars, and protein bars. I figured this would make it easier to find and for my husband to find the things that he wants without rummaging through various shelves and messing up the beautiful organization! On the next shelf I grouped together snacks, chips, pretzels, and cookies. Below that shelf, I placed my canned goods like soups, veggies, and broths. I tried to organize the canned goods by type. For example, canned tomatoes placed together and cooking soups placed together. The idea is that when you go to cook, you don't have to spend time sifting through various bins to find what you need.
