Easy Hanukkah Holiday Recipes

How is it December already?? I swear I was just lounging in the pool a minute ago. But, no denying it, we are in full blown holiday season and for most of you that probably means you are B.U.S.Y….I know I am! Now after Thanksgiving I am pretty over cooking, at least for a few weeks, but with Hanukkah approaching and Christmas right behind it, I like to use recipes that are both fun and easy to make.

fullsizeoutput_3aaf.jpeg

I also hate showing up empty handed, even if it’s to family events, so for this year’s Hanukkah celebrations I made two really easy recipes that I’ve shared with you all below. These Hanukkah Cookies and Crockpot Applesauce are a perfect mix of festive and traditional, and are sure to be enjoyed and appreciated by all!

Hanukkah Iced Sugar Cookies (2-3 hours total prep/cooking/decorating time)

  • Cookie Ingredients (yields about 30 cookies)

    • 3 cups unbleached flour

    • 1/2 tsp baking powder

    • 1/2 tsp salt

    • 1 cup unsalted butter (room temperature)

    • 1 1/3 cups white sugar

    • 2 large eggs

    • 2 tsp vanilla extract

    • Hanukkah (or any holiday) cookie cutters

  • Frosting Ingredients

    • 1/2 cup salted butter (room temperature)

    • 1/2 cup vegetable shortening

    • 5-6 cups powdered sugar (taste after 5 cups)

    • 4 tsp vanilla extract

    • 3 tbsp milk

    • Blue gel based food coloring

  • DIRECTIONS

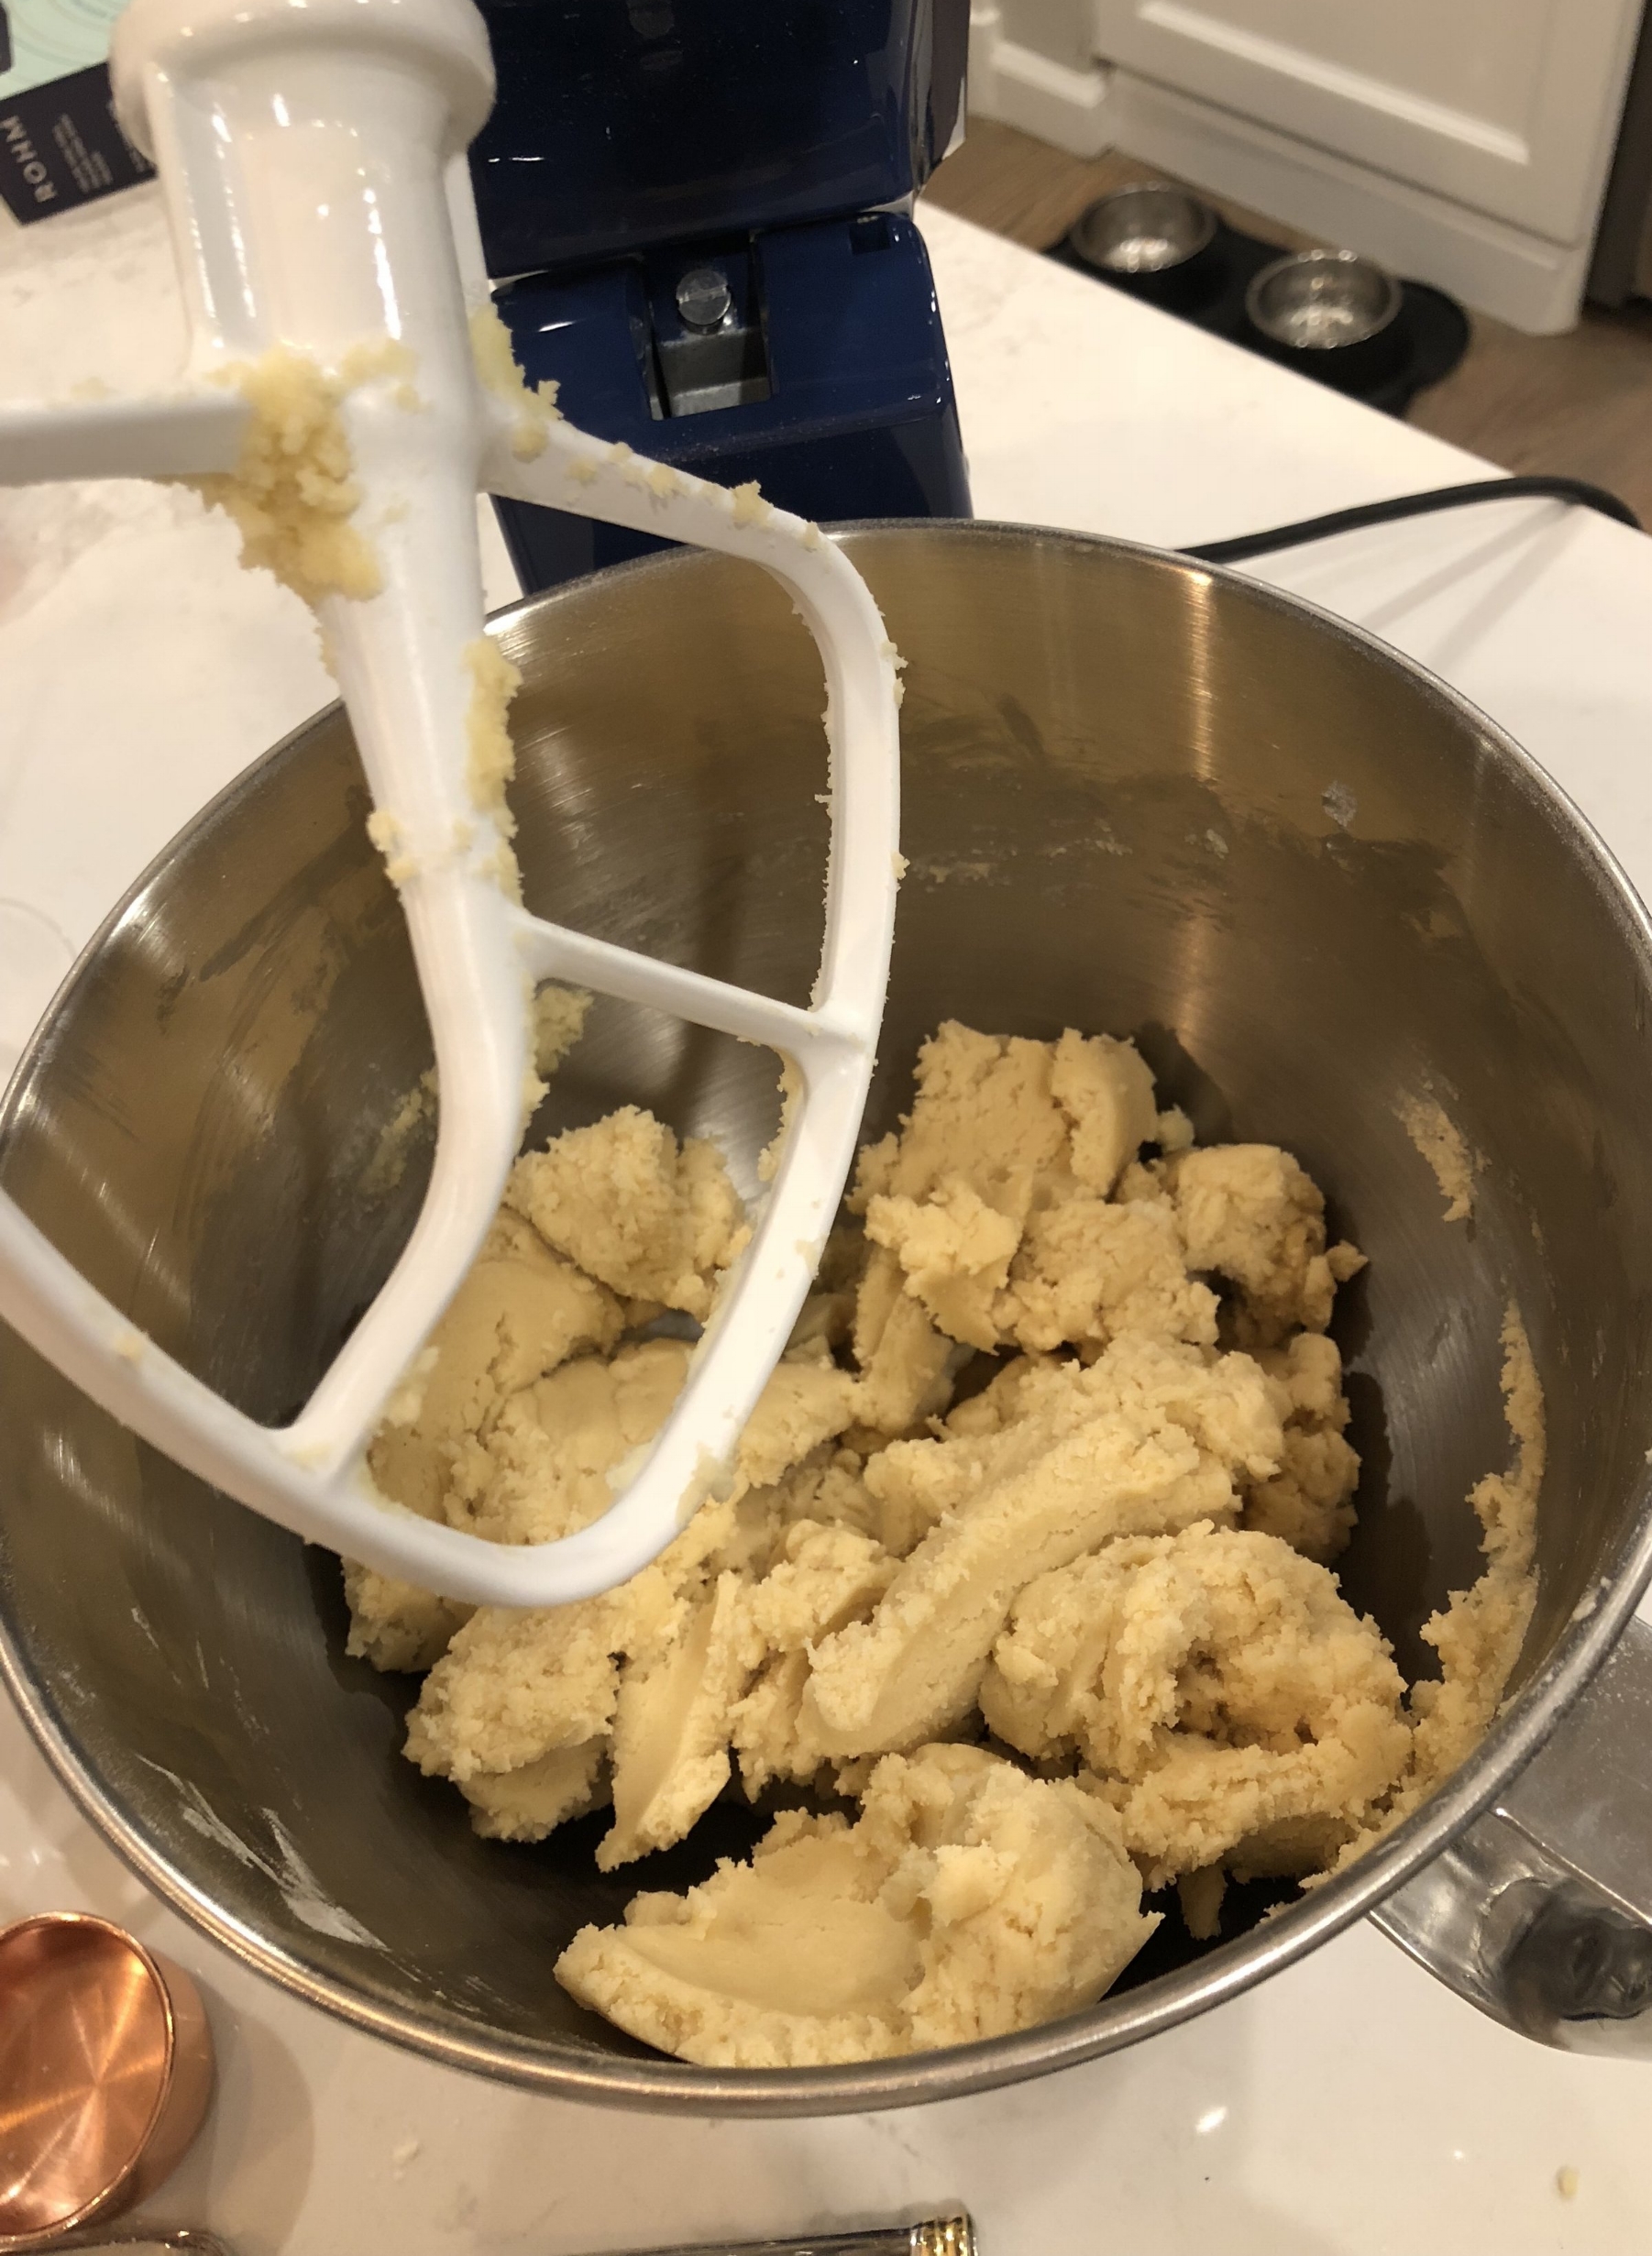
    • For the cookies, mix together the flour, baking powder, and salt in separate bowl. Then, in a stand mixer with a paddle attachment, whip butter until smooth. Add in the sugar to the butter and mix for a few minutes until fluffy. With the mixer on low, add in each egg and the vanilla.

    • When all wet ingredients are mixed, turn the mixer off and add in 1/2 of the flour mixture. If you have it, you can switch out the paddle attachment with a dough hook before adding in the rest of the flour mixture (if not, just keep adding the flour in as usual). A pretty stiff dough should form. Be sure not to over mix the dough. If it is combined and looking like cookie dough, you are done.

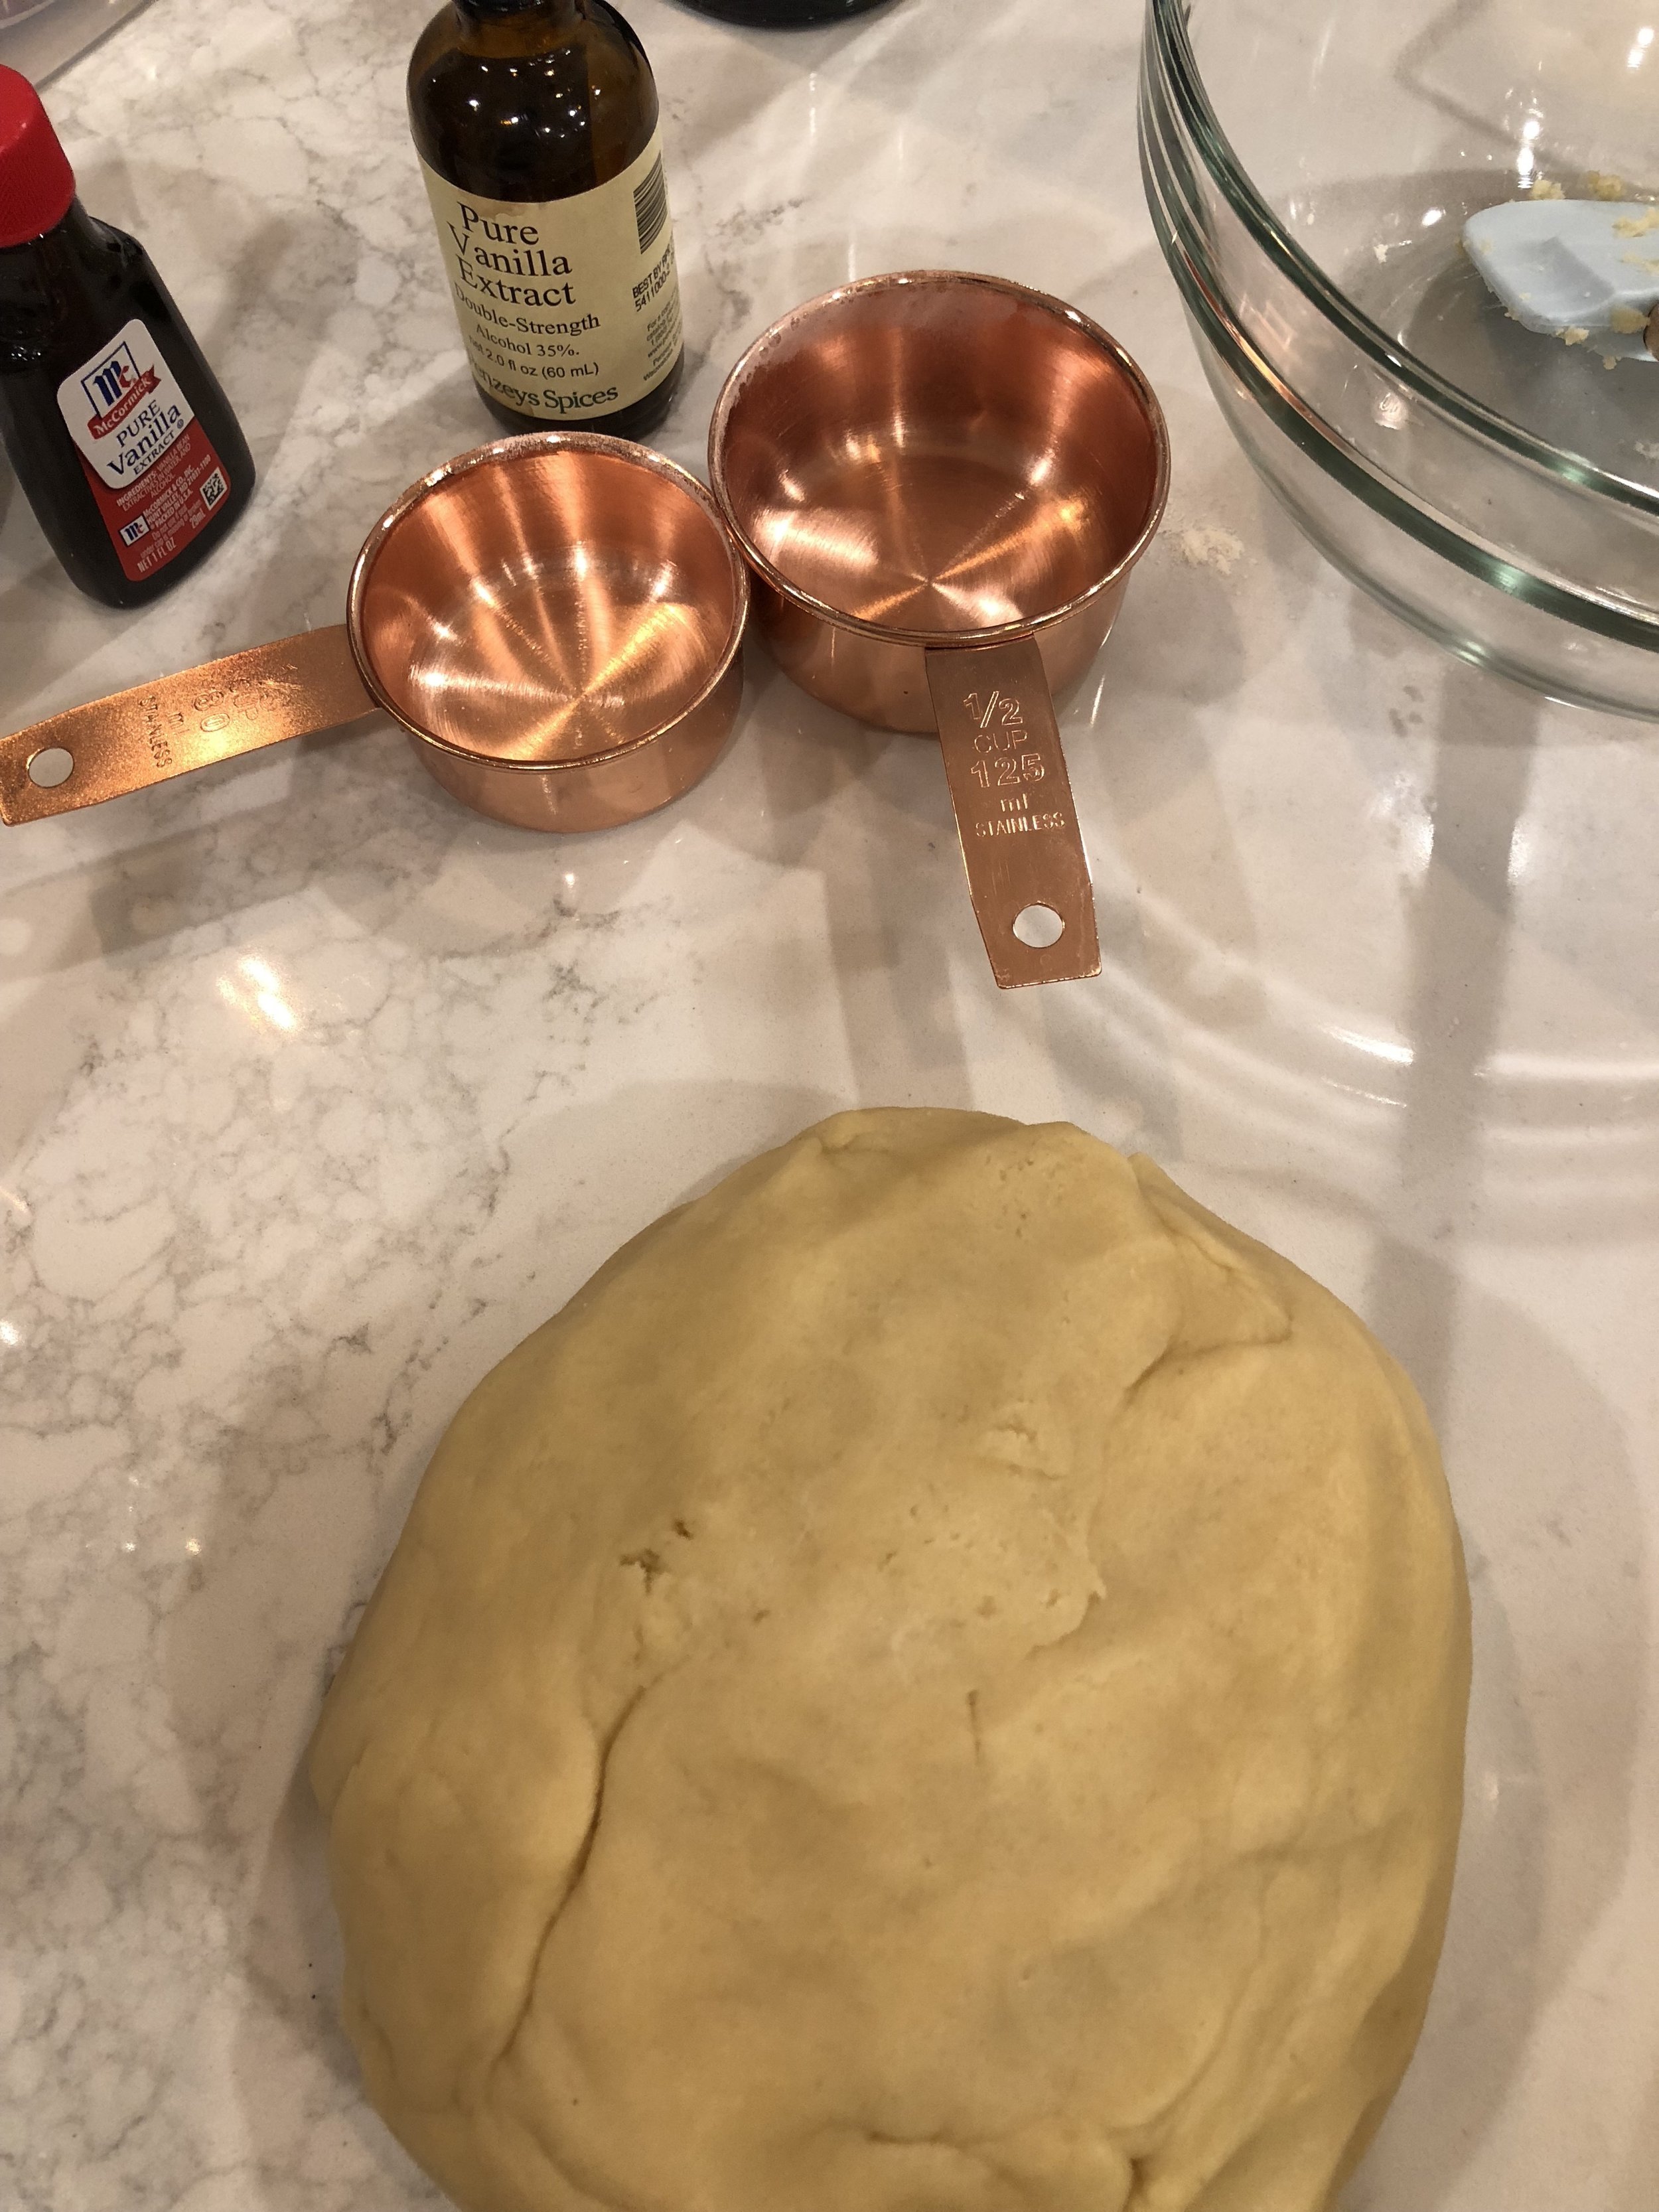
    • Remove dough from mixing bowl and form into a round disc shape. Wrap in plastic wrap and refrigerate for at least one hour. I usually make the dough the night before (if you do this, be sure to bring to room temperature before baking).

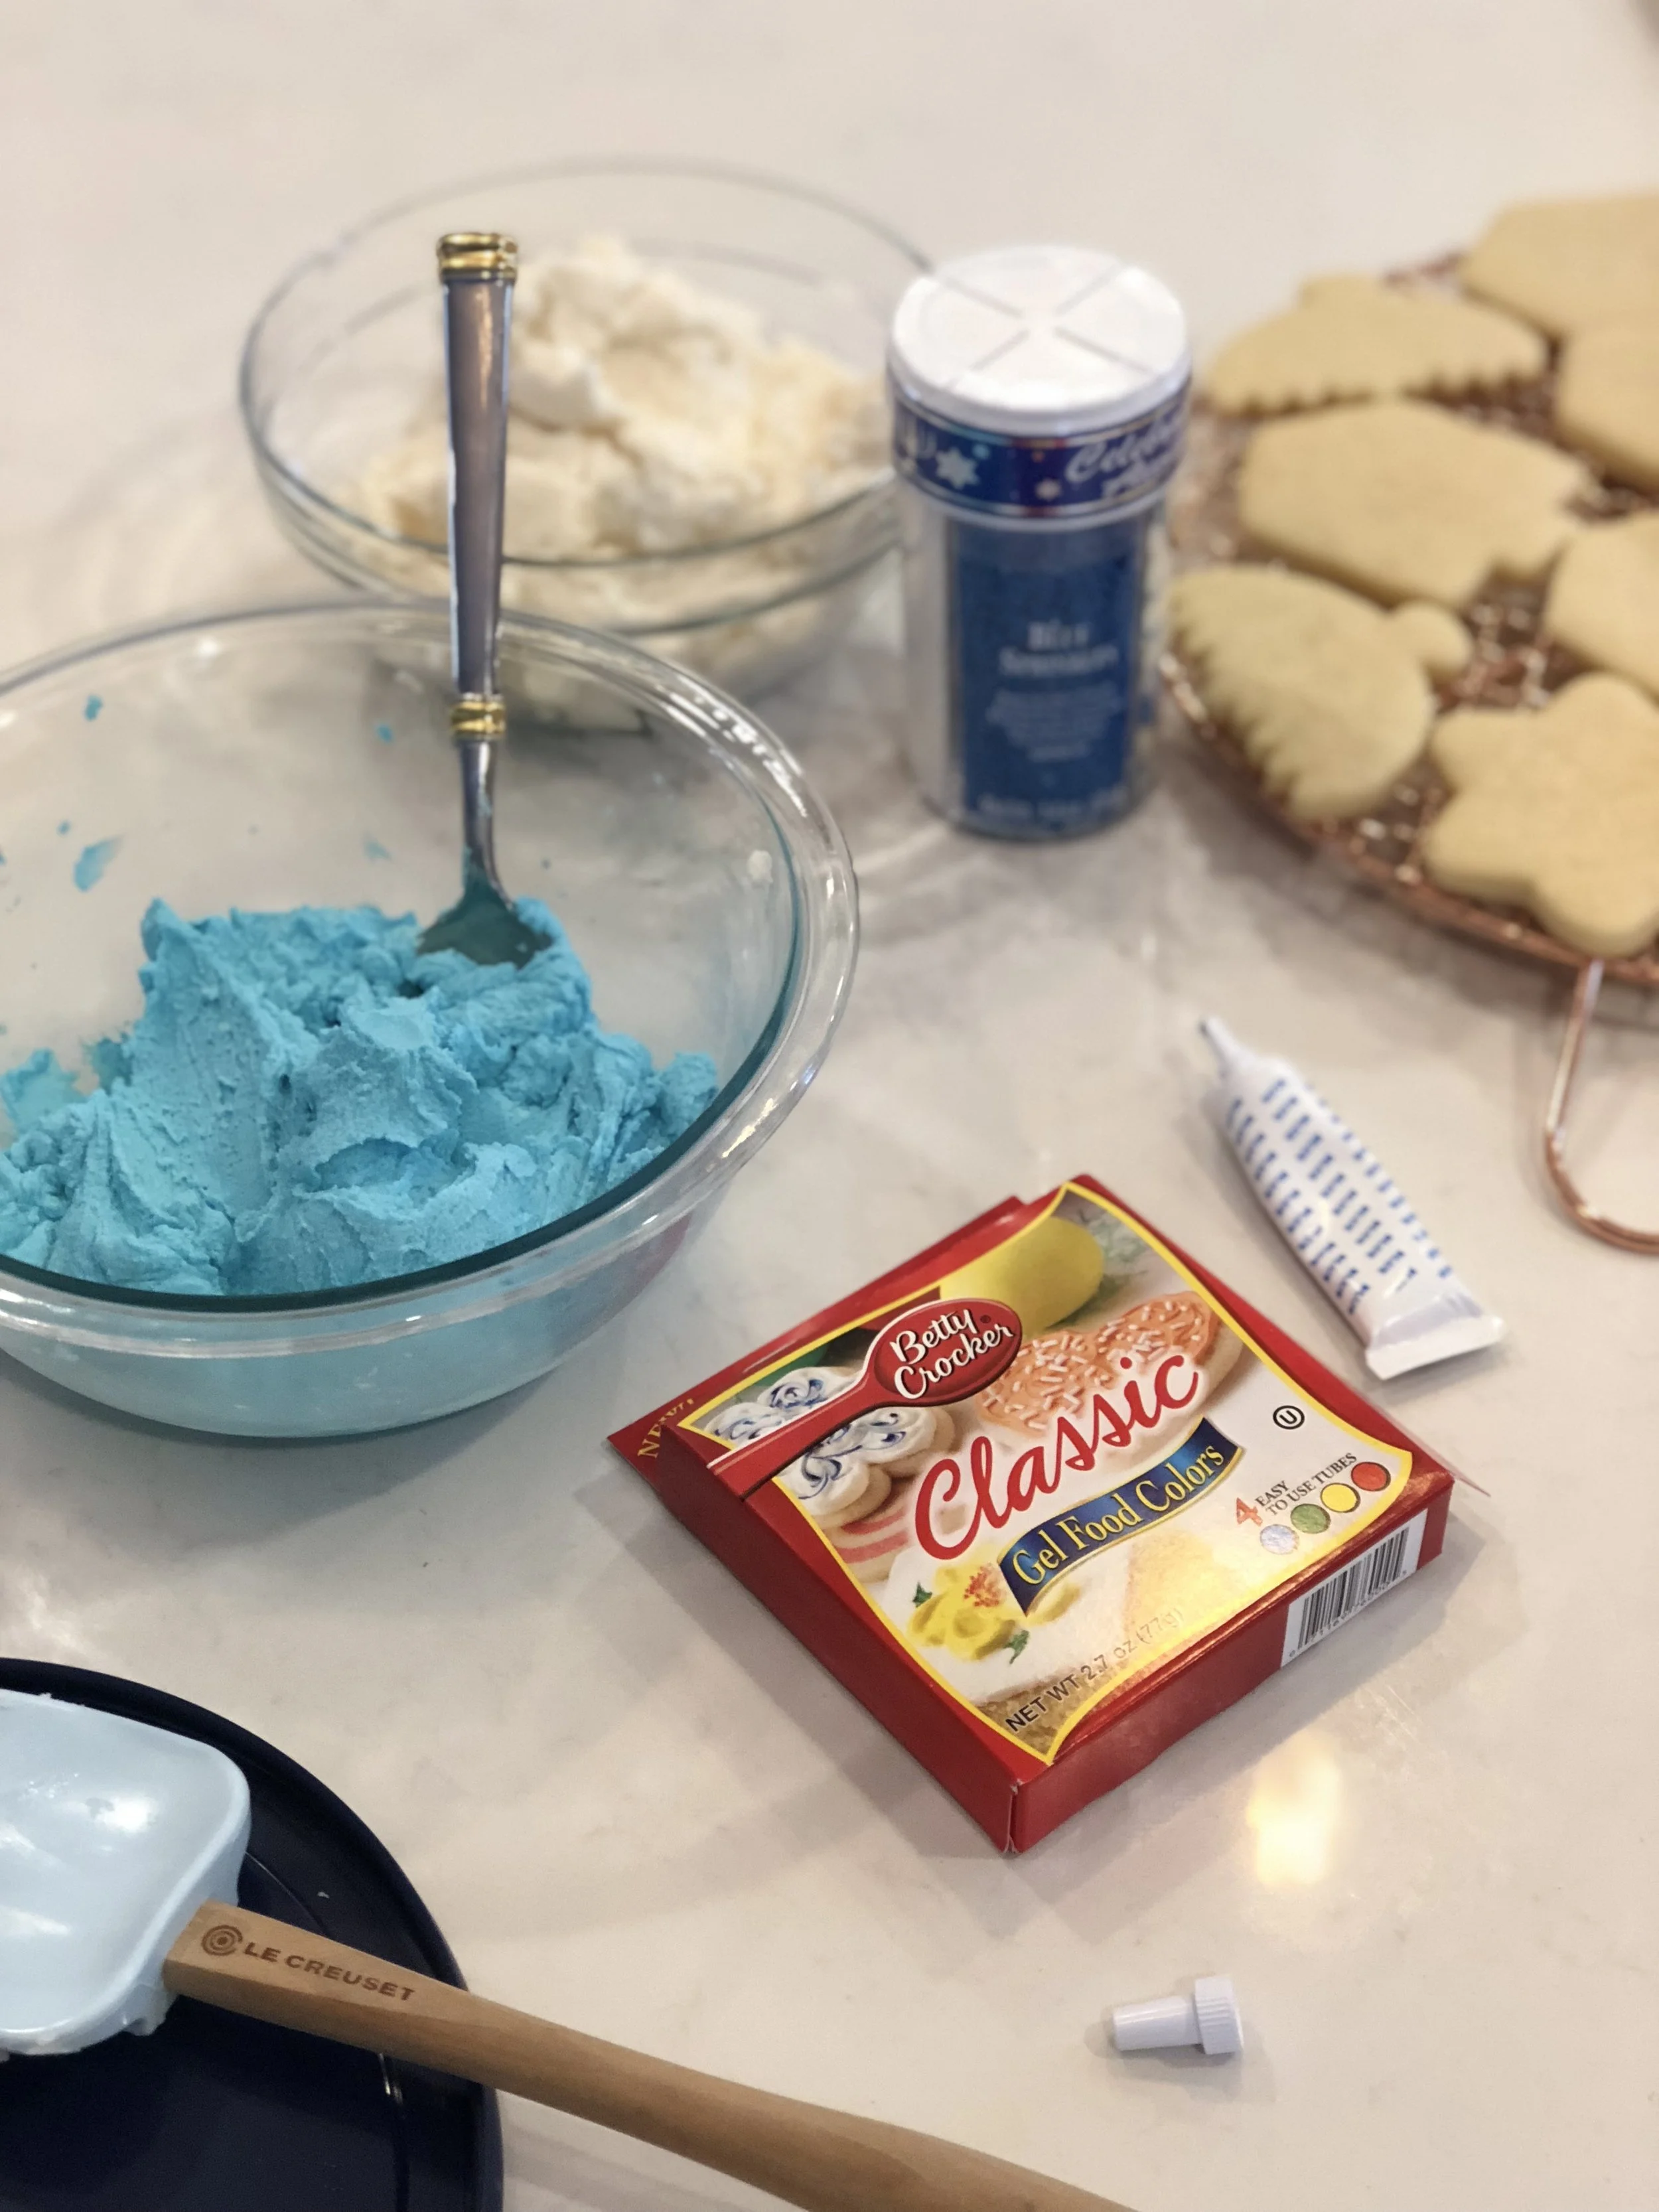
    • While you are waiting for your dough to chill, you can make the icing. This recipe couldn’t be easier…In a stand mixer, with the whisk attachment, add in the butter, shortening, vanilla, powdered sugar and milk. I suggest adding powdered sugar in gradually so it doesn’t look like the first snow storm in your kitchen (speaking from experience here). If you want your icing a bit sweeter, add in more powdered sugar. And if it seems really dry, add in a bit more milk. You really can’t mess this up! The taste should remind you of those soft sugar cookies with the colored icing and sprinkles you can buy in the supermarket.

      • **This icing is designed to crust over (which is why we add the shortening) so if you prefer that it doesn’t, you can just sub with more butter, but I highly suggest using the shortening, especially if you want cookies that can transport easily.

    • If desired, split the icing in half and add blue food color gel to the icing until you’ve reached the desired color. Kids LOVE the colored icing. Be sure to keep the icing covered while waiting to ice your cookies.

    • BACK to the cookies….

    • Once your icing is done, set the oven to 350 degrees. While the oven heats, cover two cookie sheets with parchment paper.

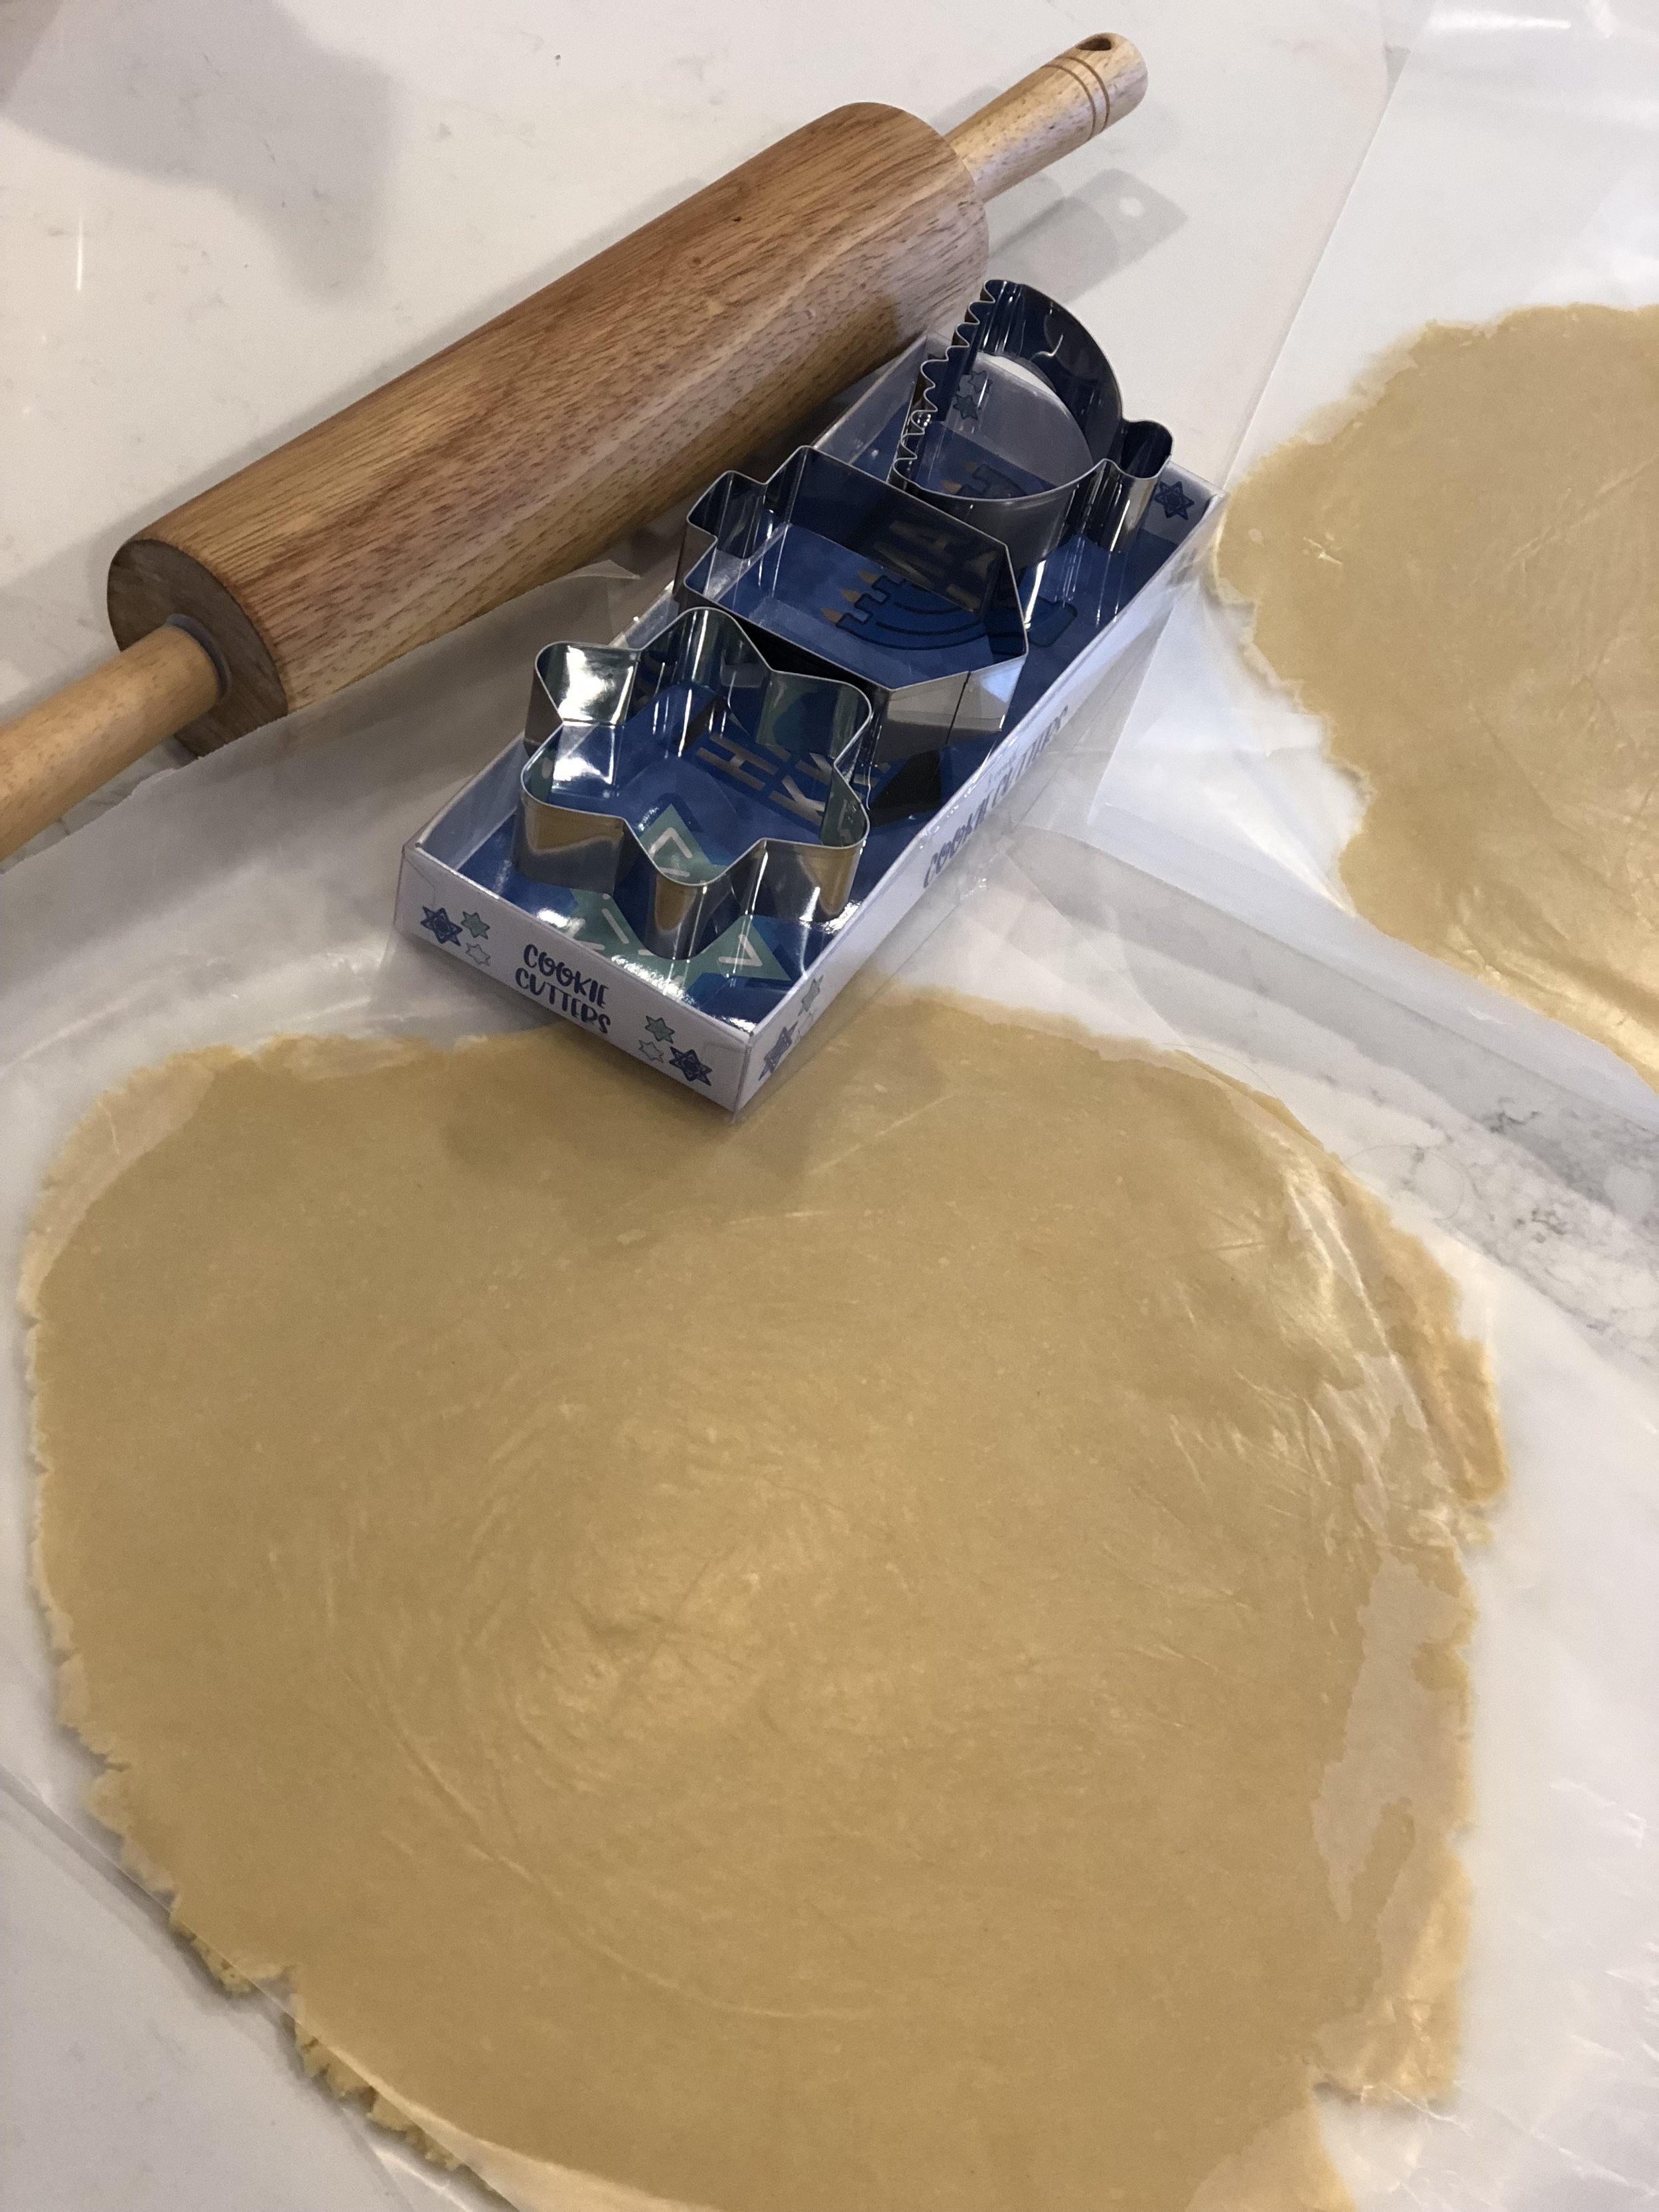
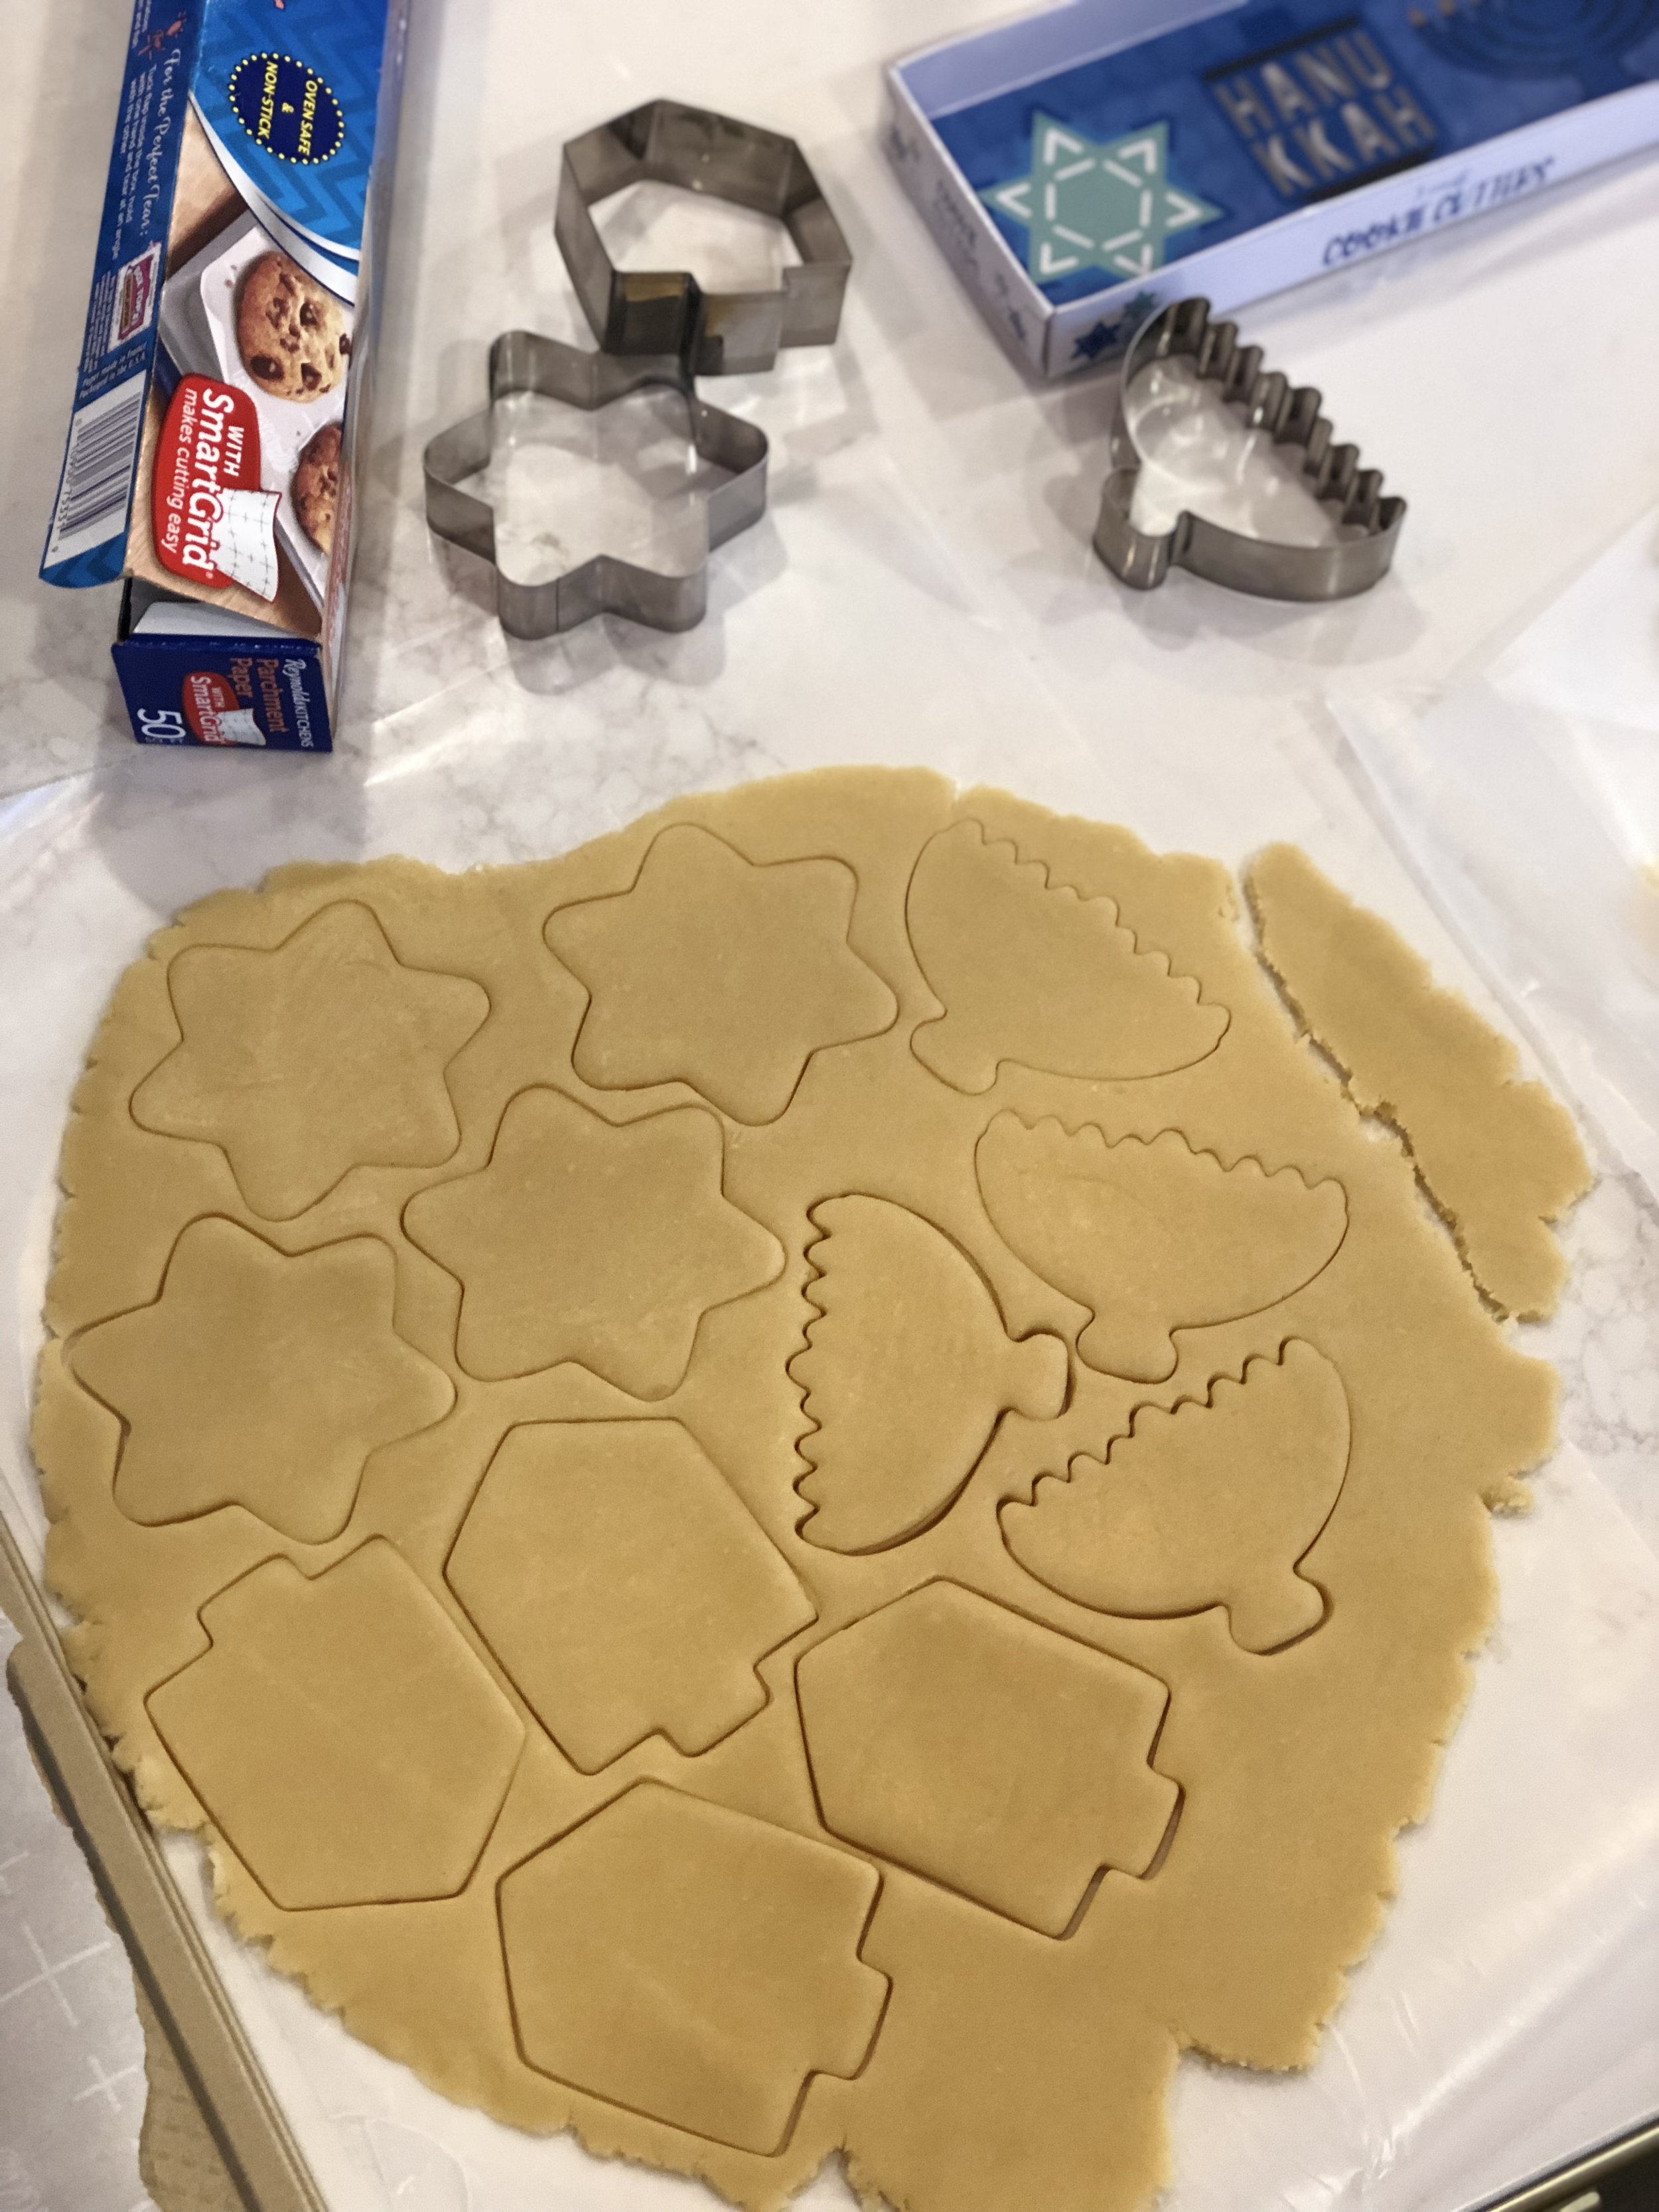
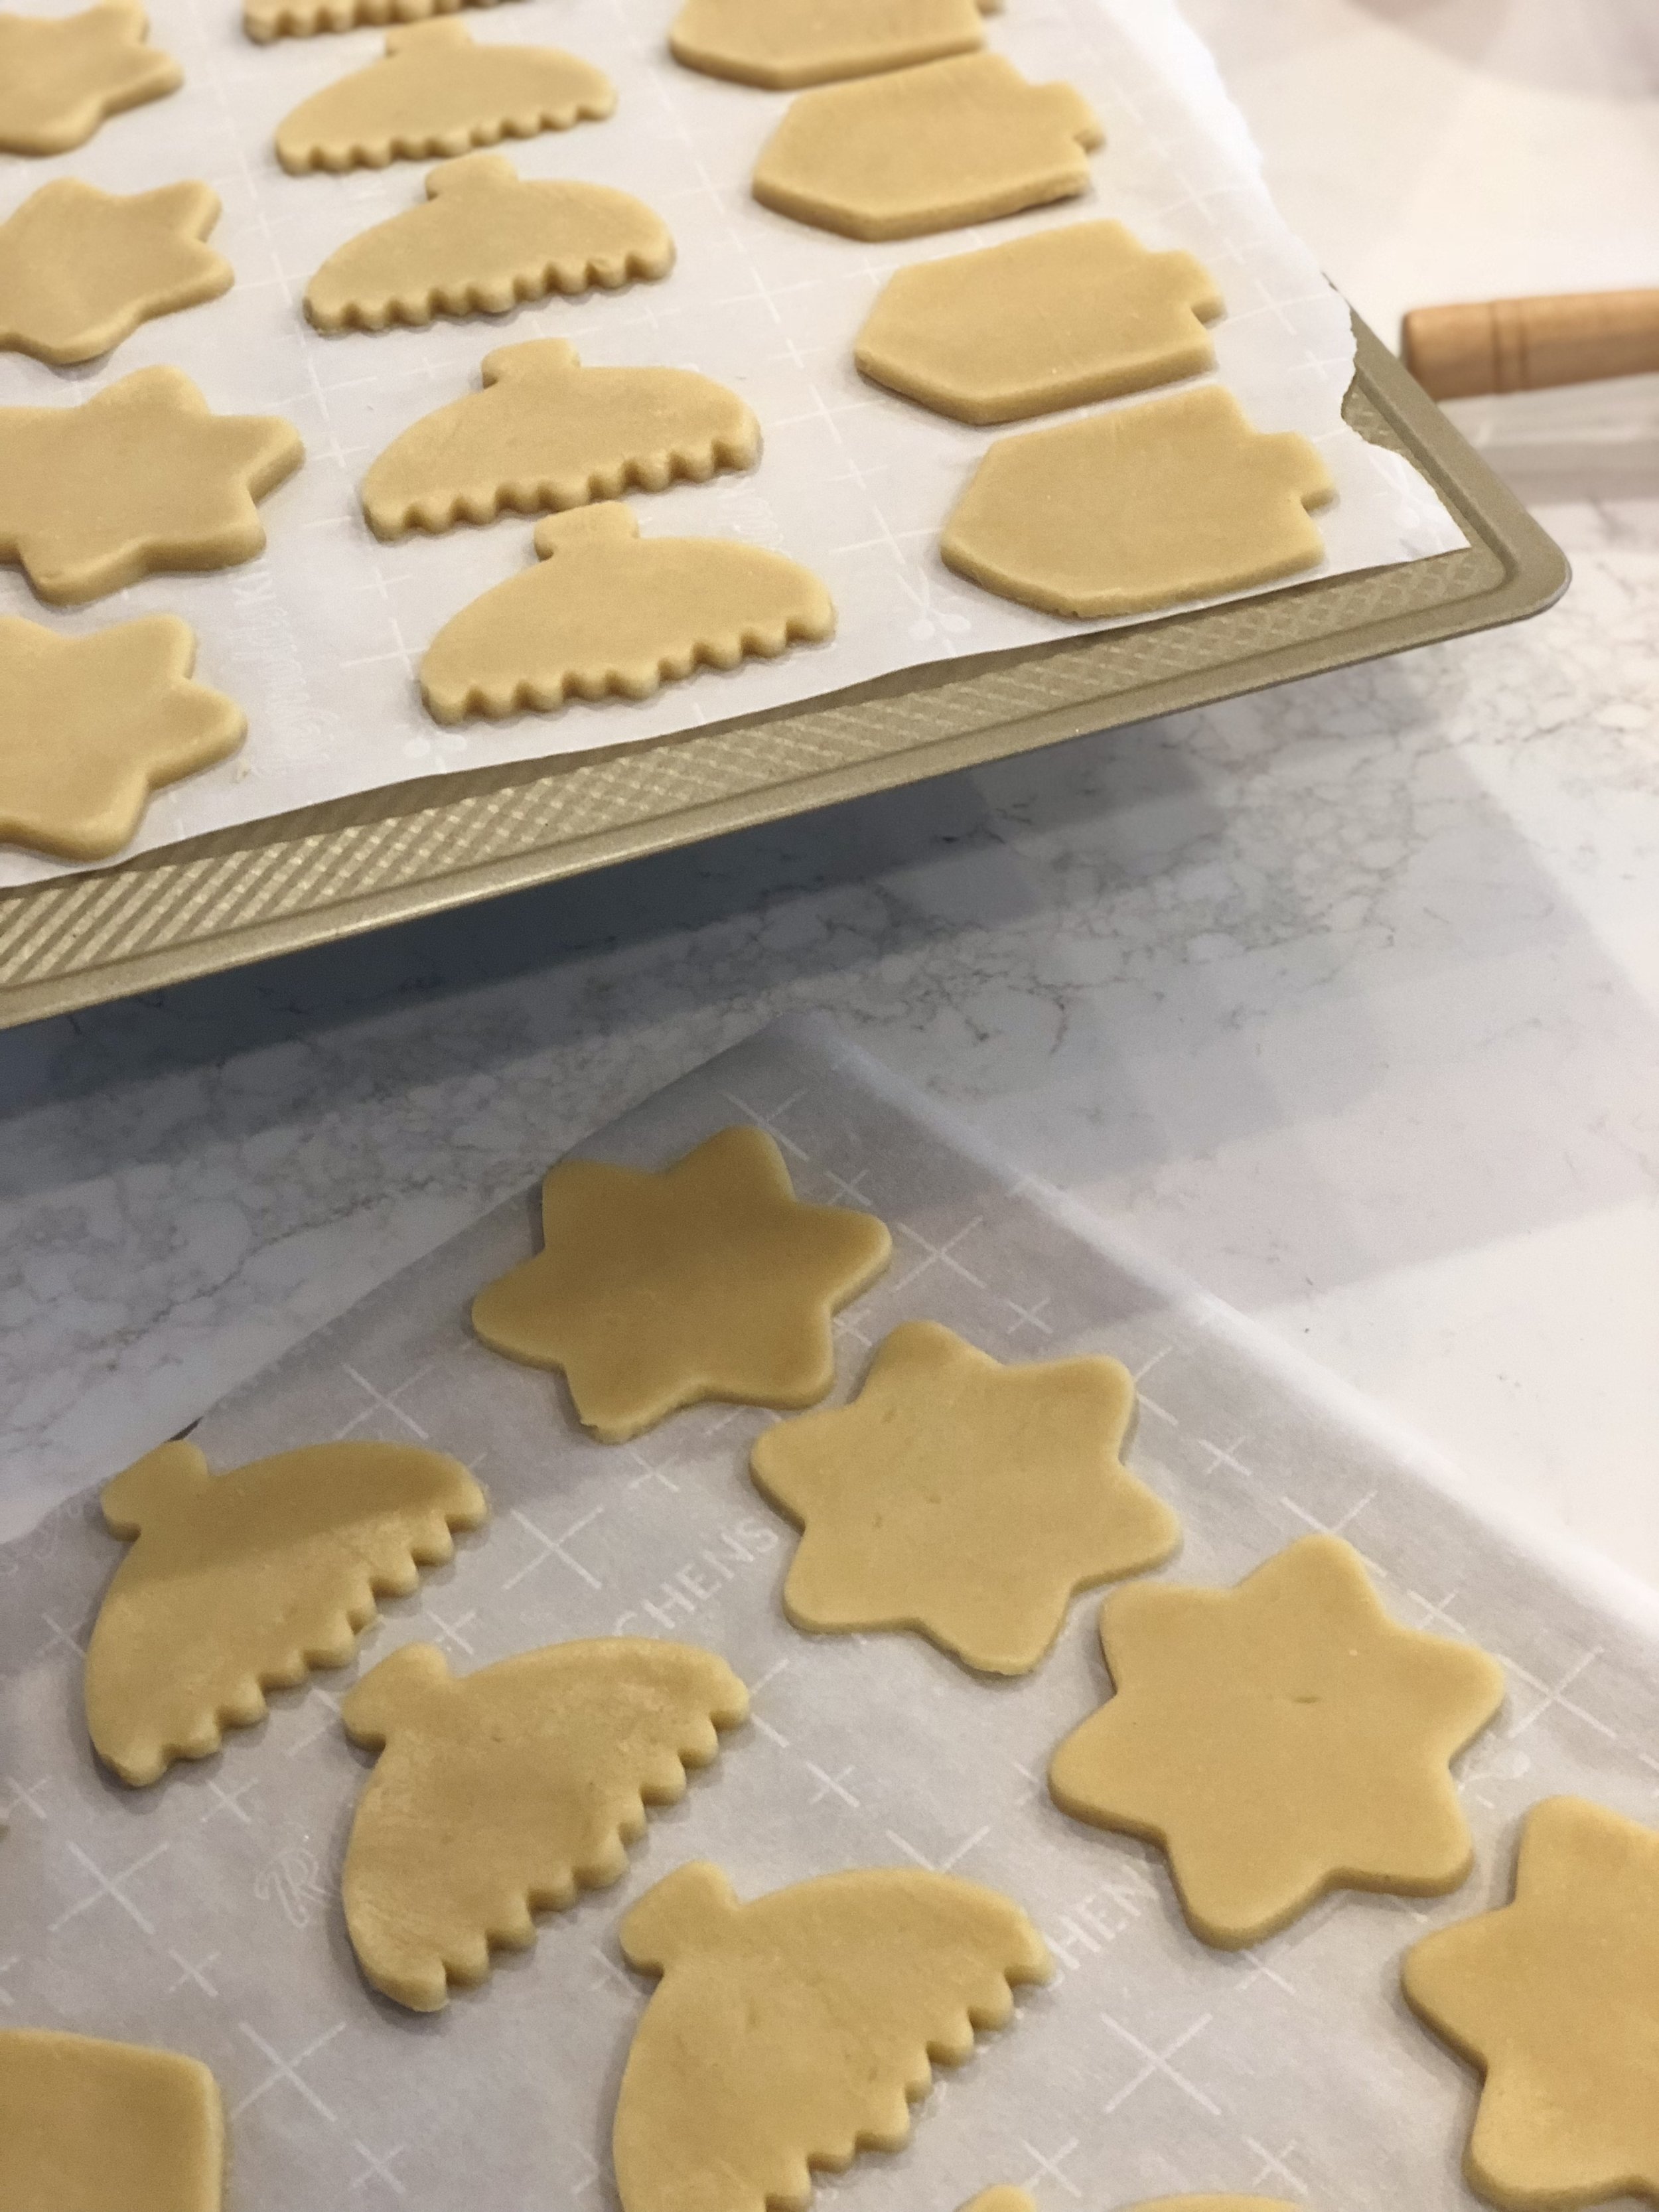
    • Remove the dough from the fridge and split in half. Place each piece of dough between two sheets of wax paper and roll until it is about 1/4 inch thick. After rolling the dough out, cut desired shapes with cookie cutters. Any extra dough can be rolled again to yield the maximum amount of cookies.

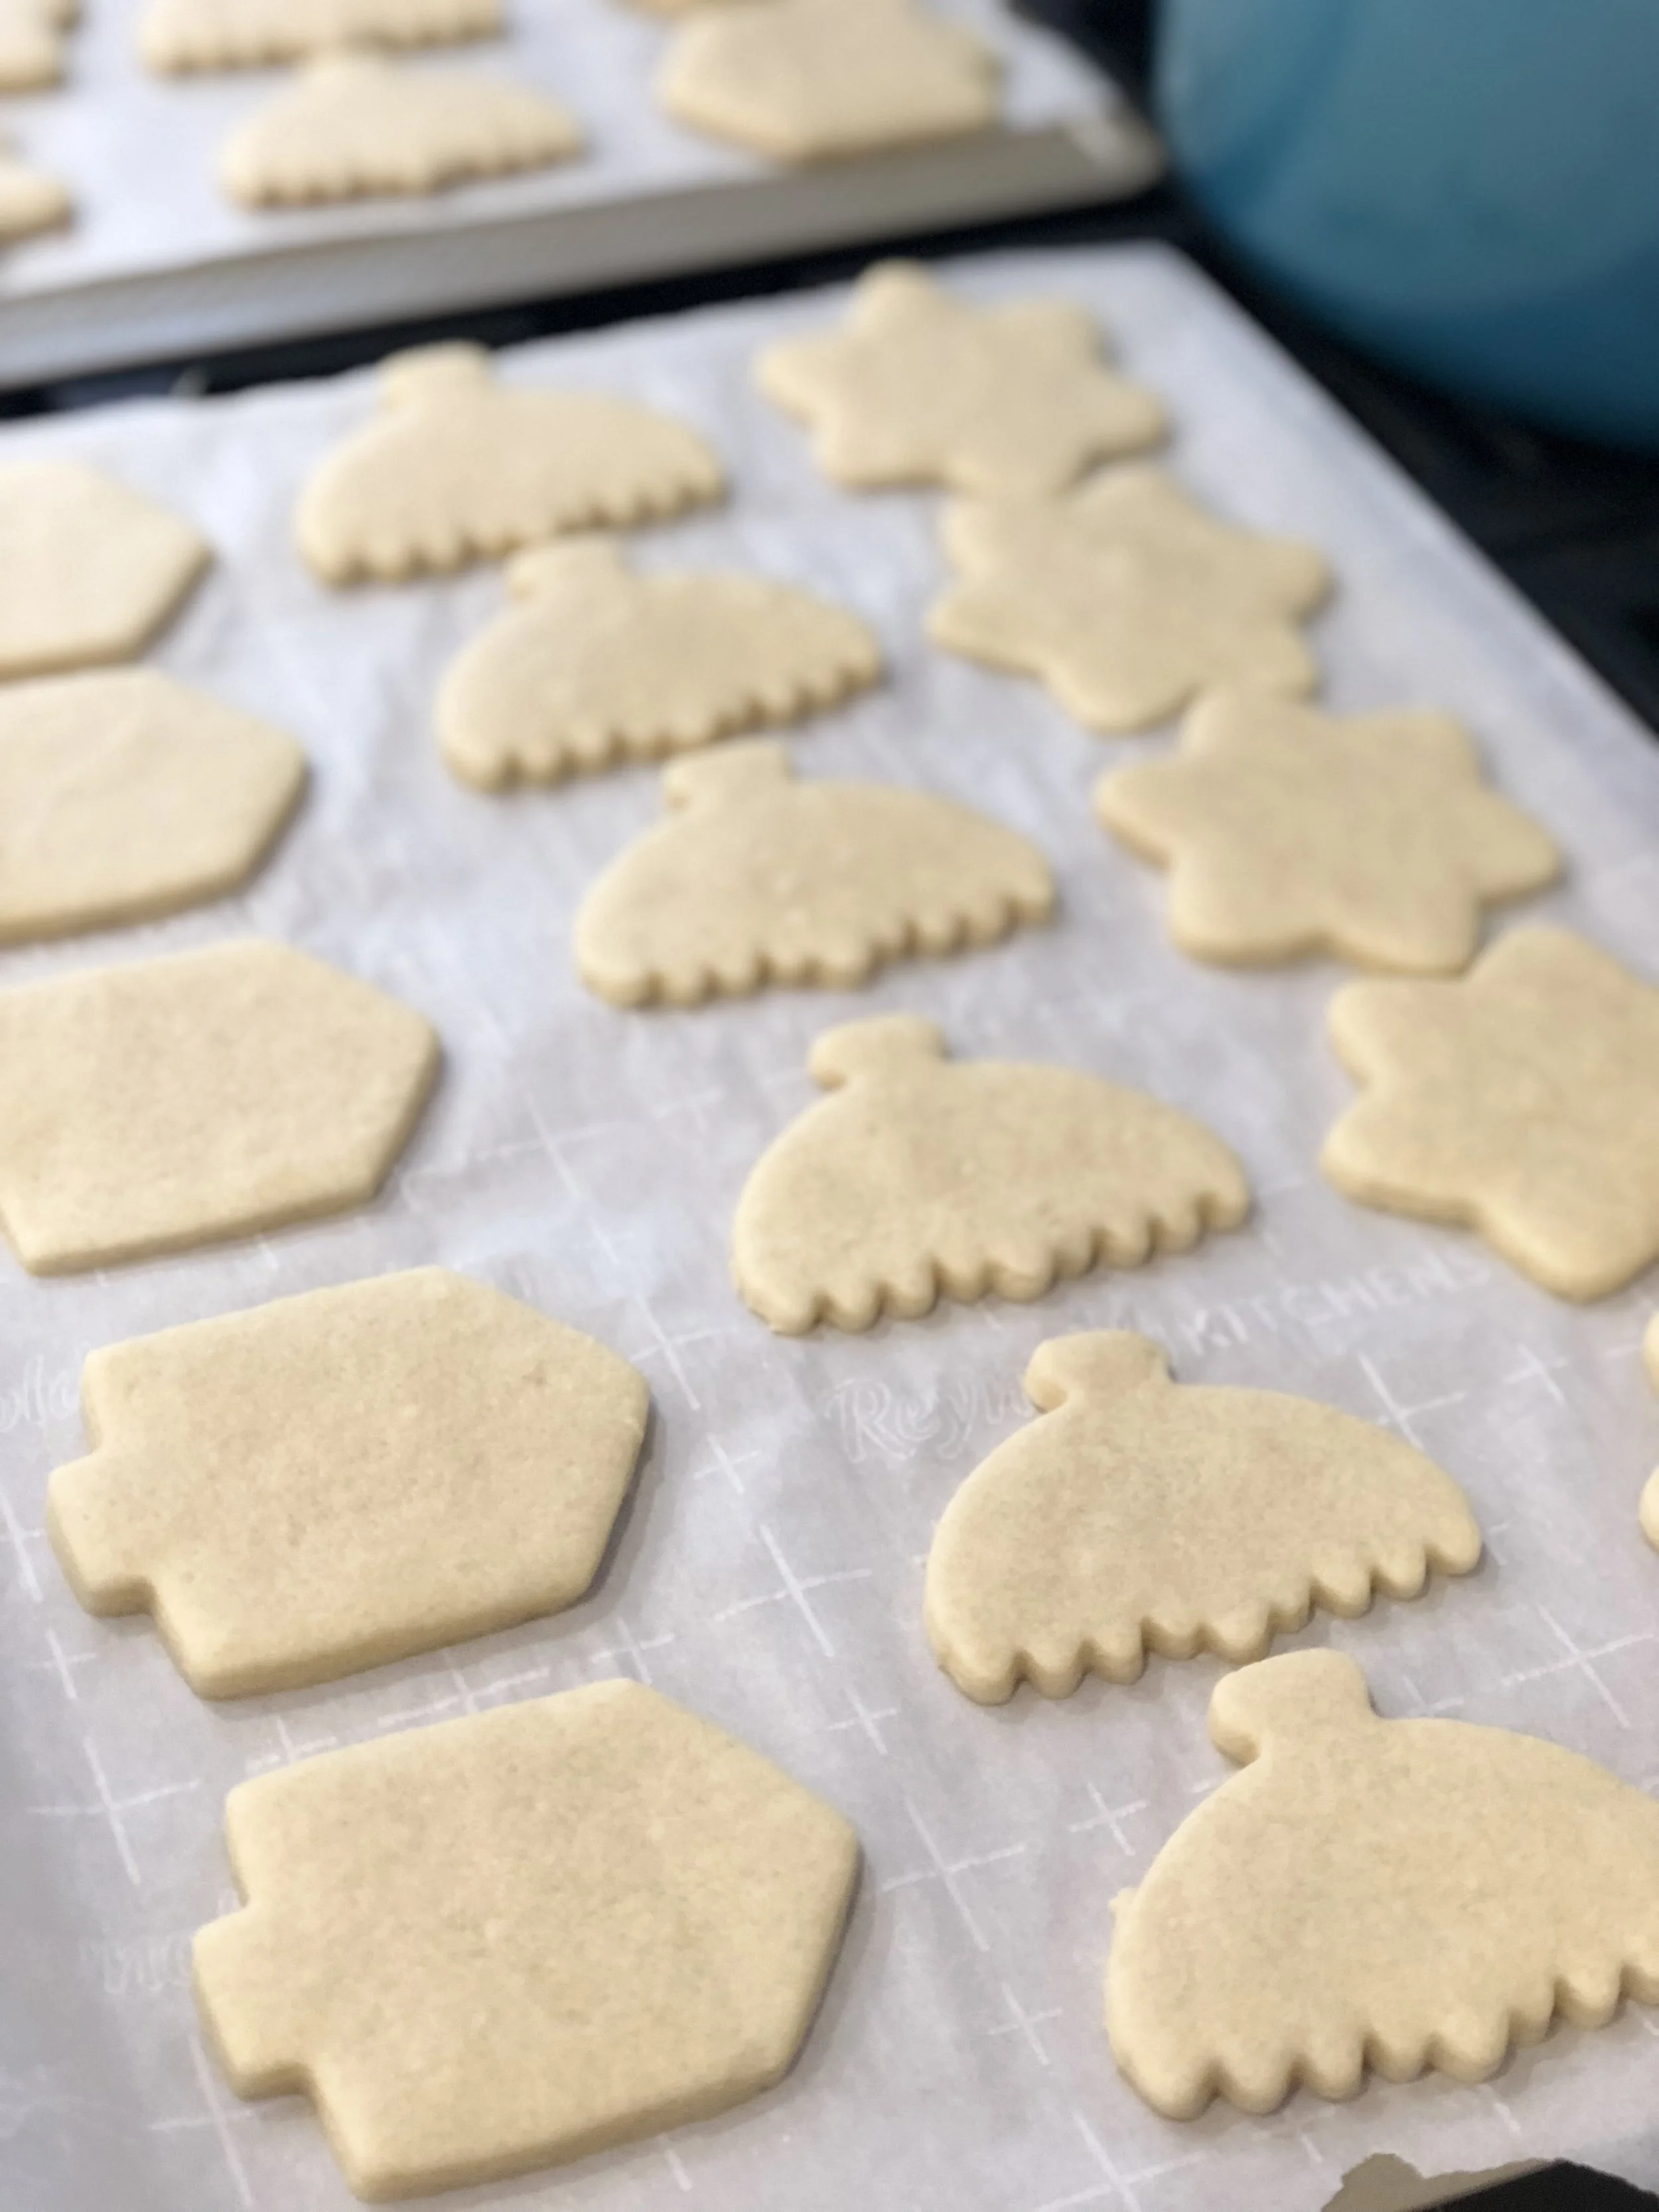
    • Place cut shapes onto the cookie sheets and bake for 10 minutes. Watch for the bottoms to get slightly golden if you want a crispier cookie (about 11 min), if you want a softer cookie, take them out right at the 10 minute mark or just before. Be sure to move to a cooling rack immediately and cool completely before icing

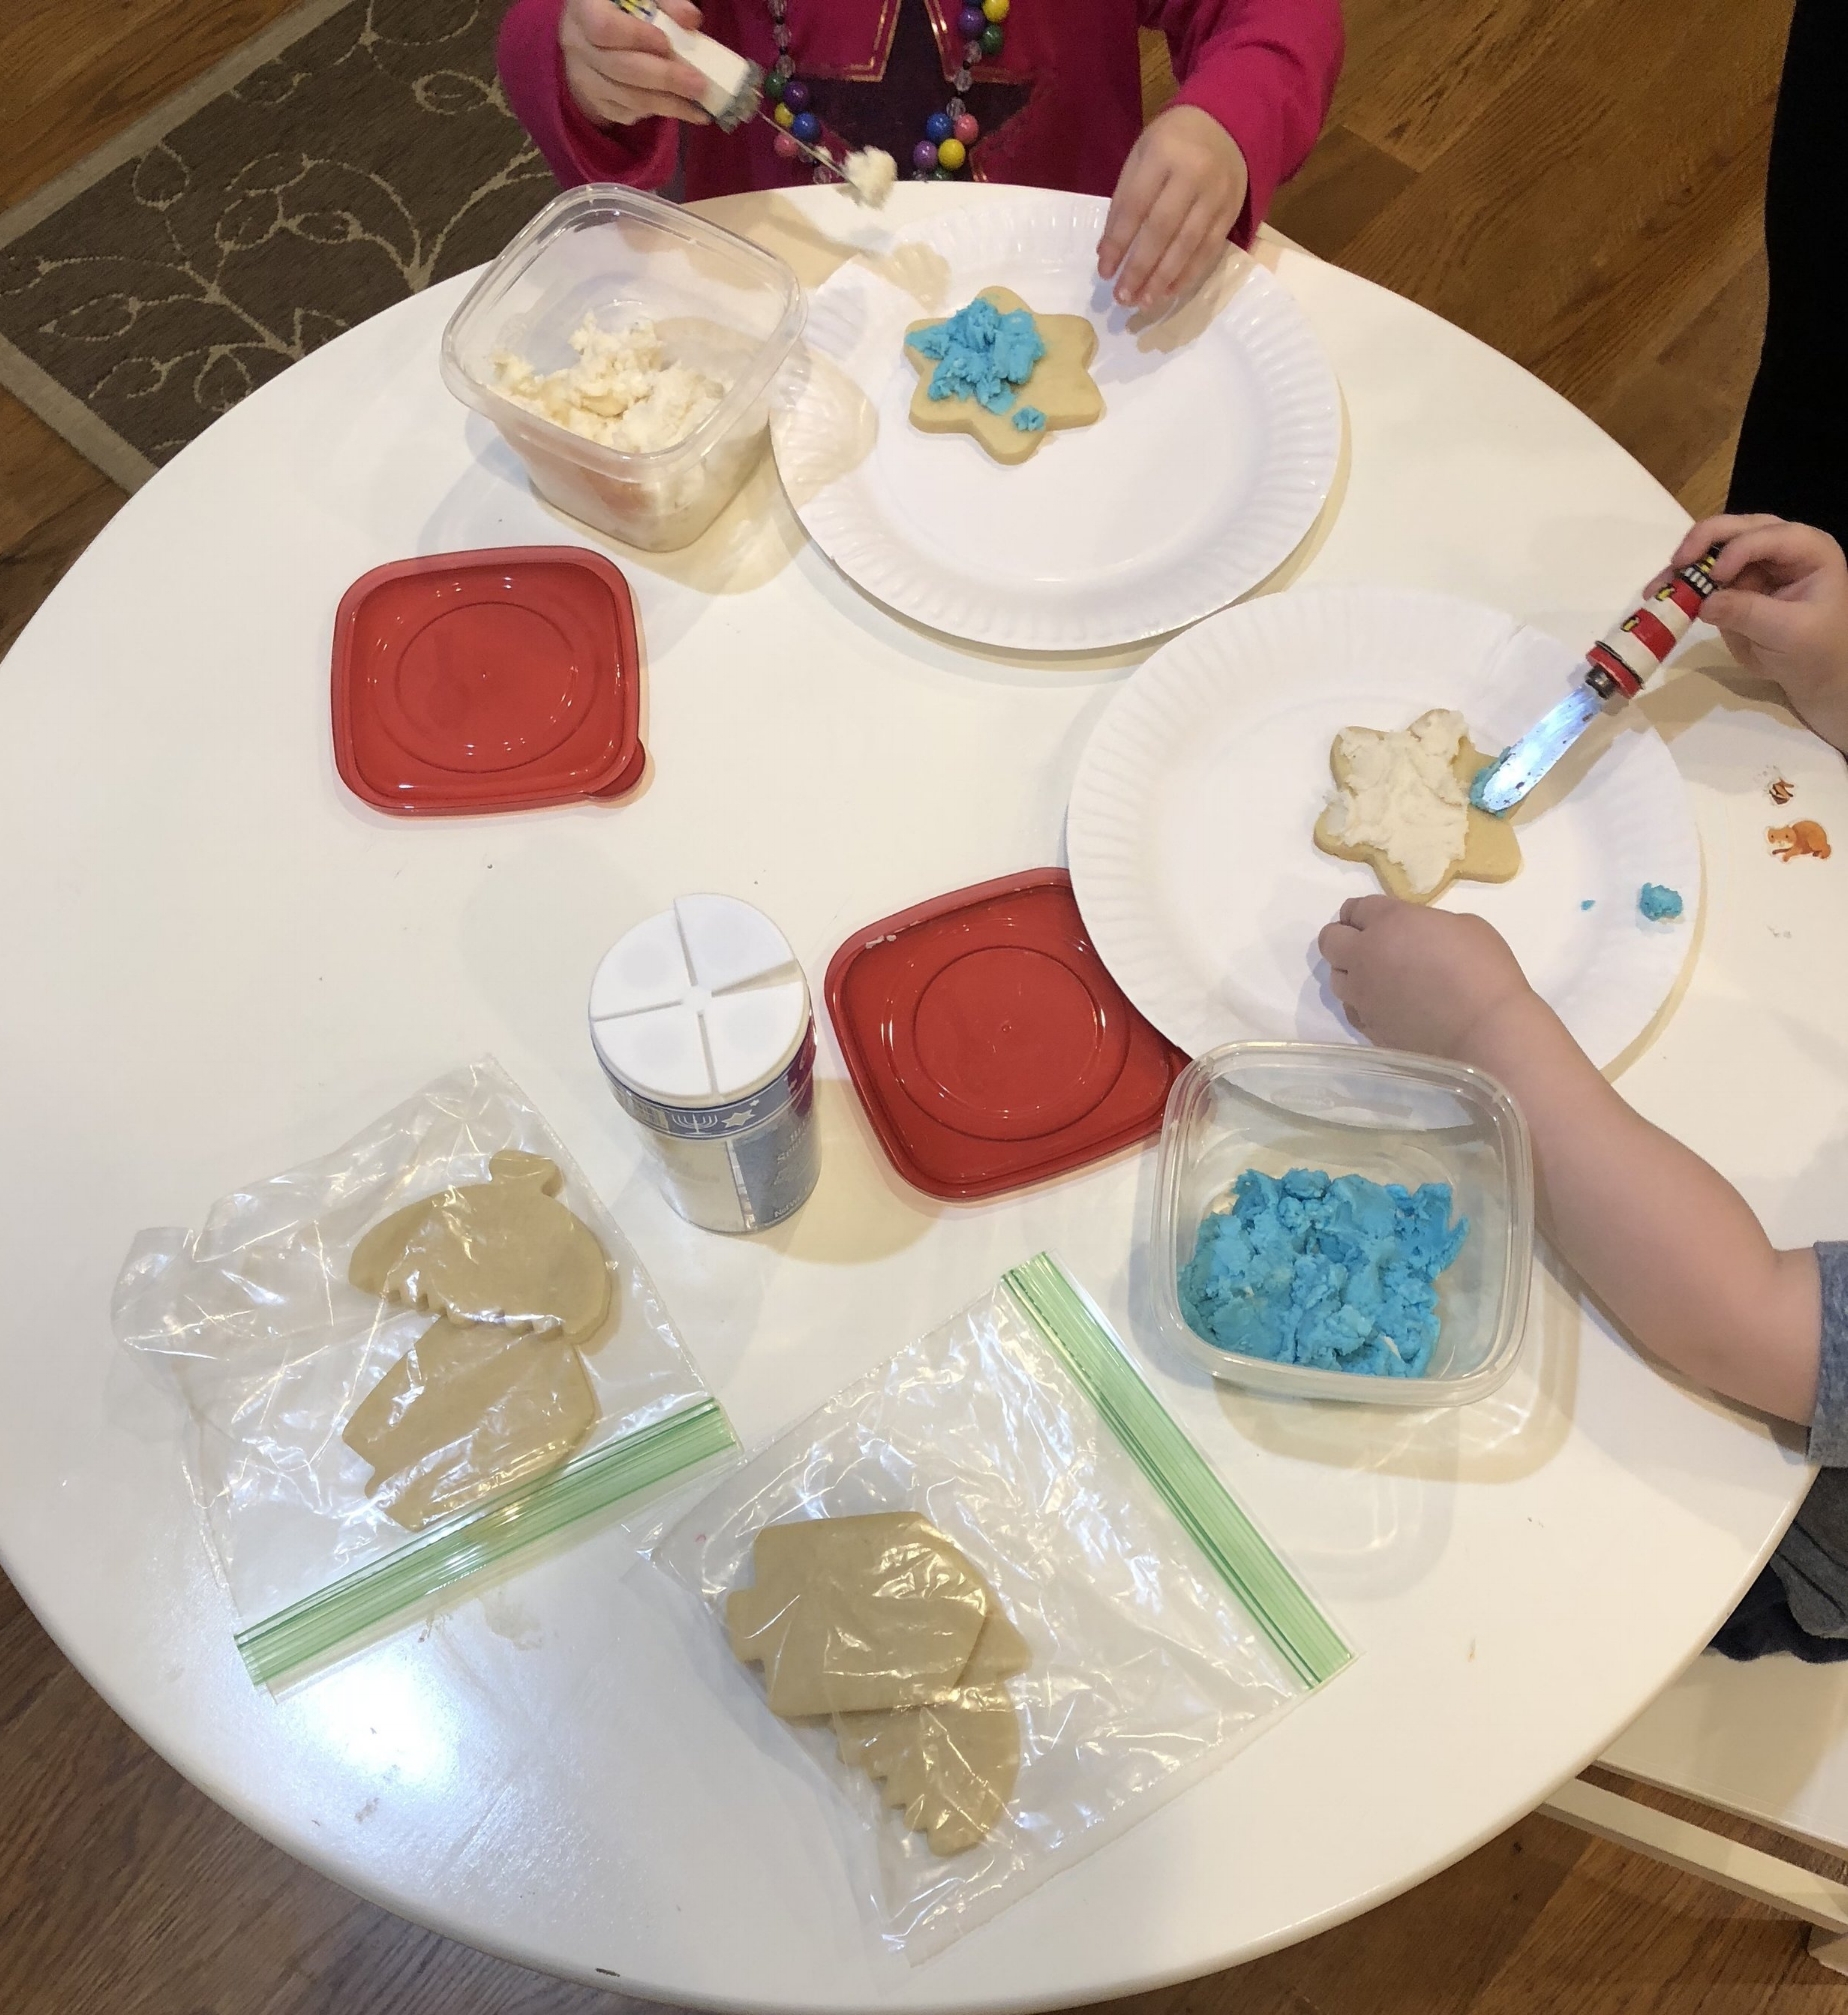
    • The FINAL STEP - let’s decorate! This is the fun part so feel free to get creative and get the kiddos involved! You can spread or pipe the icing on (if piping, be sure to add a little more milk) and then decorate with any sprinkles or decorations you have! I found great Hanukkah themed sprinkles at Home Goods of all places!


Another super easy dish that makes a perfect topping for latkes is homemade applesauce. This Crockpot Applesauce is also so easy and delicious!

  • Crockpot Applesauce

    • 12 apples (I like Golden Delicious)

    • 1/2 cup sugar

    • 1/2 cup water

    • 1 tbsp lemon juice

    • 1/2 tsp cinnamon.

  • DIRECTIONS

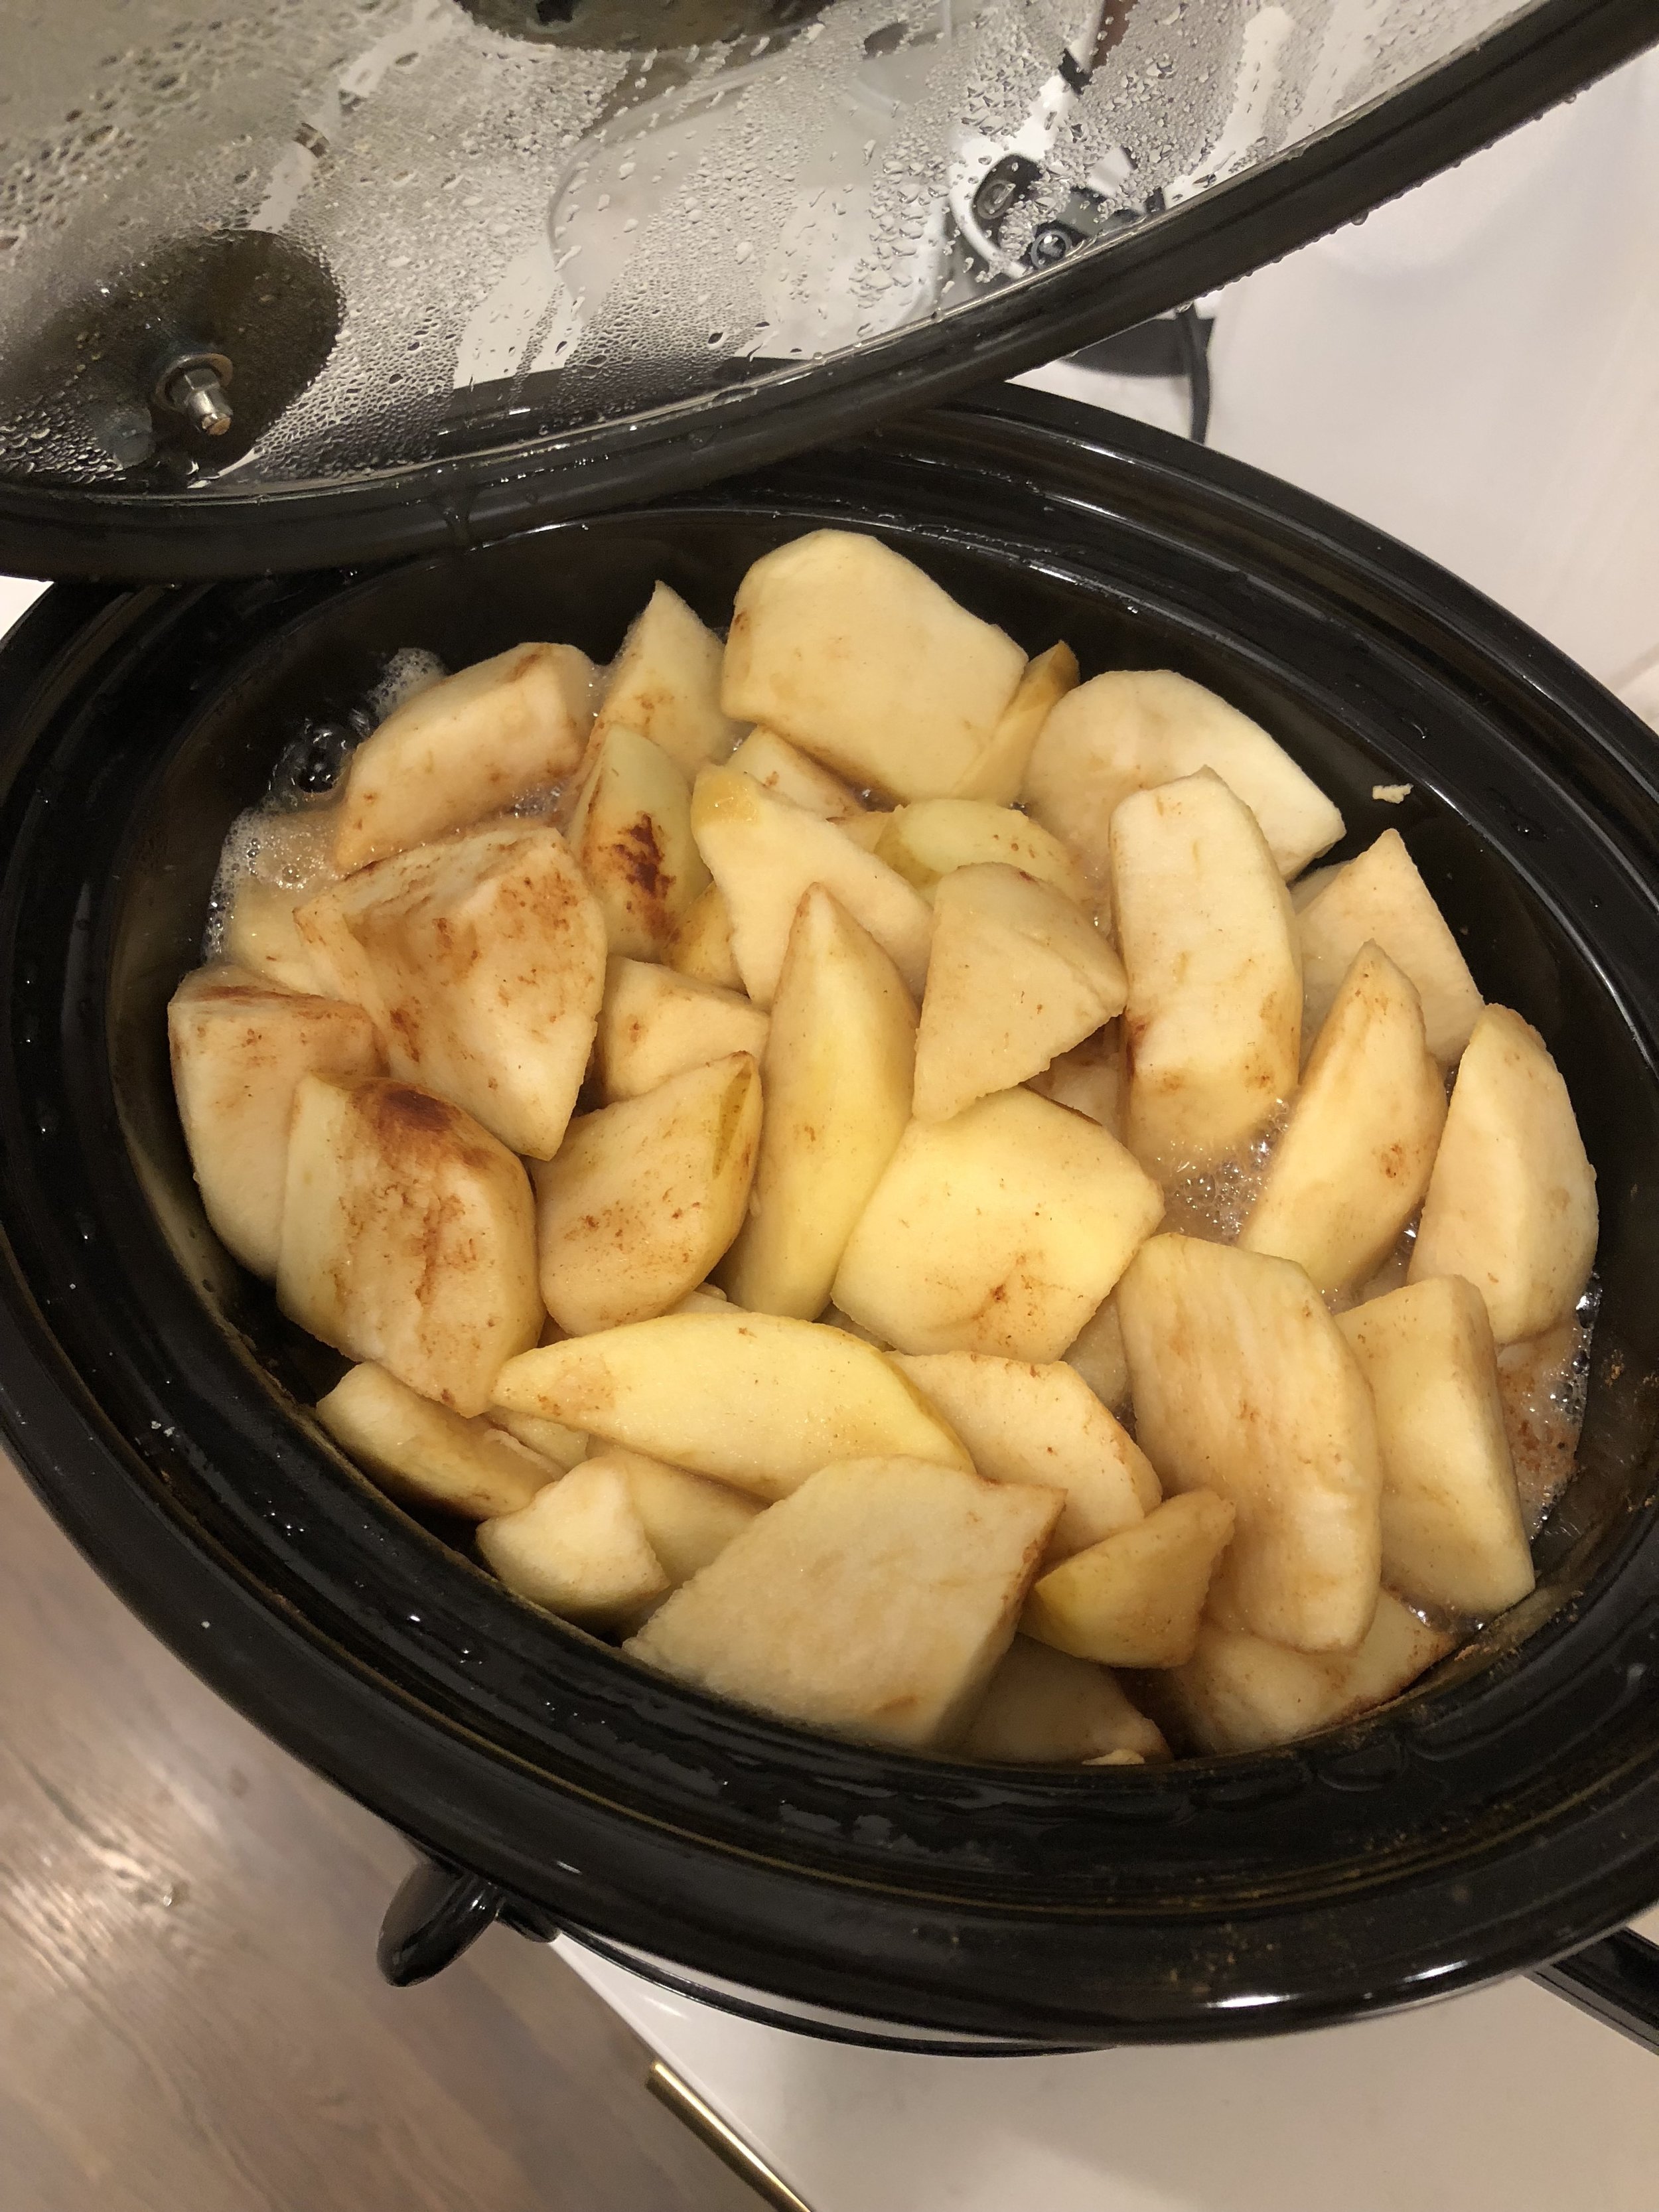
    • Core, skin, and cut your apples into quarters and place in crockpot. Add in lemon juice and toss (if your crockpot isn’t huge, I suggest doing this beforehand). Toss apples with cinnamon and sugar. Then add water into crockpot.

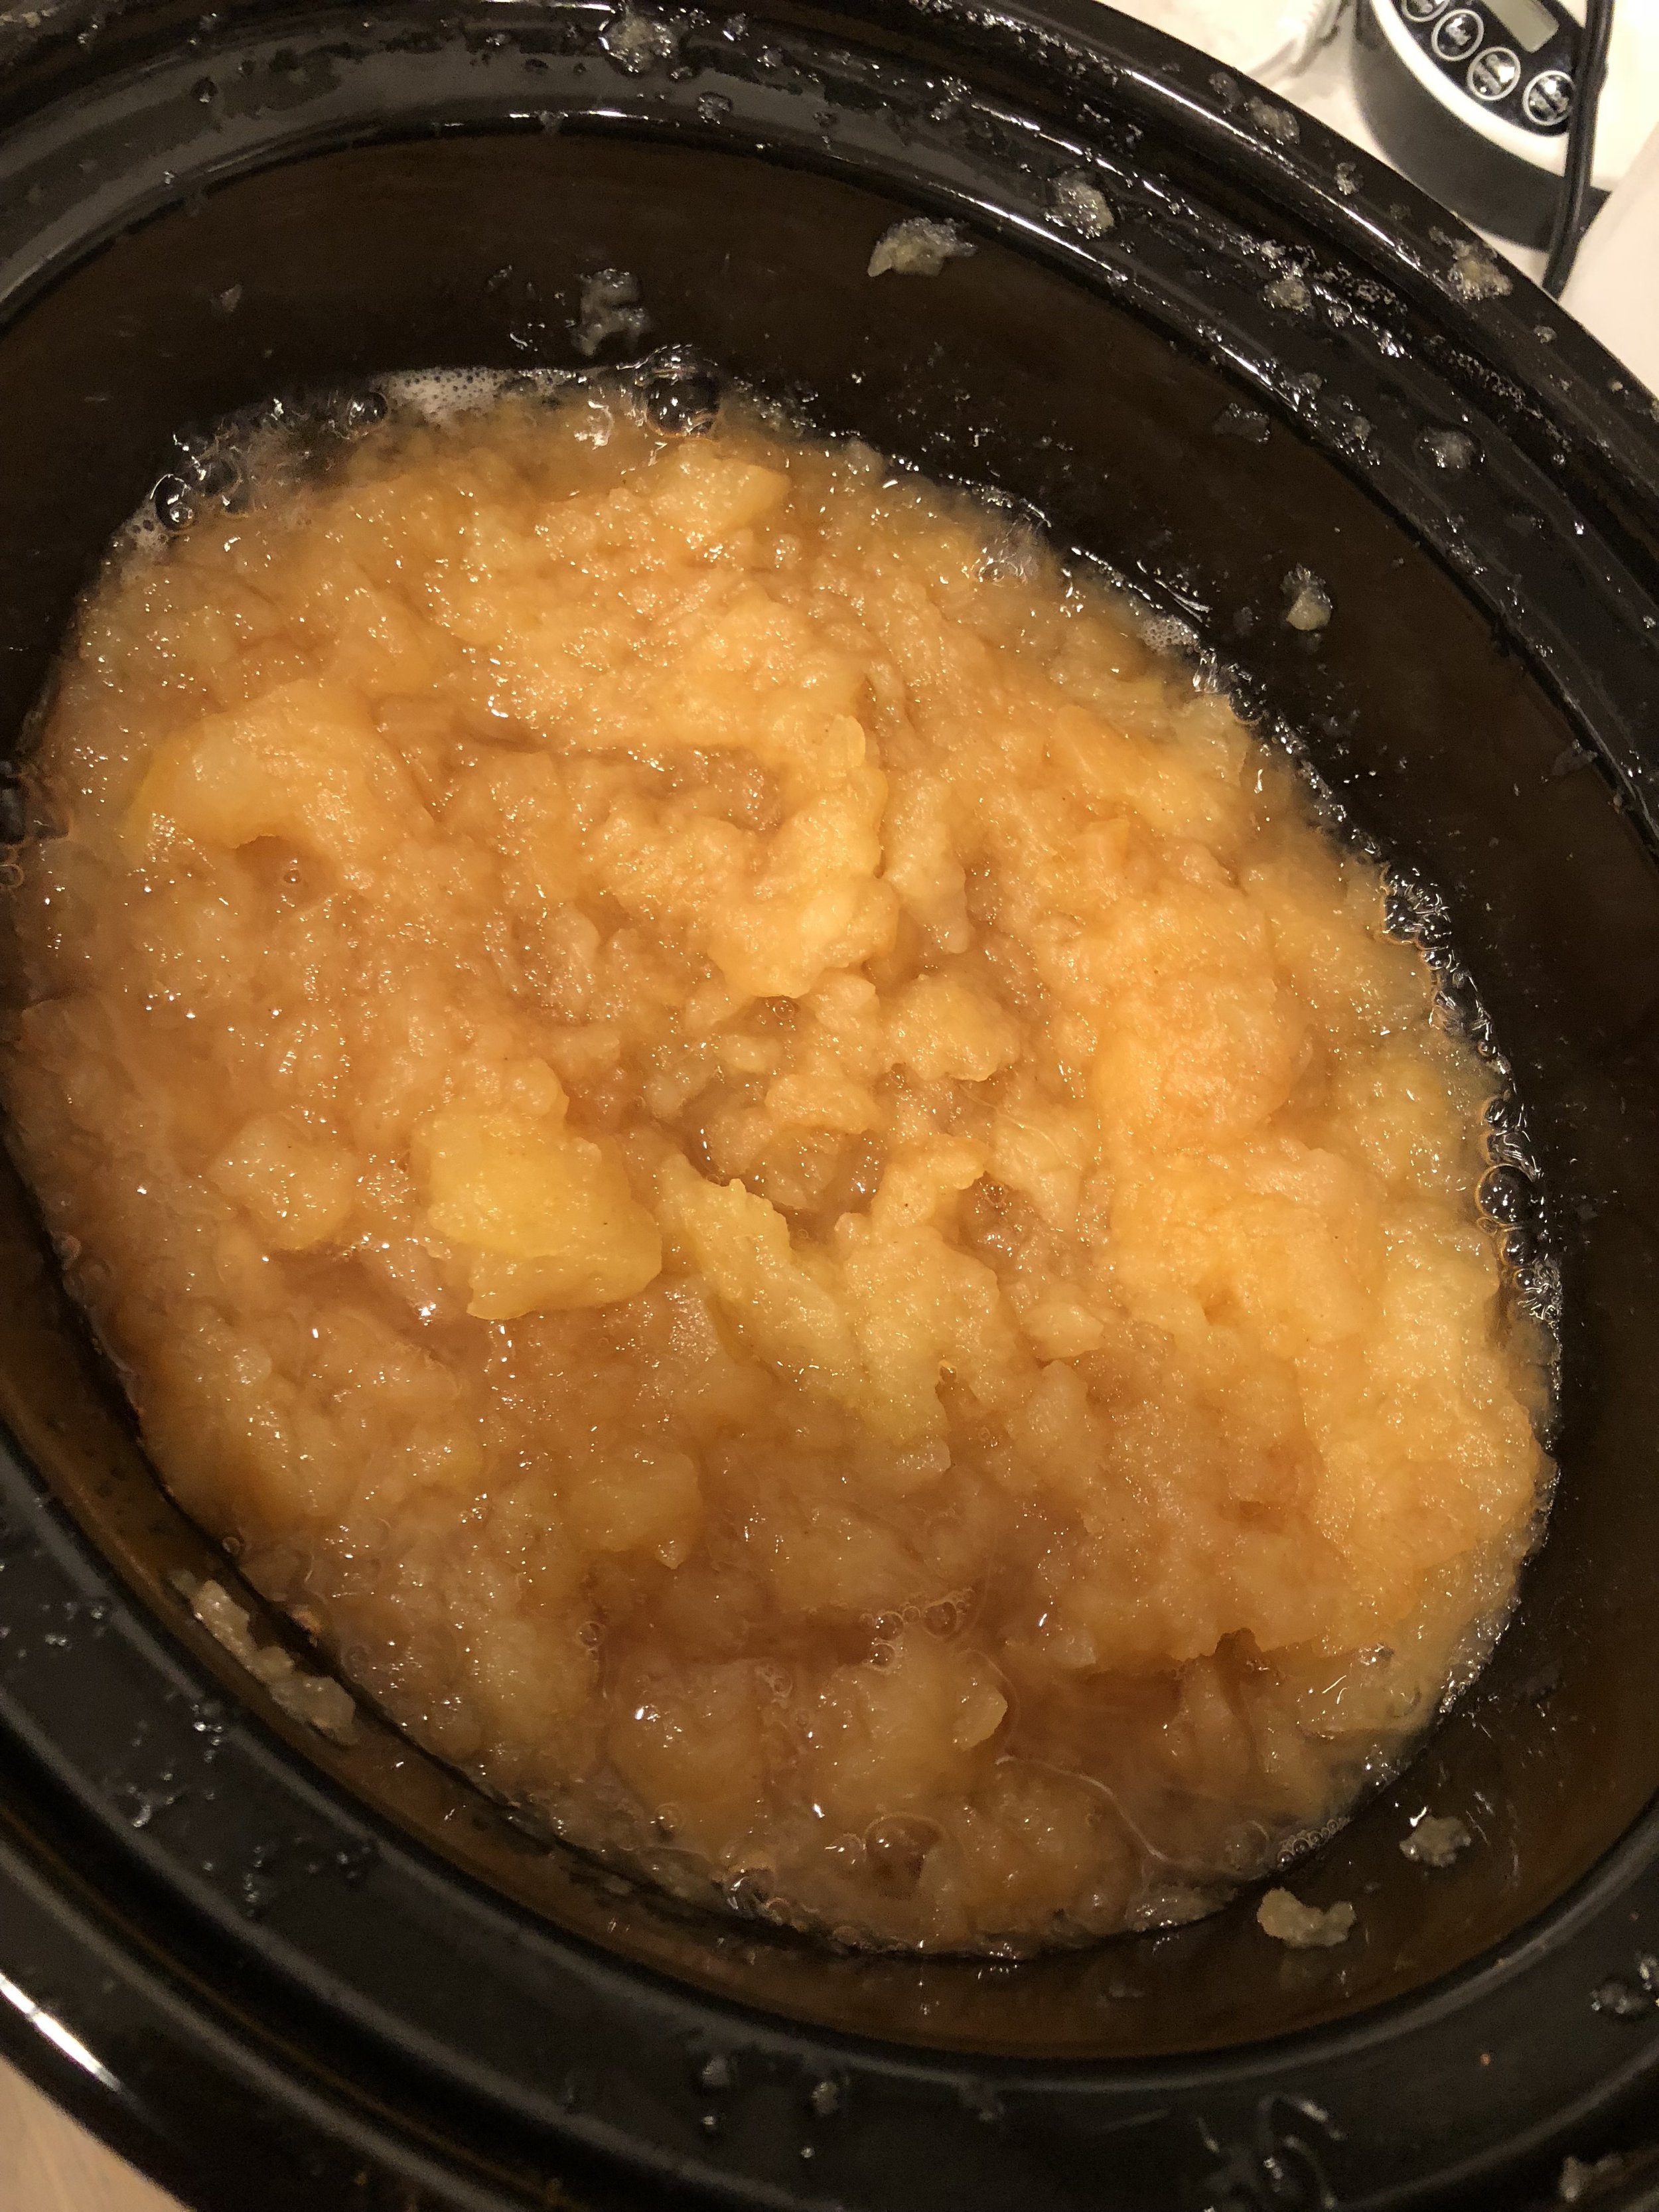
    • Place top on and turn on high for about 3 hours or until the apples are really soft and can be mashed. Once soft, turn heat off and let cool for about 10-15 minutes. Then, mash the apples with a potato masher to desired consistency.

    • Next…just kidding, you’re done! How easy was that!?

Remember, all of these recipes can be adapted for any holiday and to your tastes! They are both so easy and delicious and you can make them ahead of time! Woohoo!

If you have questions, please feel free to comment below!

Happy Hanukkah and Happy Holidays!!

XoXo - Jamie

Teddy Bear Coats

My FAVORITE trend for this winter is the Teddy Bear Coat! Why these haven’t always been a thing is beyond me. It’s literally like wearing a blanket all day and they can be such a fun statement piece!

I am so bummed that this particular coat is sold out - I wish I would have bought one for everyone I know! But, I’ve rounded up a bunch of different picks for great teddy coats in a ton of different colors!

CLICK ON THE PICTURE TO SHOP THESE COATS! Or shop them below!


Weekend Look

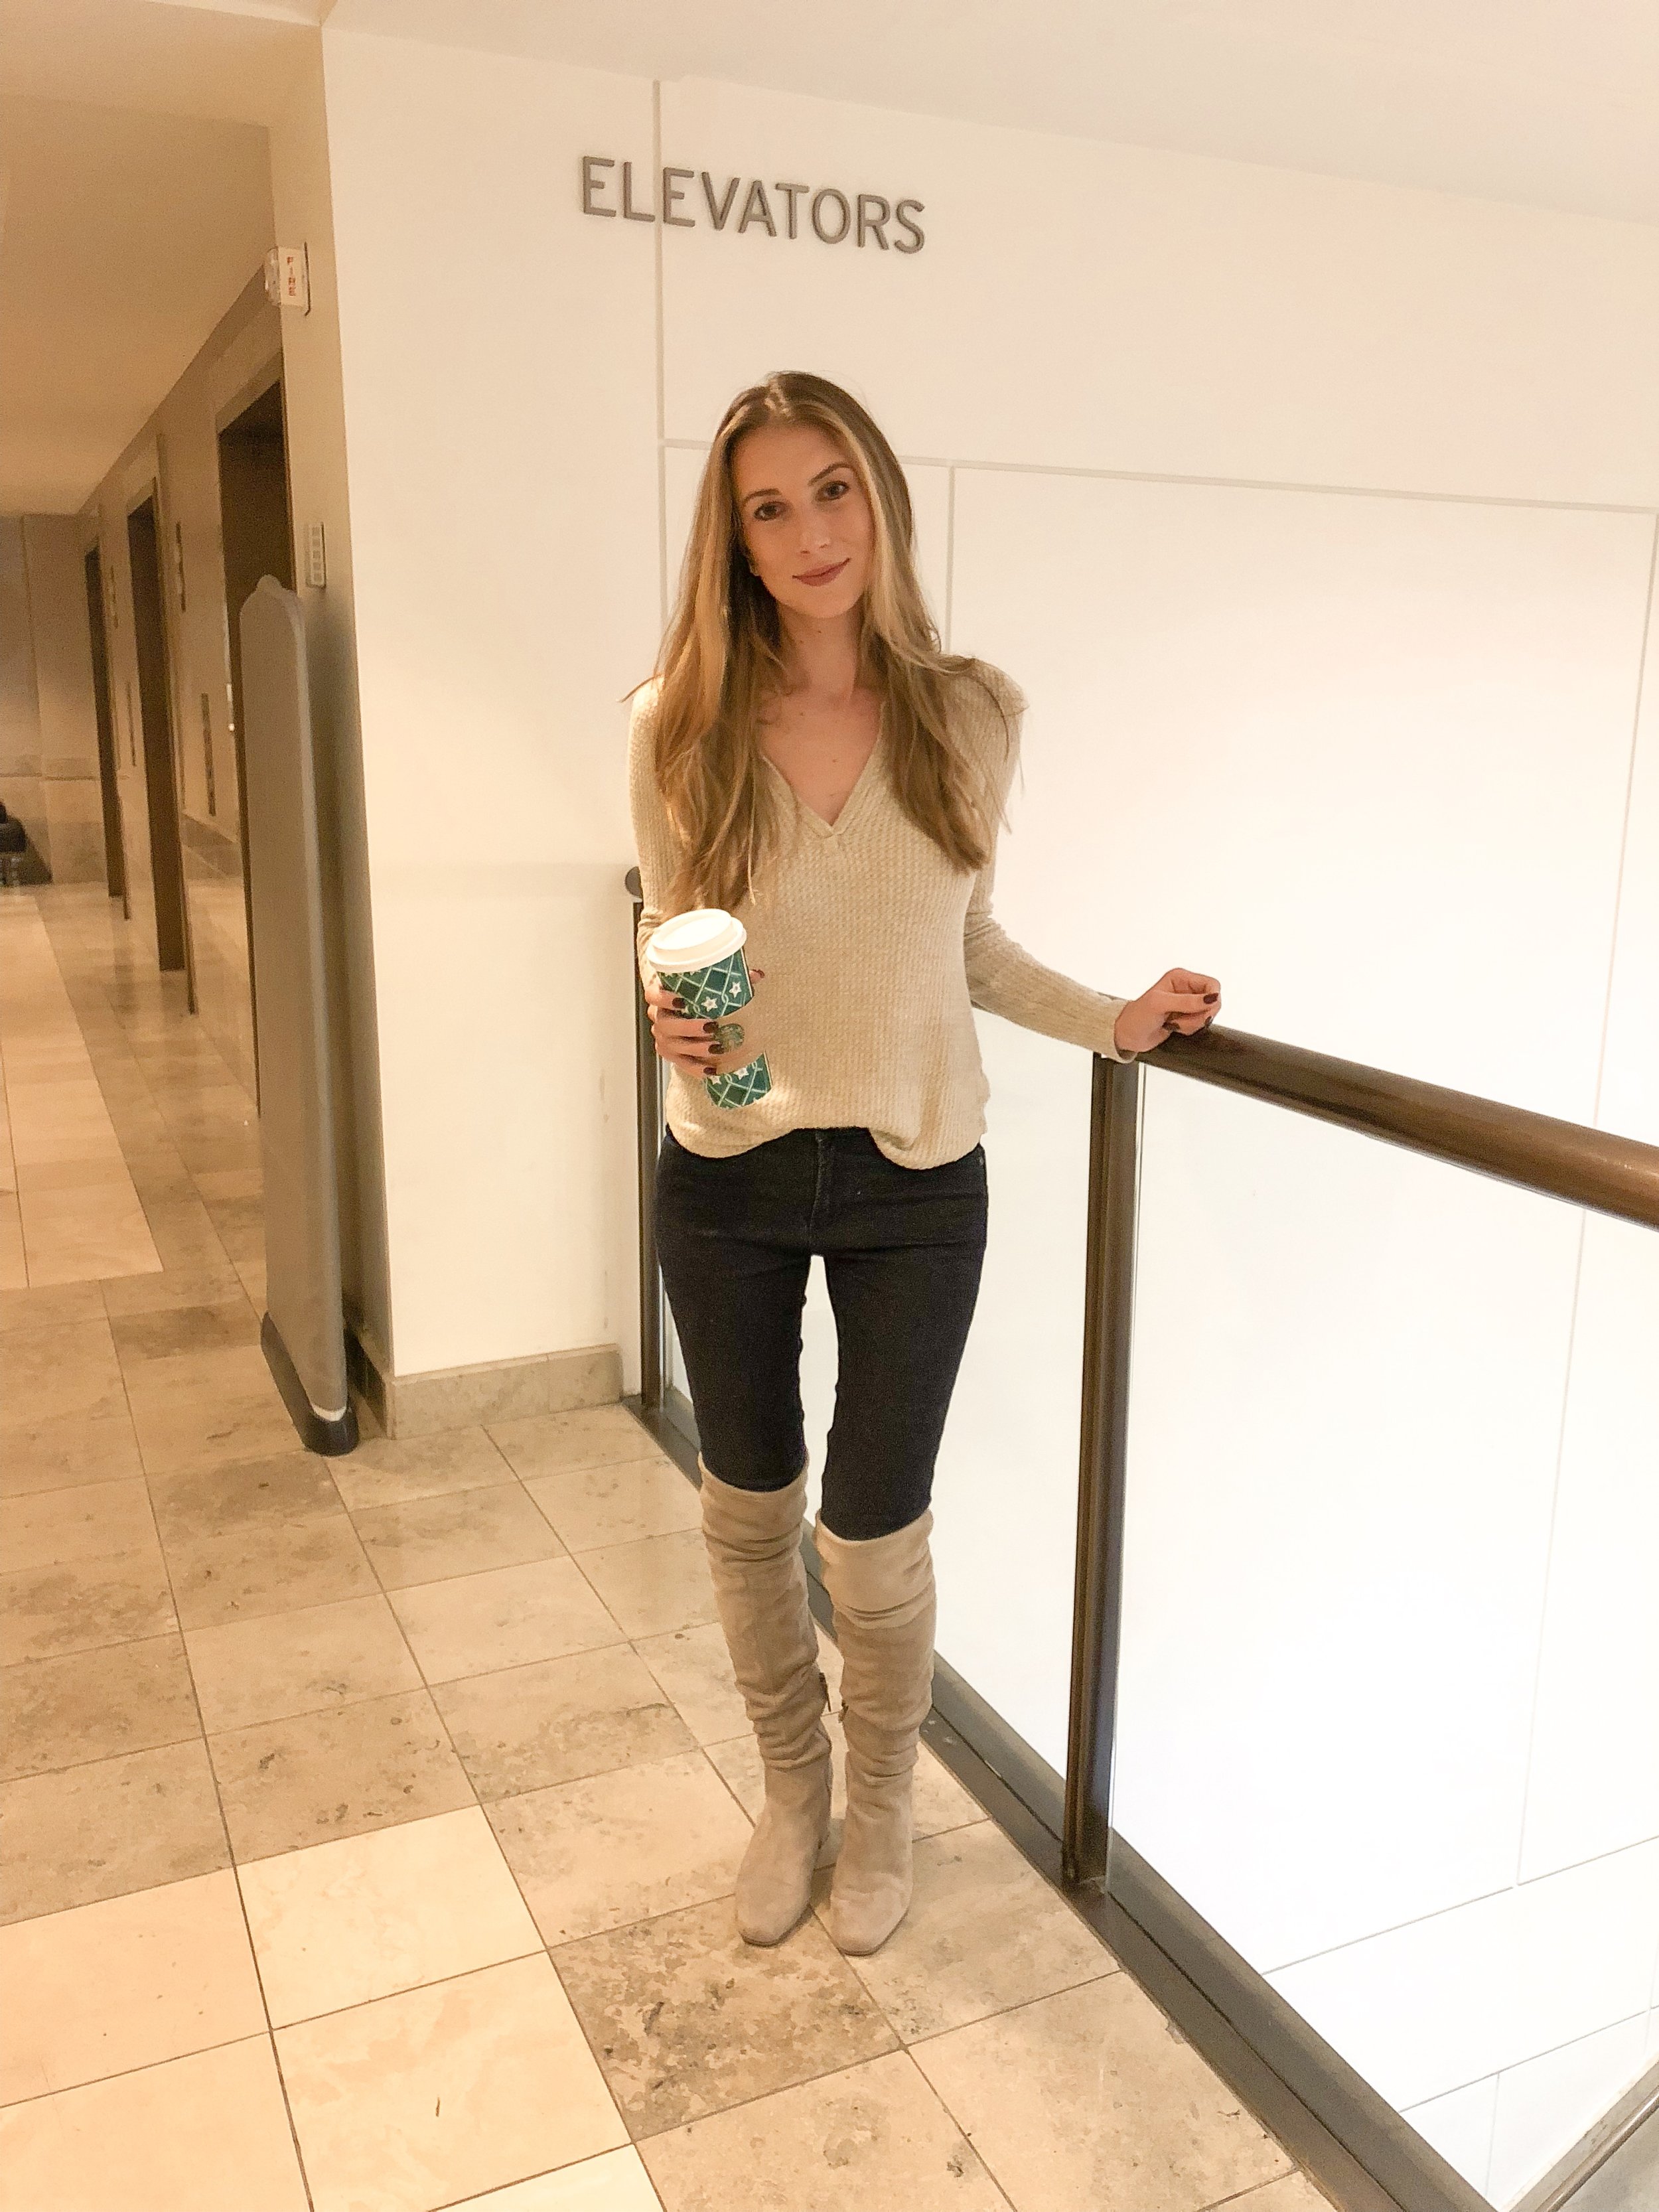
This morning (the baby’s 4:30 am wake up call) called for an easy outfit and a VENTI cappuccino! 

HINT: Click on this photo to shop this look!

HINT: Click on this photo to shop this look!

Did you know you can shop this look and all of my looks through one link? ShopStyle has made it so easy to see lots of my outfits and tons of things I love! Click on the widget below to shop this look and tons of others!


Fall Wedding Looks by Bardot

Some of the most beautiful weddings happen in the fall. With the changing leaves, the perfect days  and crisp fall air at night it is the setting for an awesome wedding. I recently attended a beautiful outdoor fall wedding for my dear friend and needed the perfect dress for the formal, outdoor event. I found some of the BEST fall dress picks from the designer Bardot, so many in fact that I’ve decided to dedicate this post exclusively to Bardot picks for fall wedding dresses! 

FullSizeRender.jpg

The Bardot dress I wore to the wedding was a perfect fall shade! The burgundy/deep Merlot color goes so well with the rustic/boho chic backdrop of this wedding and the outdoor setting. I loved the lace detail on the dress to add some texture to the already beautiful color and the adjustable straps allow it to be worn without a bra!  Score! 

I paired this dress with a nude chunky heel but you could wear a black, silver, gold or even a burgundy or brown heel with this. One tip I have for any outdoor wedding is to find a heel that isn’t “spike” like, you will save both your shoes and your ankles when you aren’t sinking into the grass all night! 

IMG_4426.JPG

This dress also goes perfectly with a ton of men’s suits in lots of colors. My husband found this fun burgundy color suit which actually inspired me to find a matching dress. It was a great match without looking like we were going to prom and it brings some fun to a suit by steering away from the traditional blue or black. 

I’ve linked this dress below for you and I wore a size XS. It comes in several colors as well which are all great choices for fall or winter.  

Bardot has so many awesome dresses it was hard for me to just choose one. So, I’ve linked some top picks for you all below (some of which are on mega sale!) and they come in so many color options. They easily transition from season to season as well and can be paired with many different wrap scarves for those chilly fall nights! 

Happy Wedding Season!!  

XoXo - Jamie  

My Birth Story

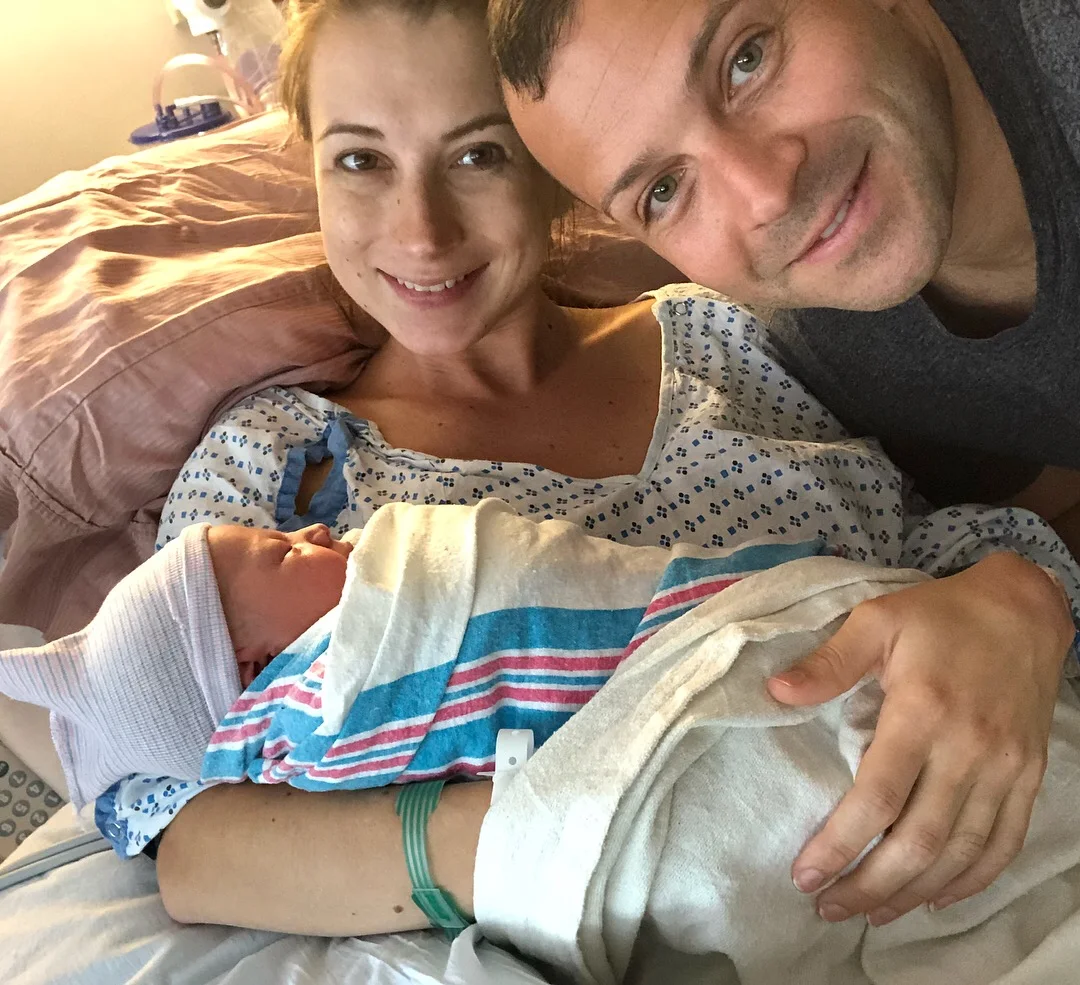
Hi everyone! I’m finally back after stepping away from posting for a few weeks, and for good reason!  On August 29, 2018 we finally welcomed a baby boy, Rye Joseph, into our lives and here’s how it all went down! 

FullSizeRender.jpg

Okay first, let’s back track a little. My due date was August 21st and honestly I never even thought, and neither did my doctors, that I would make it that far. You may remember me taking about being in bed rest during my pregnancy and that was all due to pre-term labor at 31 weeks and again at 32. I was given steroid shots to develop the baby’s lungs and placed on bedrest for the duration of the pregnancy. My doctors didn’t think I would be getting past 34 weeks. Honestly it was one of the most nerve wracking months of our lives.  But, the baby clearly had other plans because 34 weeks came and went and so did 35, 36, 37 (after which they finally lifted bedrest), 38, 39, and then my due date hit at 40 weeks! Say what?!  

So, when my due date passed, my husband an I were kind of left scratching our heads. This baby clearly had a mind of his/her own (we didn’t know gender through all of this) and now we were just left trying to patiently wait after mentally preparing ourselves to have a baby “any day” since 32 weeks! Not to mention, throughout this entire period, especially the last few weeks before the due date, I had been having a lot of contractions.  Many times they were strong, consistently 2-5 minutes apart and lasting for several hours...but, never the REAL thing.  

As 40 weeks progressed my doctors decided to schedule me for an induction at 41 weeks, with the hopes that I would go into labor on my own before that.  Welp, another week passed and I was walking nonstop, bouncing on my yoga ball, looking up every trick in the book to get this baby moving on out, but nothing was really happening and I was starting to feel defeated and also very uncomfortable. I wanted to avoid an induction if possible so I just kept trying to tell myself and also pray that my body and the baby would get the memo to come before I needed to be induced

August 28, The Induction Day - I was now at 41 weeks, overdue, and starting to get anxious about being induced. I woke up on that Tuesday morning and I think in an effort to keep my nerves at bay, I said to Scott, “How funny would it be if I went into labor today right before they induced me?” I was having some contractions consistently again, but I had been there, done that, bought a t-shirt, so I didn’t think much of it. We were scheduled to arrive at the hospital for the induction at 5 pm Tuesday evening, so we spent the morning packing the car, playing with our dog, and then we decided to havae one last good, big meal before days of hospital food (yuck!). We headed to Bar Taco in Port Chester and it was amazing! Then we went back home and eventually around 4 pm, made our way to the hospital.  

IMG_3856.JPG

When we arrived, it was like the baby flood gates had opened and everyone who was due in August decided to have a baby that day! We checked in and we were placed back out in the family waiting area along with two other couples because they didn’t have any rooms available right away. At this point it was becoming comical because it just added to the saga of what had been the past few months of the pregnancy. As we sat in the waiting area for about an hour, I was still having contractions but didn’t think much of them, and I had a sense of extreme calm and peace for the first time in months. Around 5:30 they finally told us they had a room ready and we headed into Labor & Delivery.

Once we were settled they started monitoring me and I was having contractions ranging from 3-5 minutes apart. The plan was to start cervadil around 7 pm and then early Wednesday morning start pitocin. For some reason I had a gut feeling that we wouldn’t need to go through all of that and that the baby would just get the memo it was time to come on out. So, when my doctor came in around 7 to check me and use the cervadil, she realized I was 3 cm and with the consistent contractions, she decided she wanted to just see what happened overnight without any intervention. At this point I was getting more excited and kept feeling more and more that the baby was going to come on his or her own.

The night went by and my contractions were getting stronger. I kept telling the night nurse that they were more and more intense but she said it wasn’t real labor because my contractions weren’t textbook consistently 2 minutes apart. So a few more hours went by, I couldn’t sleep at all...it was now about 2 am and I was in a fair amount of pain. I also had to pee about every 30 minutes to I kept waking up my poor hubby to help detach me fromhe monitors and IV. Around 3 am I finally called for the nurse to request an IV administered sleep aid/mild pain killer so I could sleep at least for a few hours, especially if the next day would involve being in labor for hours waiting for pitocin to work.  Thankfully, my night nurse was on a break so I got a different nurse who came in and gave me the meds and finally solidified that I WAS actually in labor. I was able to sleep for a few hours and then woke up around 6 am to the nurse and my doctor in the room. 

My doctor checked me and realized I was about 5.5 cm dialated and that I definitely didn’t need the pitocin. I was SO relieved and then within a matter of 5 minutes, she was breaking my water.  My husband slept through this entire ordeal so when I woke him up around 7:00 am on Wednesday morning he was pretty surprised.  

August 29th, Delivery Day - So I know I’ve already recapped part of this day, but anyways.... After they broke my water I started having really strong and painful contractions REALLY fast. They moved me into the delivery room where I would stay until the baby was born. By the time we got over to the laboring room, probably a matter of 10 minutes, I was in a lot of pain and decided I wanted the epidural.  They immediately called the anesthesiologist and by 8 am she was in there getting the epidural ready. They kicked Scott out of the room (standard procedure for epidurals) and I told him to go get some coffee that it would probably be a while since I was only at 5 cm.  She administered the epidural around 8:15 in between some crazy intense contractions. My nurse, now a new one who was amazing, just kept telling me I would feel so much better afterwards. By 8:25ish the epidural was done but I was still just having a ton of pain and contractions....like pain you couldn’t describe. My nurse knew something was off because I shouldn’t have such intense pain after an epidural.  So, she decided to check me around 8:40 and to EVERYONE’s surprise I was 10 cm! 

From that point forward everything was kind of a crazy blur. In between my crazy contractions, the failed epidural, and the chaos of going from 5 to 10 cm in under an hour, I didn’t know what to think. There were nurses flooding in, they were paging for the doctor over and over because I needed to push. It then suddenly dawned on me that Scott wasn’t in the room. I remember thinking to myself “oh shit” he’s going to miss this whole thing! I called him over and over and the nurses were running around the maternity floor trying to find him. They came back and told me they couldn’t find him and I was now just freaking out! This was all probably a matter of 10 minutes but it felt like 3 hours to me. Finally, he walked in, tired but in good spirits with his coffee. The nurse told him to put his coffee down and grab my right leg, that I was ready to push. I honestly wish I had a picture to capture his face in this moment, it was hysterical! 

By this time it was 8:50 and I was ready to push. I was determined to keep pushing and pushing because I didn’t want to be pushing for hours. I know it’s common for first time moms to push for a long time and I decided that wasn’t going to be me! I only had to push for 20 minutes and halfway through the doctor decided I needed an episiotomy because the baby was so big and to avoid a 4th degree tear. We were a little surprised to hear her say the baby was big because I had been measuring “small” the entire pregnancy.

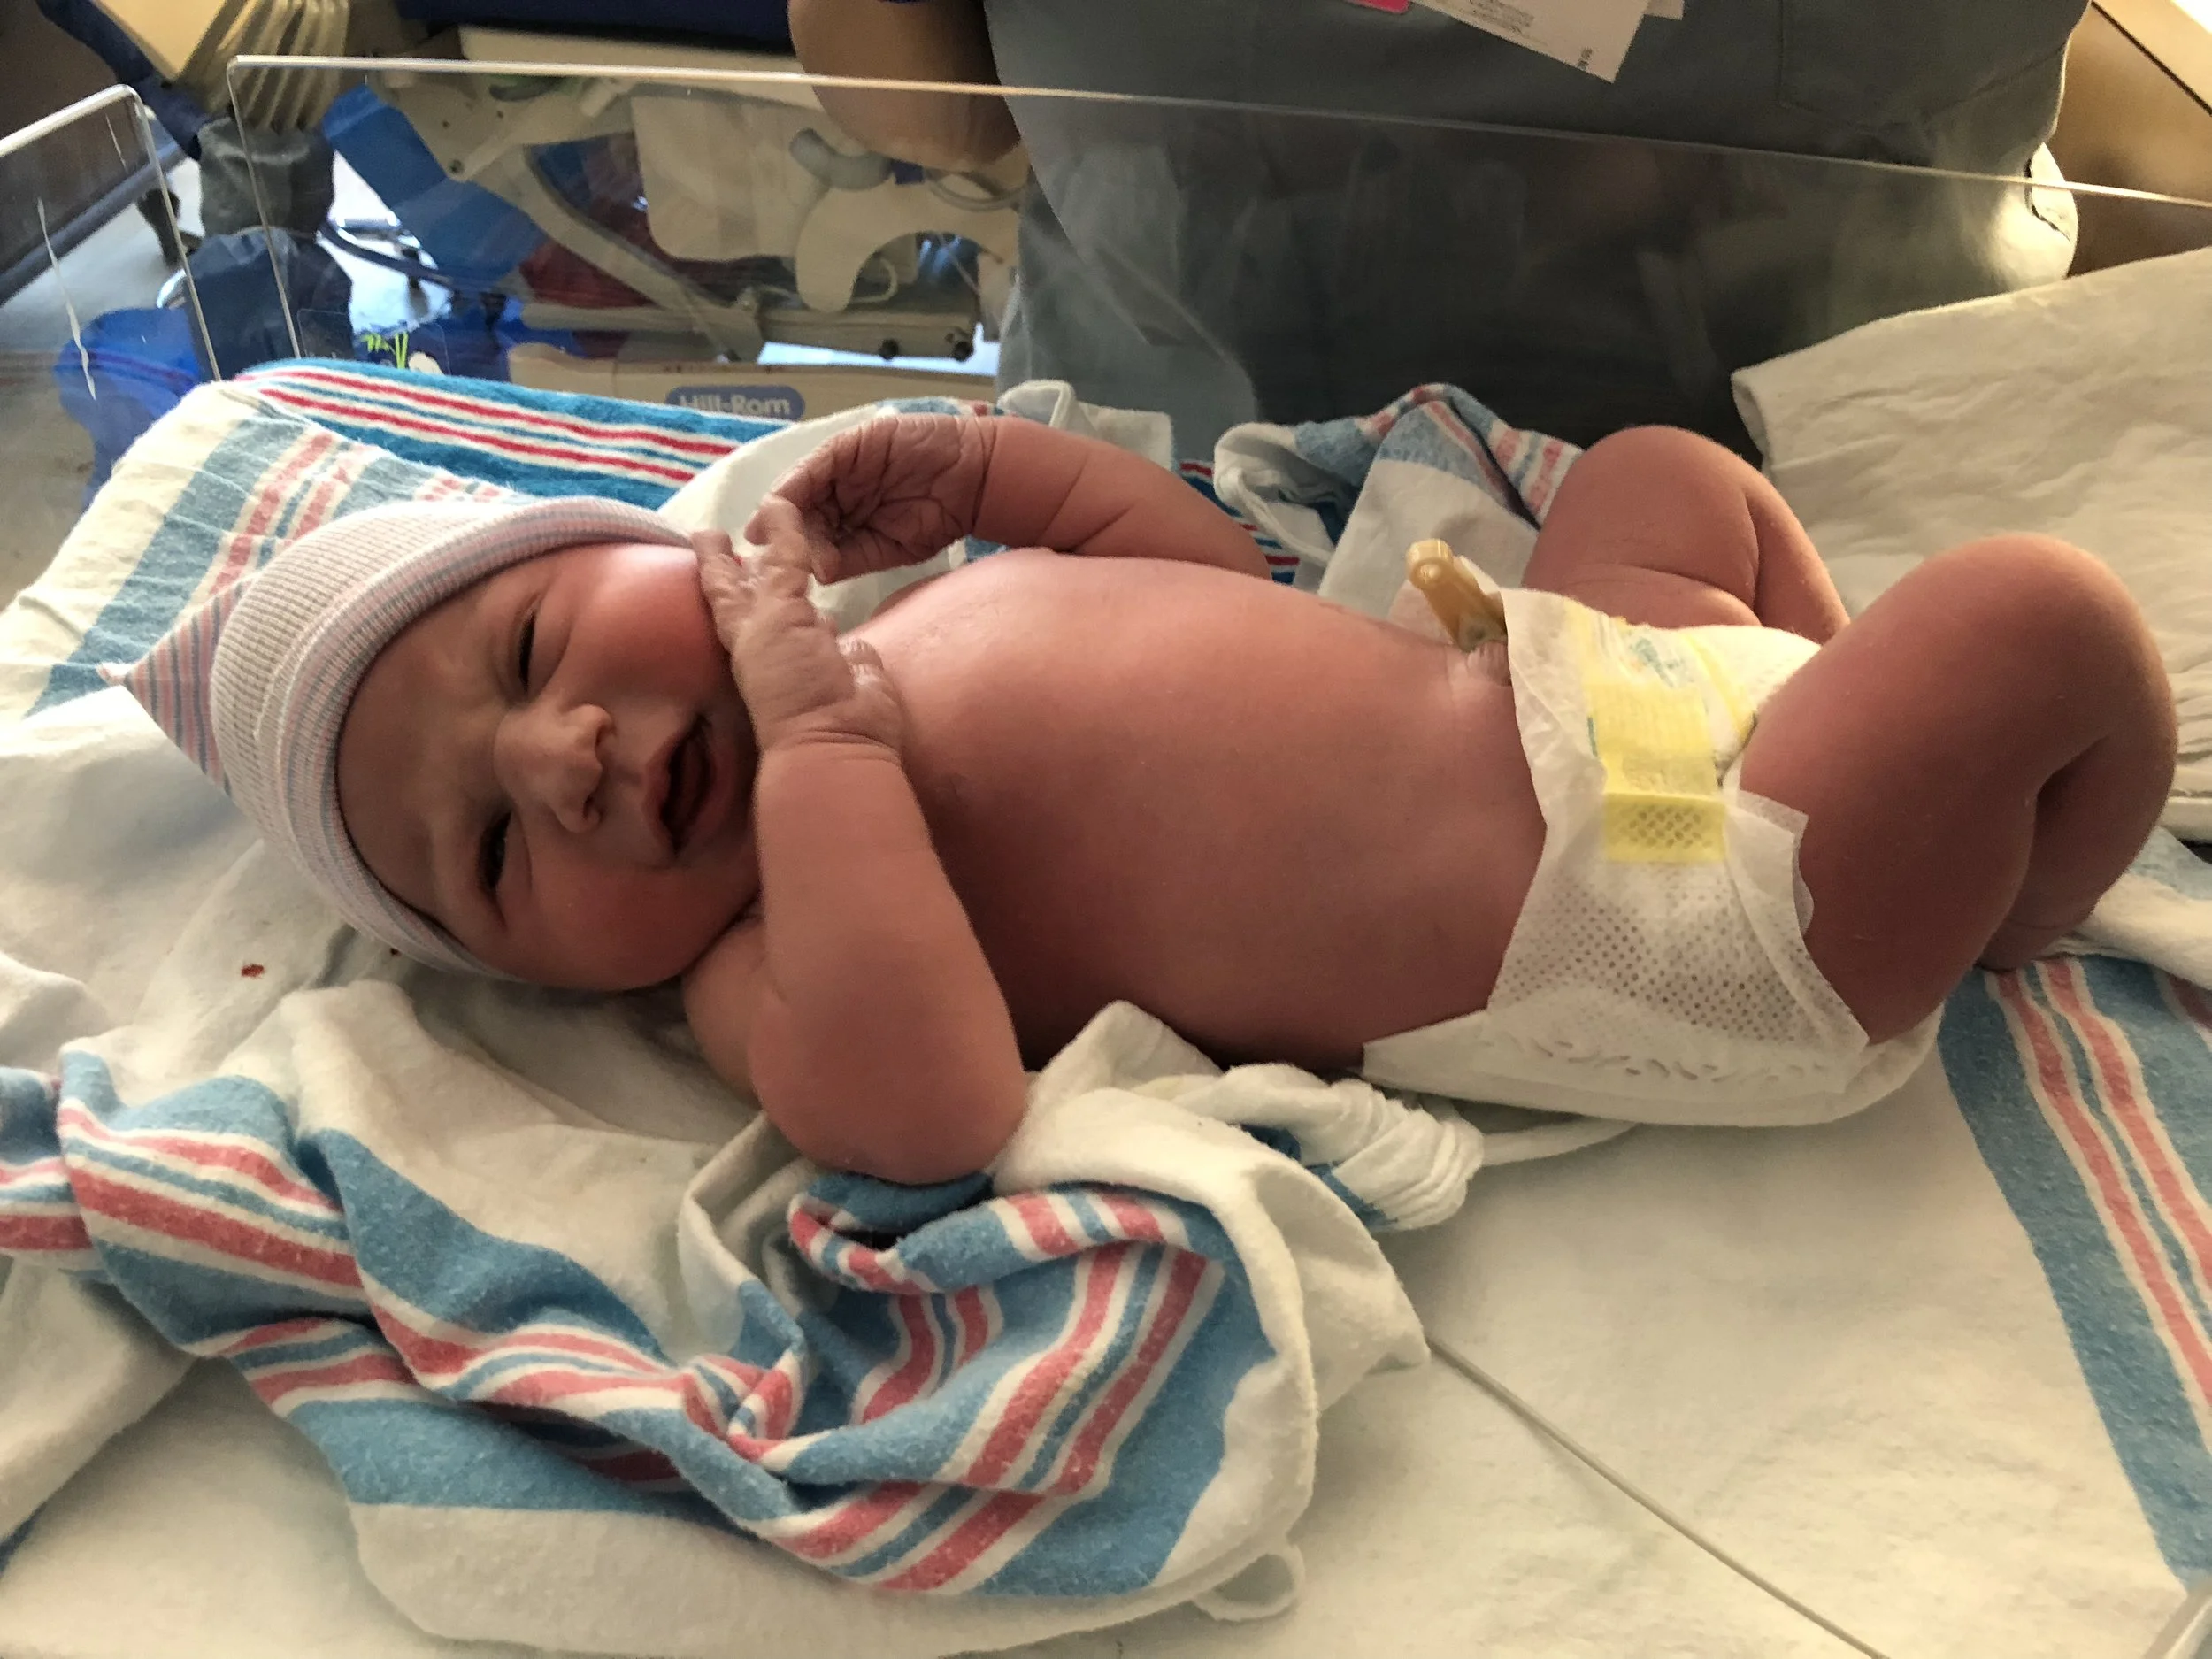
Well the doctor definitely knew her stuff because at 9:10 am, after a fast and furious few hours, we welcomed a baby boy, Rye Joseph Robinson, into this world and he was a whopping 8 lbs, 13 oz and 22 inches!  We were so incredibly excited and Scott was especially thrilled it was a boy...so was my dad, after having 4 girls, that man was holding out hope for a grandson haha. 

IMAGE.JPG
IMG_3947.JPG
FullSizeRender.jpg

After giving birth everything else was pretty uneventful. We had your standard two day hospital stay and then headed home. Postpartum recovery is no joke and having a ton of stitches from the episiotomy didn’t help. But, I am happy to report that at three weeks postpartum everything is going really well from the breastfeeding to recovery to the sleeping...well sometimes we sleep...but either way we have loved every minute of it!! 

Overall, I had a pretty great birth experience. I was bummed about the epidural because I felt like I got it for no reason considering it didn’t work at all and I could have just labored and pushed without it had I known I was already at 10 cm! But, it is what it is and the one silver lining is that now I know for next time I can definitely endure labor without it AND push out a pretty big baby! I am so happy I was able to go into labor on my own without any of the induction drugs. It’s kind of amazing what your body can do and that it knew what to do exactly at the right time.

Thank you all so much for following along with my entire pregnancy and for standing by during my three week hiatus! I’m working on a ton of new content some focused around the typical fashion and lifestyle blogging and the other half focusing on being a new mom! You have all been so amazingly supportive and I can’t wait to continue sharing all of these amazing life changes!

XoXo - Jamie 

Gender Neutral Nursery

As promised last week, I am finally posting a full blog post on my Gender Neutral Nursery! Now as exciting as it has been not knowing the gender of our baby, when it came time to figure out a nursery style, I panicked for a minute.  I think the commentary from others too asking me what I was planning on doing if I didn't paint it pink or blue also was freaking me out...but anyways, I decided I was going to figure out a classic and timeless gender neutral look for our nursery that would be perfect for a boy or girl and that we could use again in the future! 

fullsizeoutput_3477.jpeg

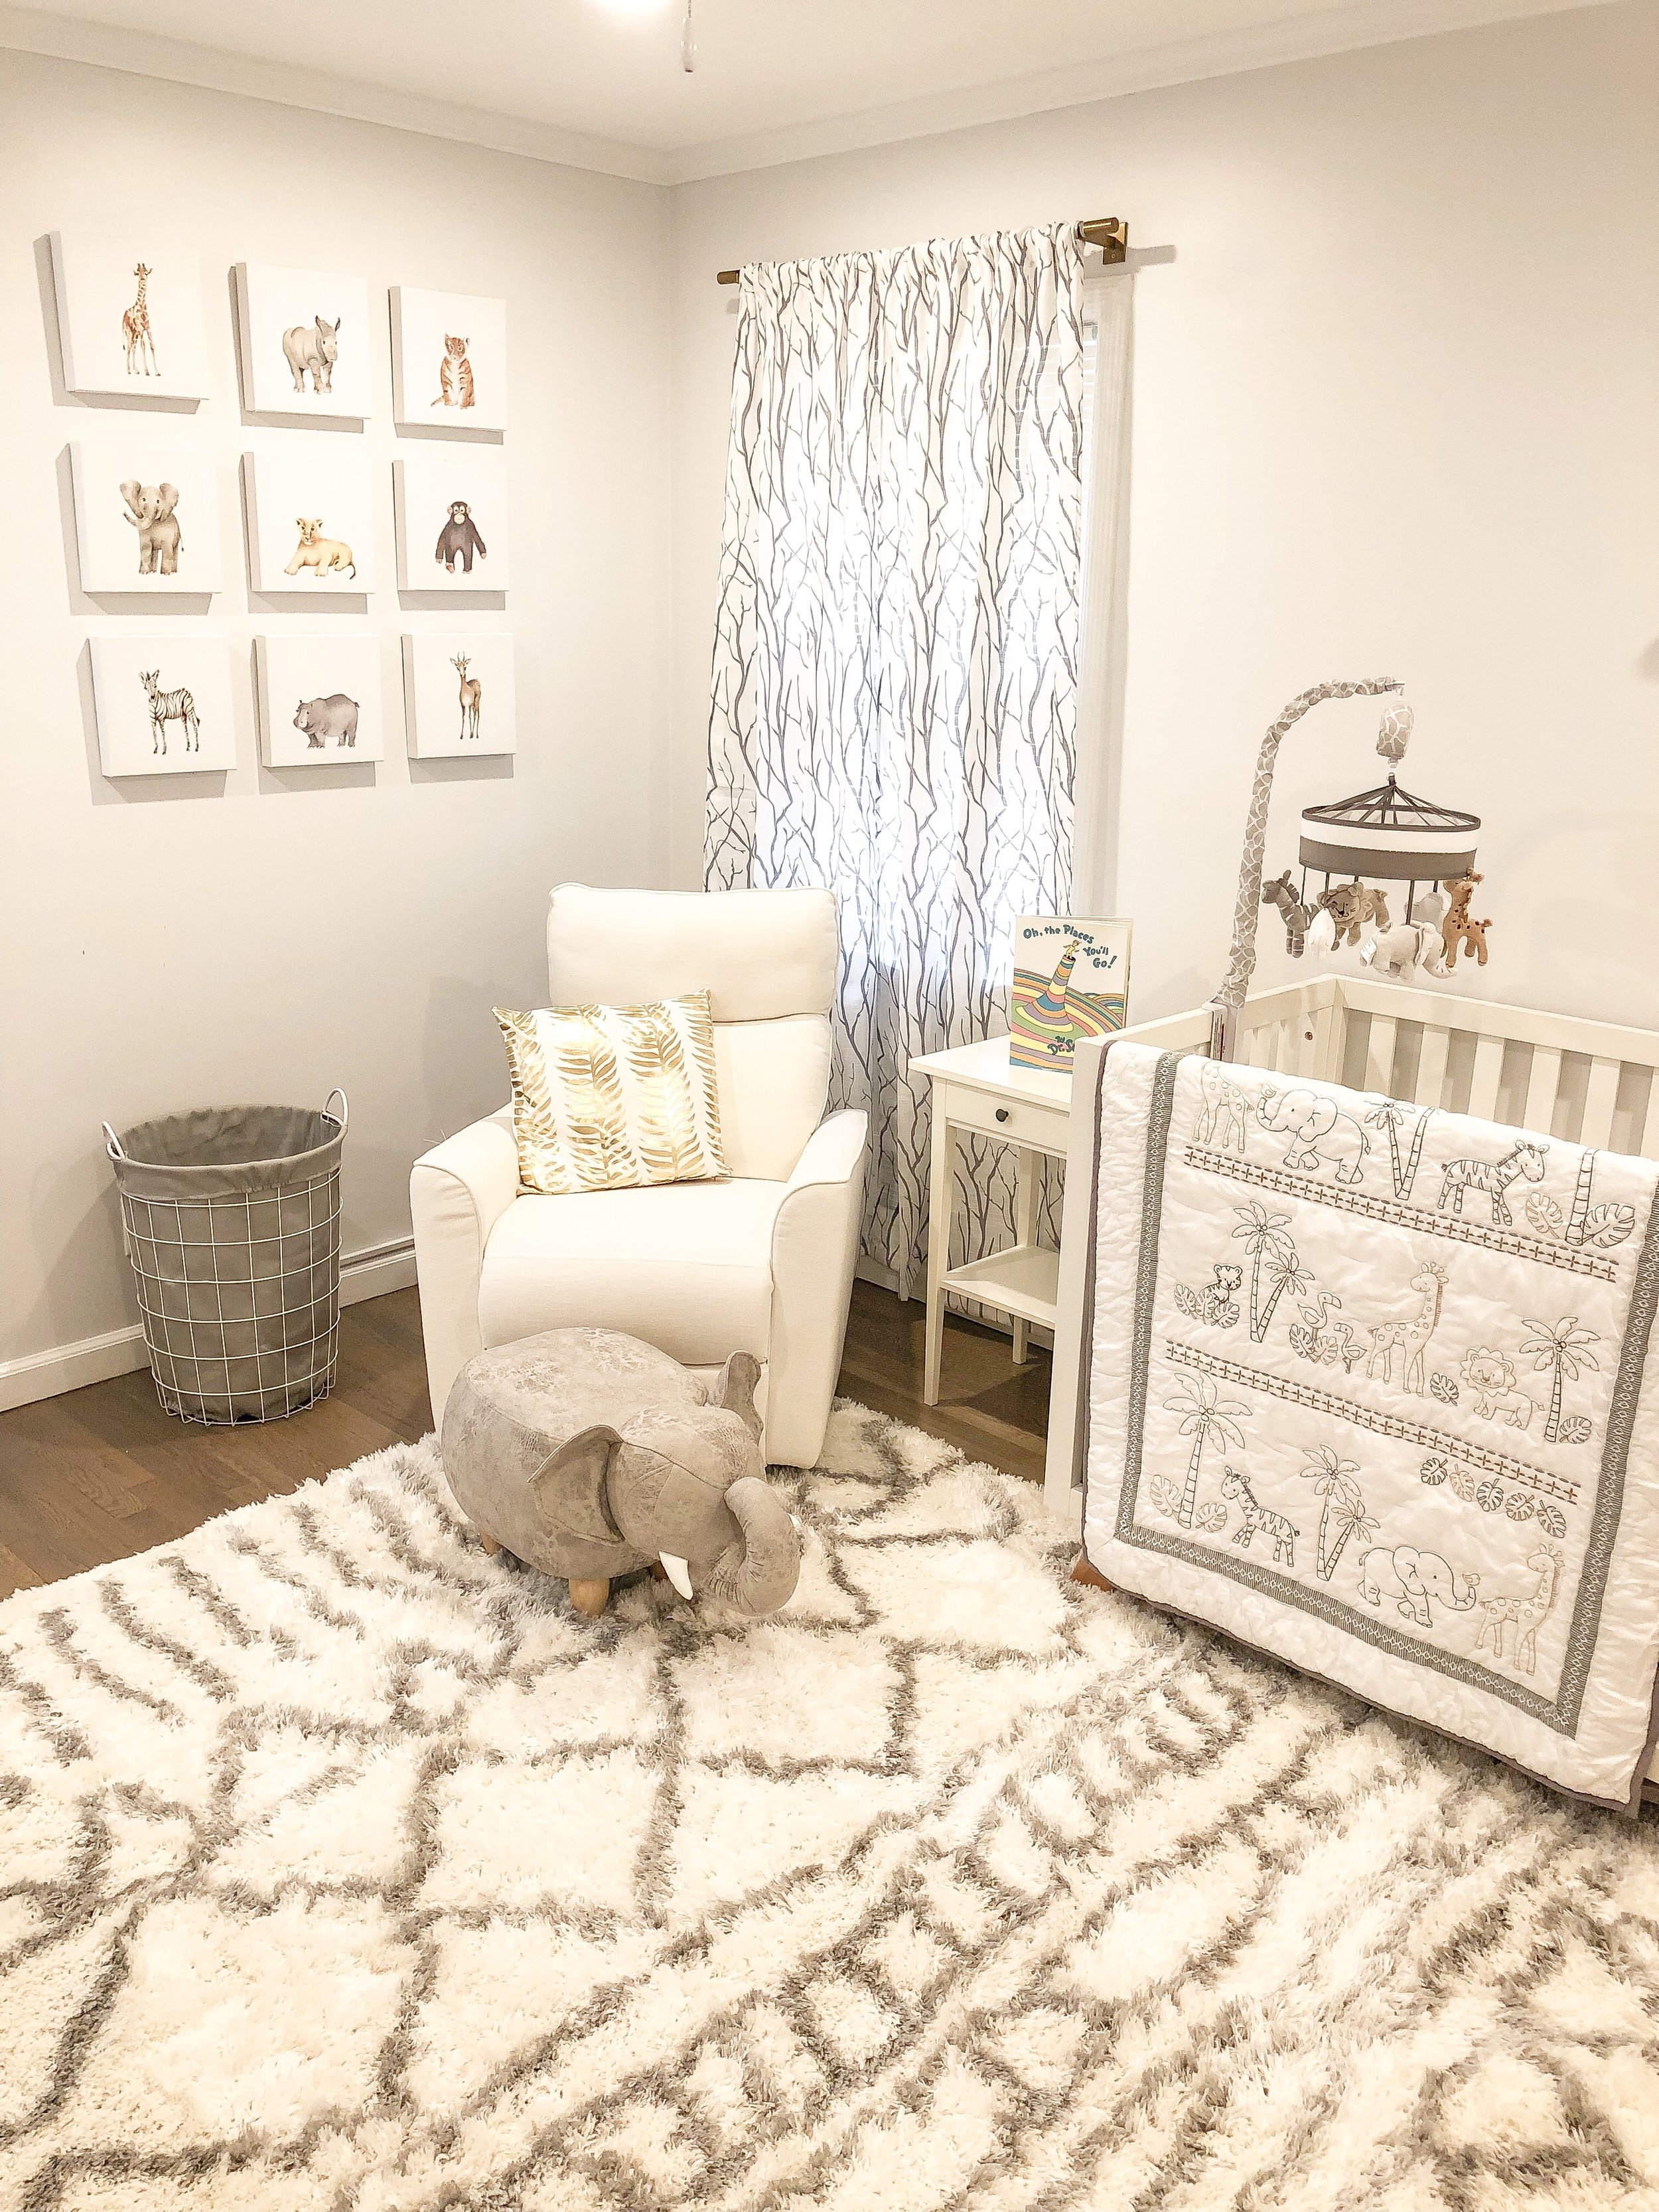
I decided from the beginning that I wanted the nursery to be a very calming space, both for the baby and myself since I anticipate I will be spending a lot of time in there.  I didn't want it to feel overwhelming or too bold, just serene and a little escape from the other rooms in the house.  It all started with the wall color, I chose a very soft grey because it was both calming and also is a color that you really cannot go wrong with.  

Once the paint color was chosen, I moved on to deciding a "theme" for the space.  I was inspired by Pinterest in some ways and by pictures of baby jungle animals...they are just SO cute!  Then, one day, I was just strolling through the aisles of Home Goods and found these baby animal canvas prints...they were perfect! Using these canvas prints, I planned the rest of the room around them.  With home design, I find that choosing a piece to start your inspiration and working off of the piece, whether it's art, furniture, a pillow, etc. can help you stay focused in your design and also not become so overwhelmed by the process! 

Having found the canvas prints, over the next several months and in creating my baby registries, I slowly but surely added items I thought would fit.  Honestly, I really lucked out with my picks and I have to give a lot of credit to Amazon, Buy Buy Baby, and Home Goods! I pretty much found everything between these three retailers and Amazon was particularly great for finding unique pieces like the bedding, changing pad cover, and mobile.  Amazon also has really great prices on all things baby so I definitely recommend checking them out first and then always comparing the retailers, factoring in coupons you can use, etc. before making a purchase...I was also trying to be as budget friendly as possible! 

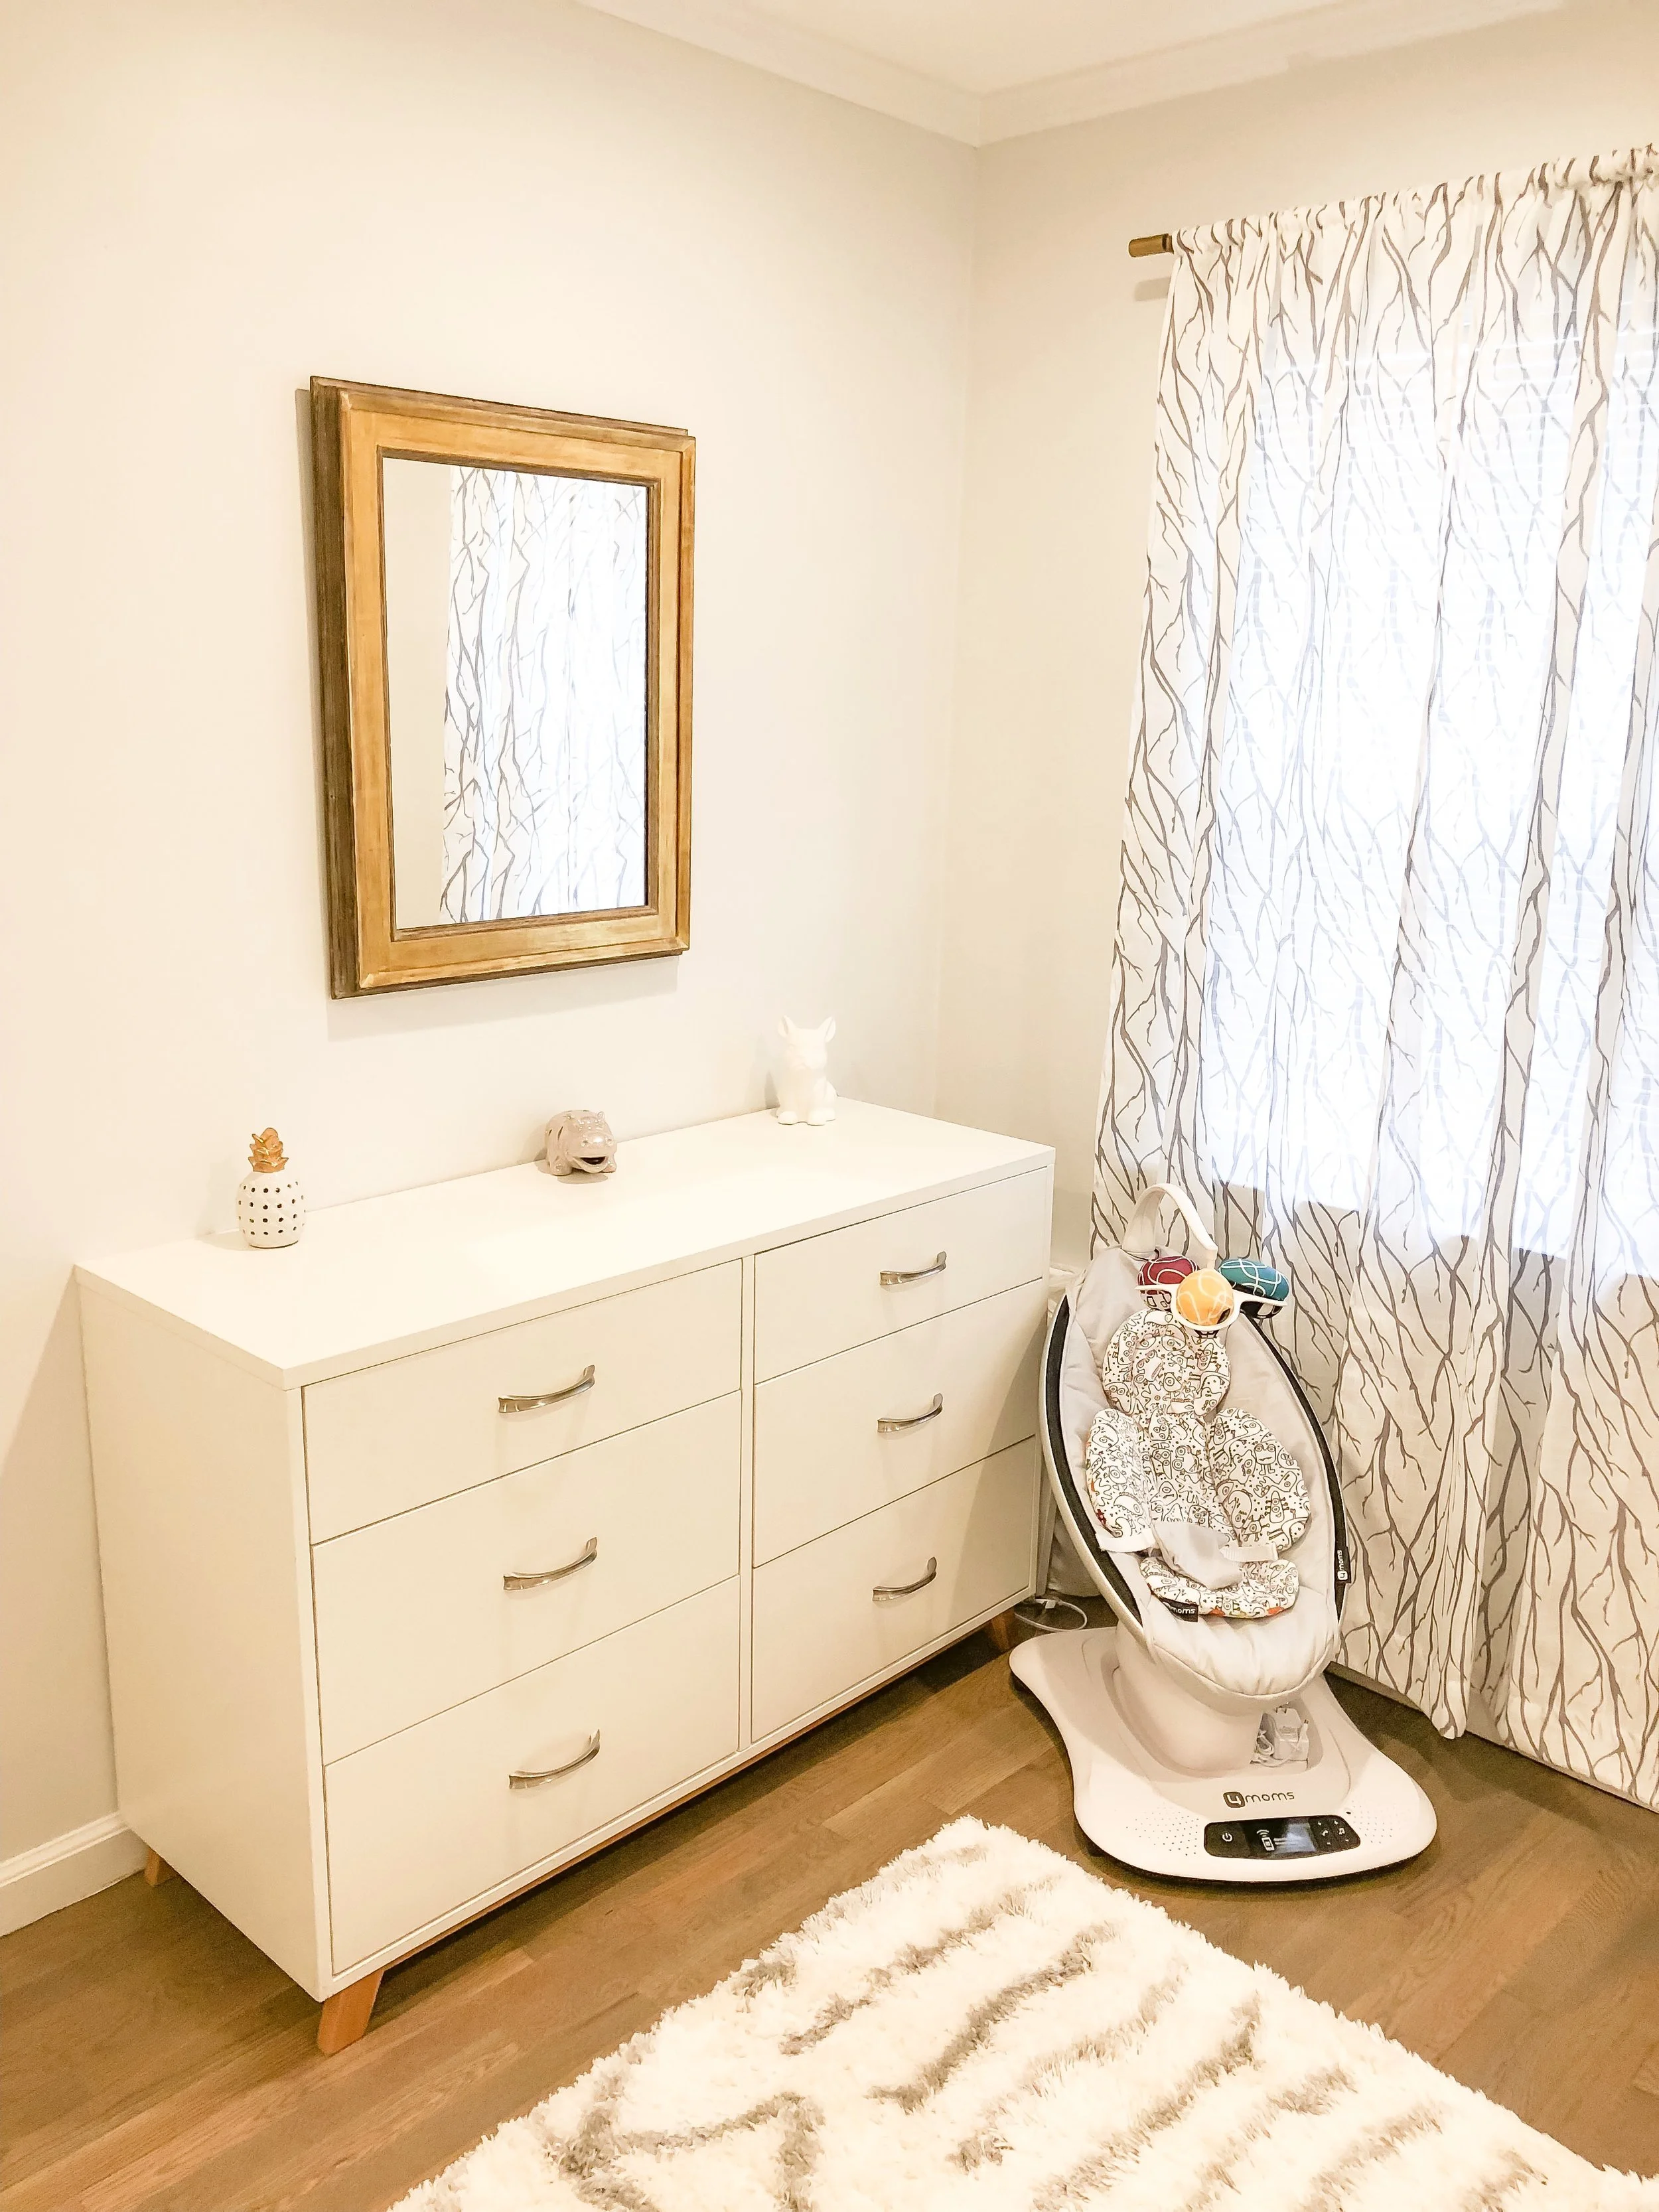
I've tried to capture all of the different elements throughout the nursery, but honestly, the pictures don't really do it justice in capturing the peacefulness and calm feel that I have every time I walk in! While grey and white were the primary colors I was using throughout, I also knew that I wanted some pops of colors and patterns to mix up the space a bit.

Obviously we all know I LOVE my gold every and anything, so I incorporated some subtle gold touches through the mirror, the throw pillow and through a few little accent pieces I found at Home Goods.  I also have a serious obsession with palm leaves (something you probably all know by now too) and when I found the palm leaf changing pad cover, I HAD to have it!  It worked out great because the green adds a pop of color to the room that is unexpected, but also not overwhelming or too busy! 

One last thing that was really important to us was to add a few personal touches.  We included two pictures of Havana above the changing table.  These were pictures we had taken at the dog beach in Florida, one of our favorite places, and somewhere we will definitely be taking the entire family on our next trip. We also found the cutest French Bulldog nightlight that we had to have!  Finally, adding in the Oh The Places You'll Go book was something I didn't plan on, but I found it while cleaning out a closet.  My aunt bought me this book when I graduated from high school and it has always held special meaning to me.  I cannot wait to read it and share it with the baby at story time! 

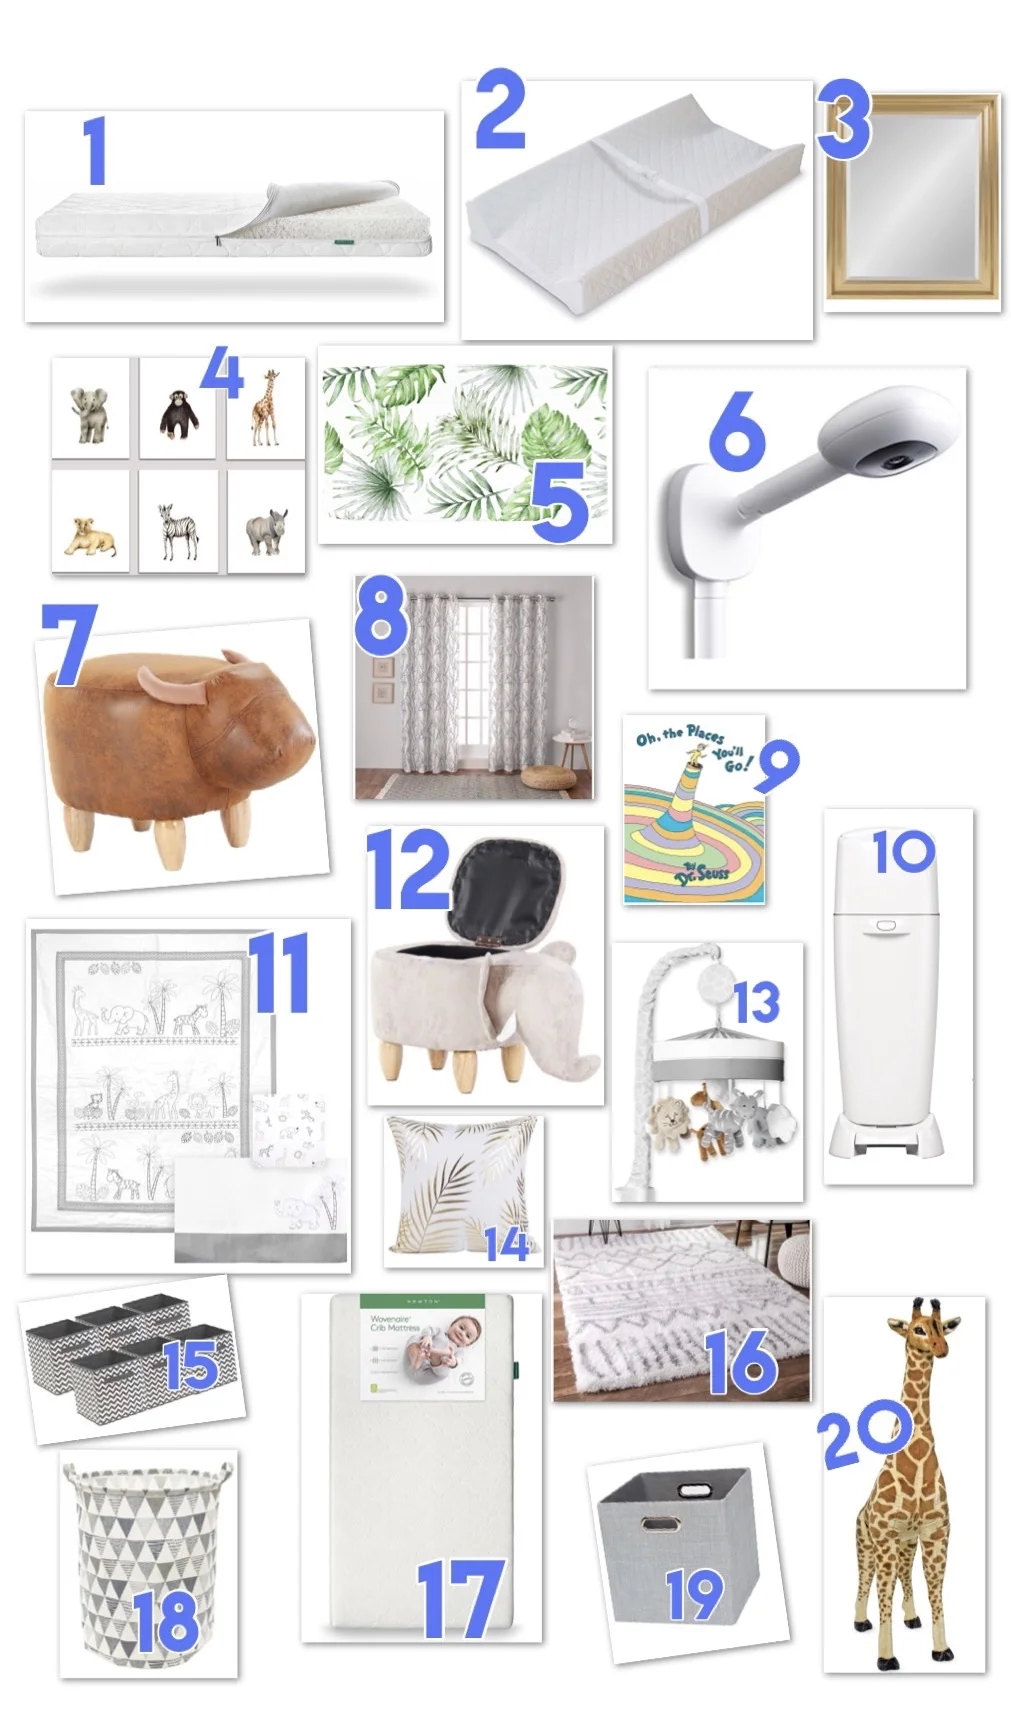
I've done my best to link all of the products from the nursery below!  Some of them are no longer available, so I've chose similar options and alternatives around the same price points! I've separated the accessories from the furniture to help with the ease of shopping this gender neutral nursery! 

fullsizeoutput_34c1.jpeg
  1. Newton Crib Replacement Cover - I've linked the Newton Mattress in #17 below, but we also ordered an extra replacement cover in case of a middle of the night accident. The cover is completely breathable and you don't need a sheet over it...in fact, Newton recommends that you don't use a sheet, especially when the baby is younger to prevent any issues with breathability! 
  2. Changing Pad - This changing pad is great and under $20.  It also fits standard size changing pad covers, including the Palm Print one featured.
  3. Gold Mirror - The gold mirror we have in the room is an antique we found with the house, but I found a very similar style one on Amazon!
  4. Baby Safari Animal Prints - Like I mentioned earlier, the animal prints I have came from Home Goods, but obviously finding them may be a challenge.  However, I found the same prints (in a set of 6) online.  They are prints so will need to be framed, but they are just so darn cute, it's worth the extra work!  This was my plan before finding the canvas ones.
  5. Palm Print Changing Pad Cover - This might be my favorite thing in the entire room!  I love the splash of color it gives and it's also made from 100% Organic Cotton!
  6. Nanit Baby Monitor - Okay I am OBSESSED with the Nanit.  I cannot wait to use it, and here is why... I did a ton of research on baby monitors and wanted one that was compatible with my iPhone, had great reviews, and also can't be "hacked".  Yes, it's a thing, hacking baby monitors and watching your child as he or she sleeps.  I saw a news report on it and there are a ton of articles about it on Google...it's really freaky.  But, Nanit in creating their technology perfected this and has created a system where the software is encrypted so people won't be spying on your newborn.  It also monitors temperature in the room, as well as your baby's sleep patterns and provides you insight as to how your baby slept throughout the night (or didn't).  It's truly an advanced monitor and totally worth the price! 
  7. Leather Ottoman - This is obviously different from my elephant ottoman (which right now isn't available, but I've linked a similar option below) but this was one that I also loved and was debating getting.  The leather touch can give you a more rustic feel to the room if that's what you're going for! 
  8. Tree Branch Curtains - I found my grey and white tree branch curtains at Home Goods, but these are a very similar option!
  9. Oh The Places You'll Go - One of my favorite books and it looks great displayed in the room and gives a little pop of color!
  10. Diaper Genie - All of my mom friends said this is a MUST HAVE! It also comes in other colors, but I went with the classic white.
  11. Safari Animal Bedding Set - Finding bedding was a challenge.  I was HATING everything I saw in the stores, it was either too gender specific or too, just blah. But, when I found this one on Amazon I figured I'd give it a try.  Honestly it's even nicer in person than it looks online and I couldn't be happier with the purchase.  It comes with a quilt, crib skirt, and sheet.  Now I have the sheet on for pictures, but won't be using it until the baby is older.
  12. Elephant Ottoman - This ottoman is almost identical to the one in my pictures! And, even better, this one has storage and is slightly cheaper! A win, win!
  13. Safari Music Mobile - I also was on the hunt for a really cute mobile and this was another great Amazon find.  It matches the bedding set perfectly as well!
  14. Gold Leaf Pillow Cover - The one I have in the picture isn't available, but I found this one instead and kind of like it even more! It can be used to cover any standard size throw pillow.
  15. Chevron Fabric Tote Bins - These are similar to the pattern grey and white ones I have under the changing table.
  16. Patterned White/Grey Shag Rug  - Another Amazon find! This rug is super soft, I love the pattern, and it’s perfect for a gender neutral space. I recommend a rug pad underneath for a no slip surface and to make the rug feel even more plush.
  17. Newton Crib Mattress - I love everything about this mattress! Now it’s a bit of a splurge, but in my opinion it’s 100% worth it. This mattress is breathable, has lowest presence of VOCs and chemicals, and it can be washed entirely in a shower if baby has any kind of accident! It also fits a toddler bed so it can grow with your child through the years all while giving you peace of mind.
  18. Grey and White Cloth Hamper - This version is different than the one I featured but I love the pattern and the colors work perfectly! 
  19. Solid Grey Fabric Bins - These come in a set of four and are a nursery essential! I’m using them to store things like diapers, wipes, etc.
  20. Melissa & Doug Life Size Giraffe - This giraffe is so fun! It’s also huge standing around 4 feet tall and works perfect to fill up and empty corner.  But what I also love about it is that kids can grow with it and when your child is a little older, this is the perfect toy to play dress up with!